Aged Vintage Build Rolex Explorer 36mm with Coffee! Watch Build Guide
13 March 2021After building my last explorer, I wanted to take it one more step and try my skills at an aged explorer. So time to get the coffee out and start aging! The build is super picture heavy with over 40 photos.
Sourcing Parts
For this build i used a clone 2824 movement, explorer dial and explorer style watch hands.
The 2824 movement clone i purchased actually was a low beat 21,600 bph and gives it that vintage feel. You can pick these up on eBay
Get 2824 Movement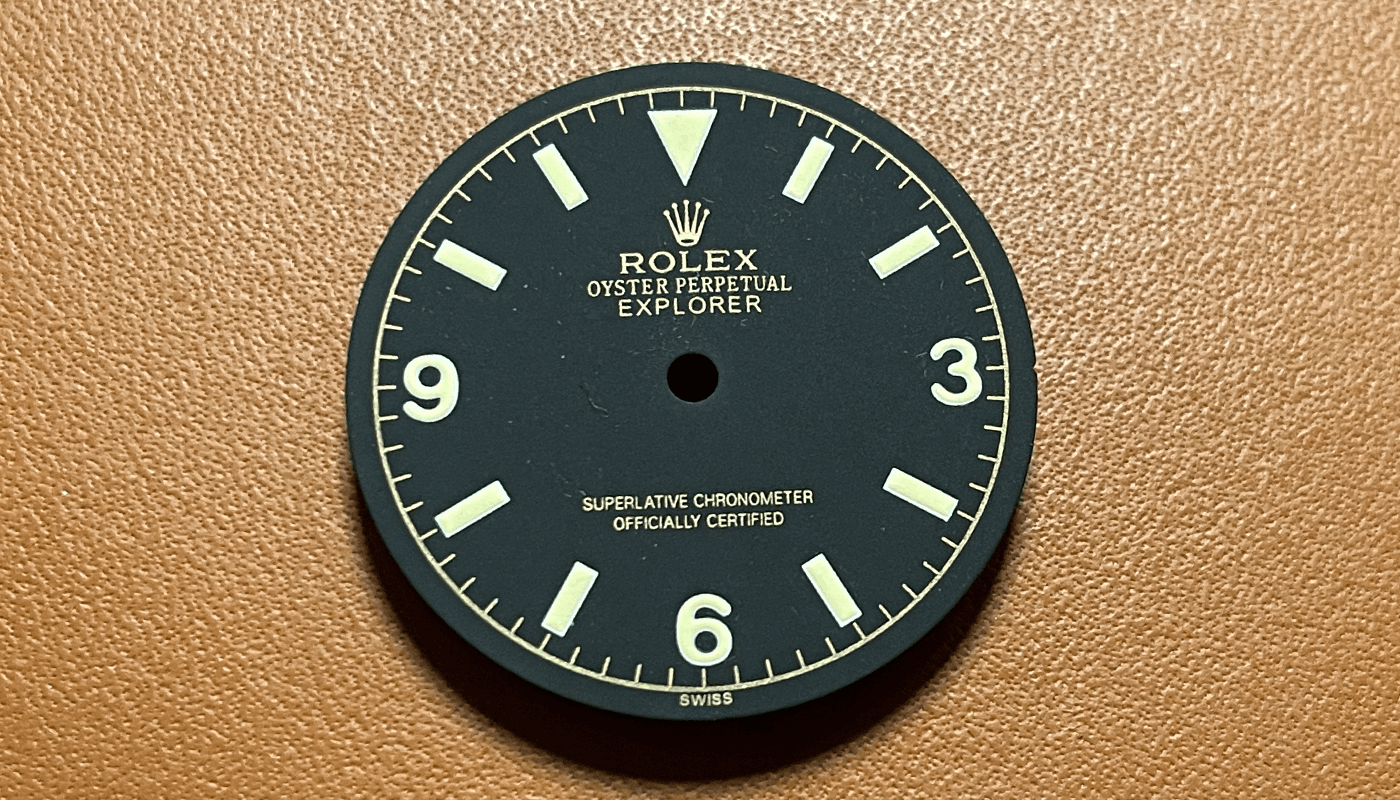
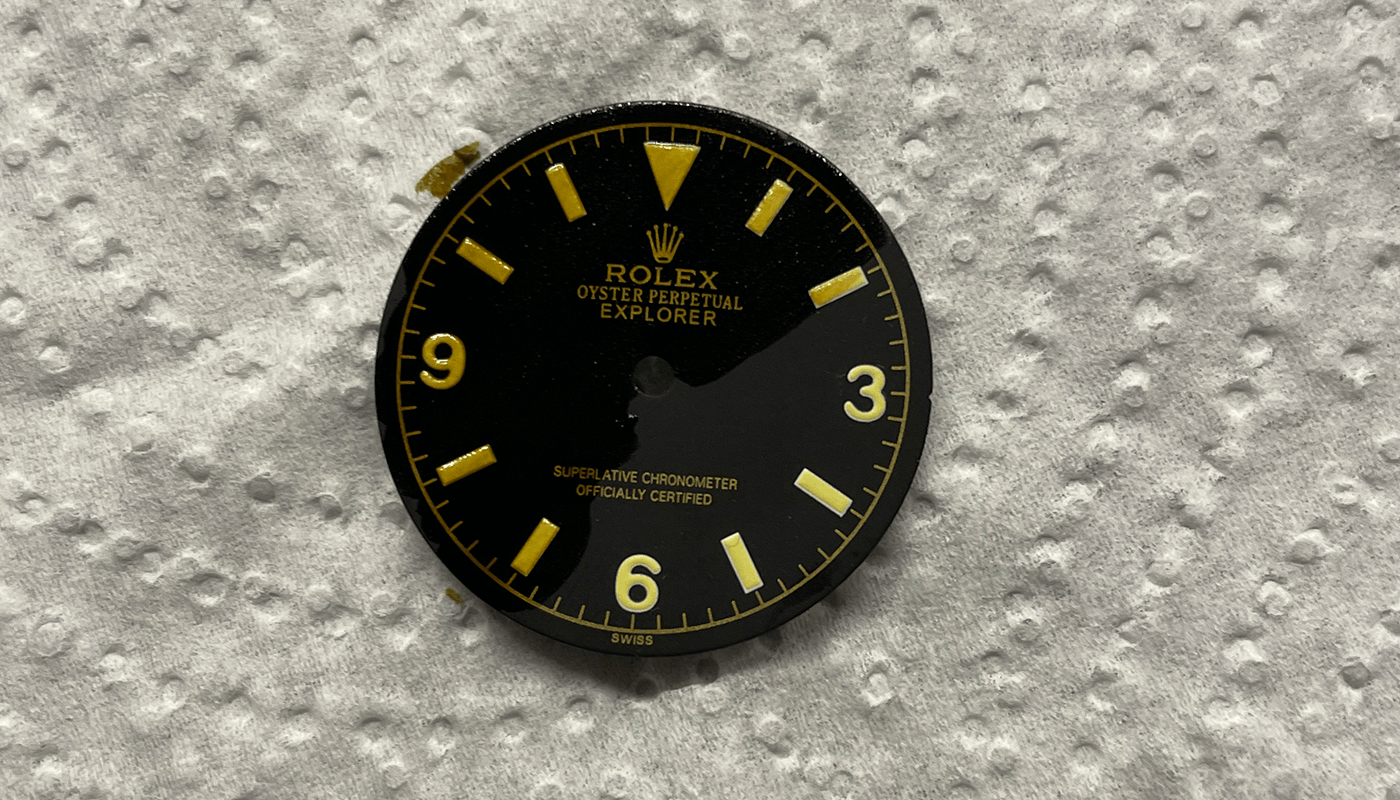
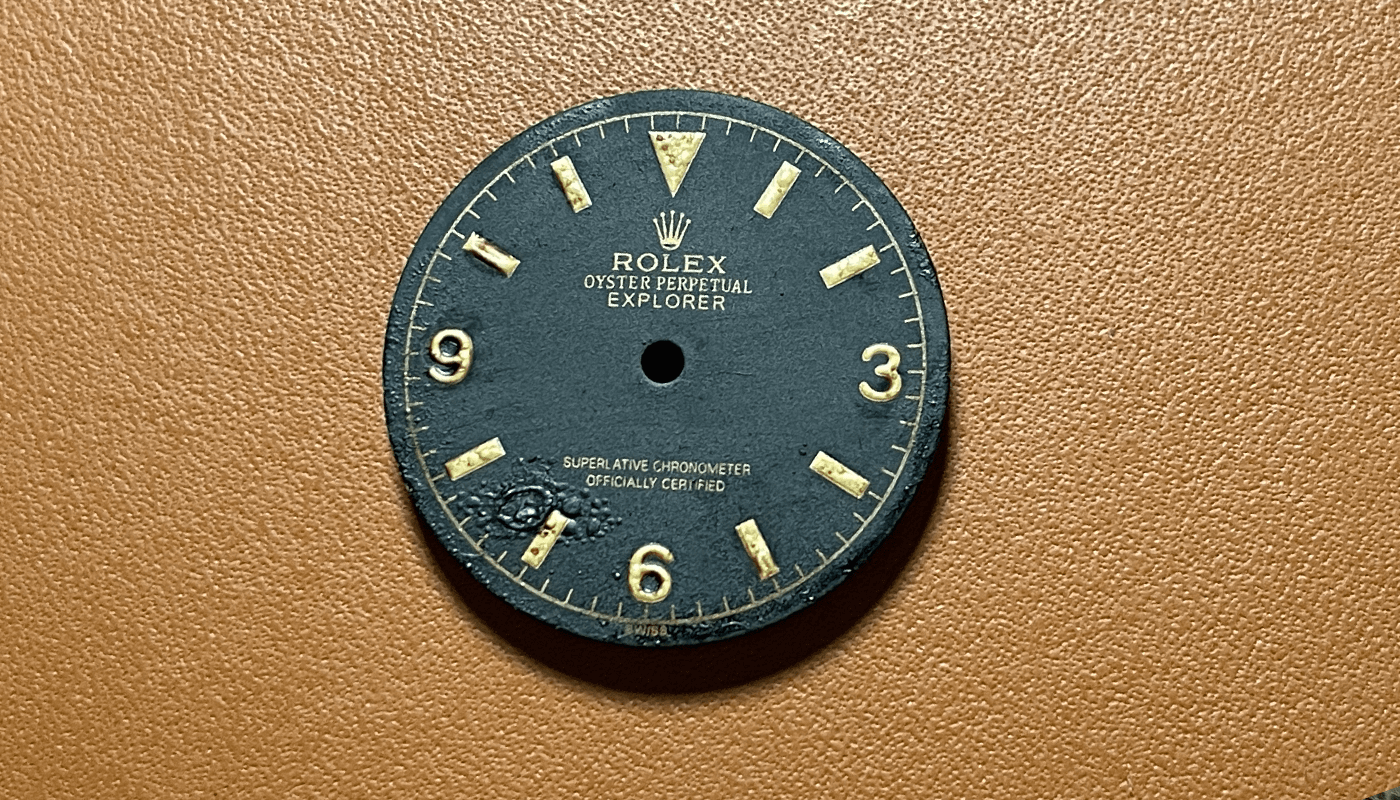
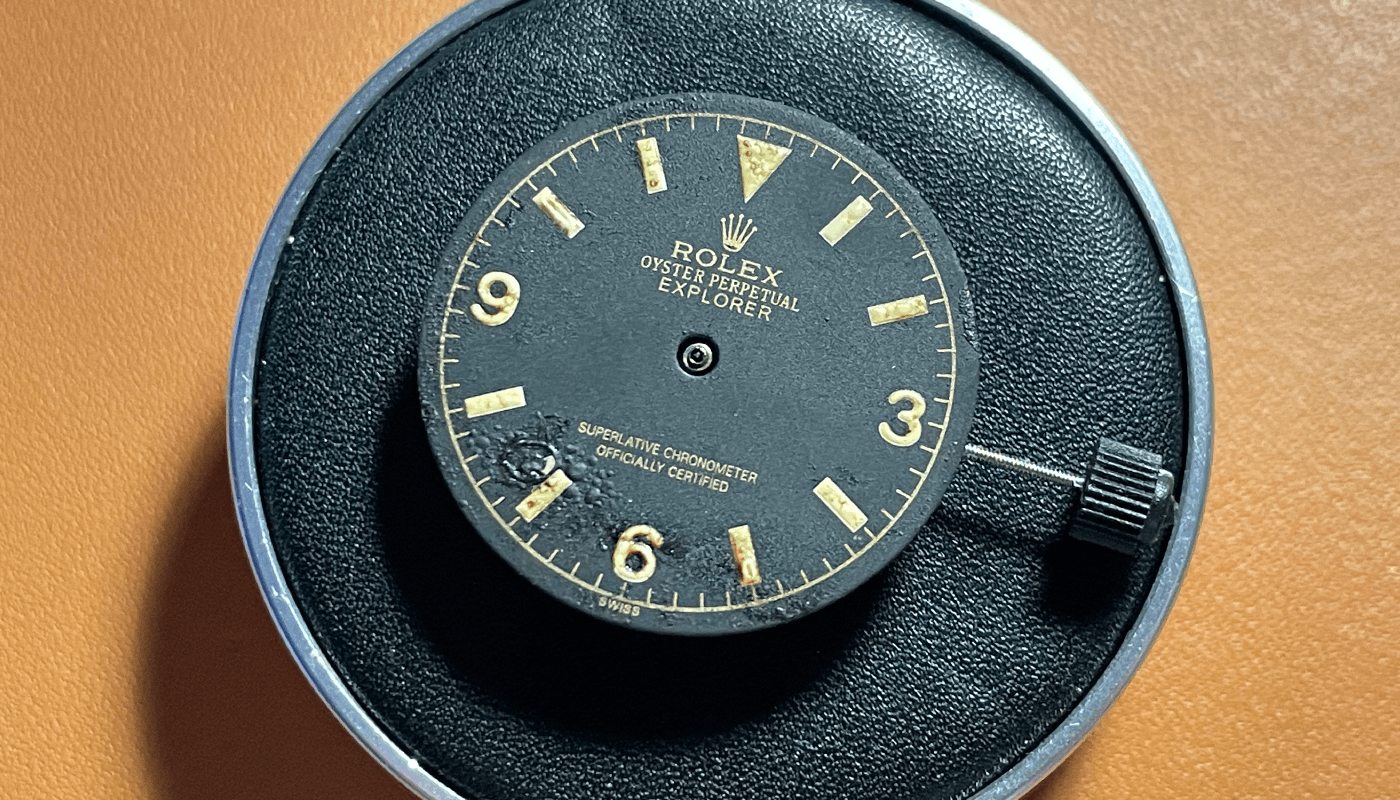
I purchased vintage dial for an explorer from Raffles and its perfect to start aging
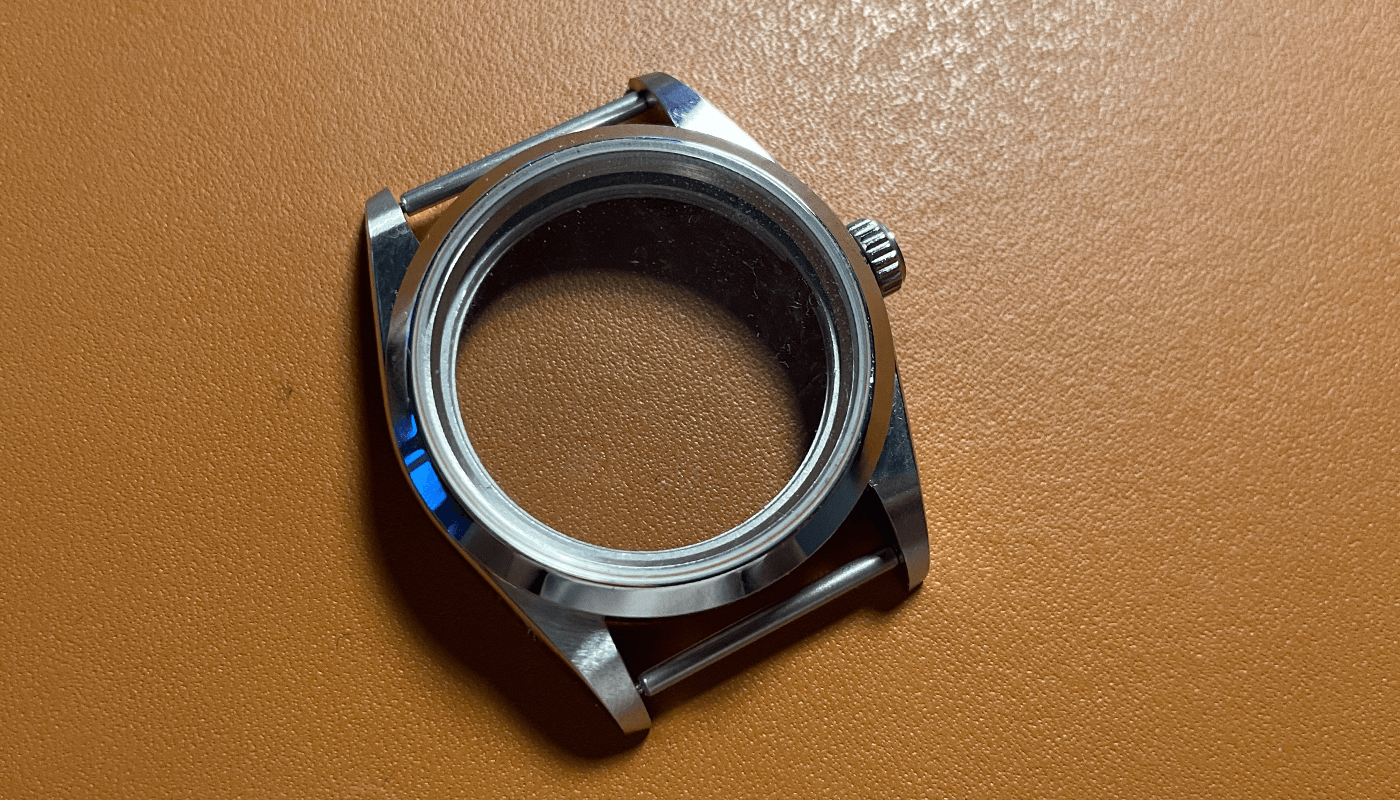
Get DialI purchased an explorer case that allows the 28.5mm dial and fits the 2824 movement. This case has drilled lugs just like the vintage style.
Get Case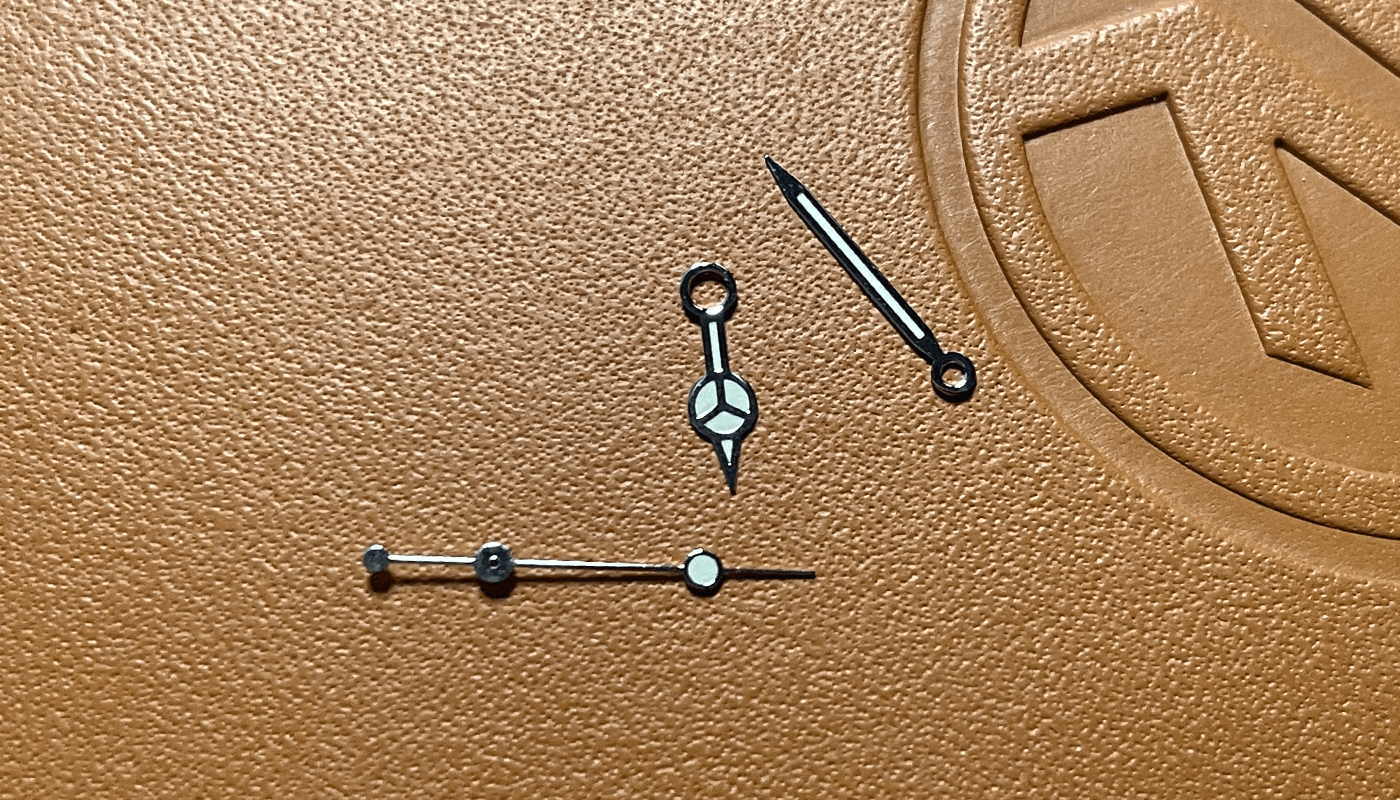
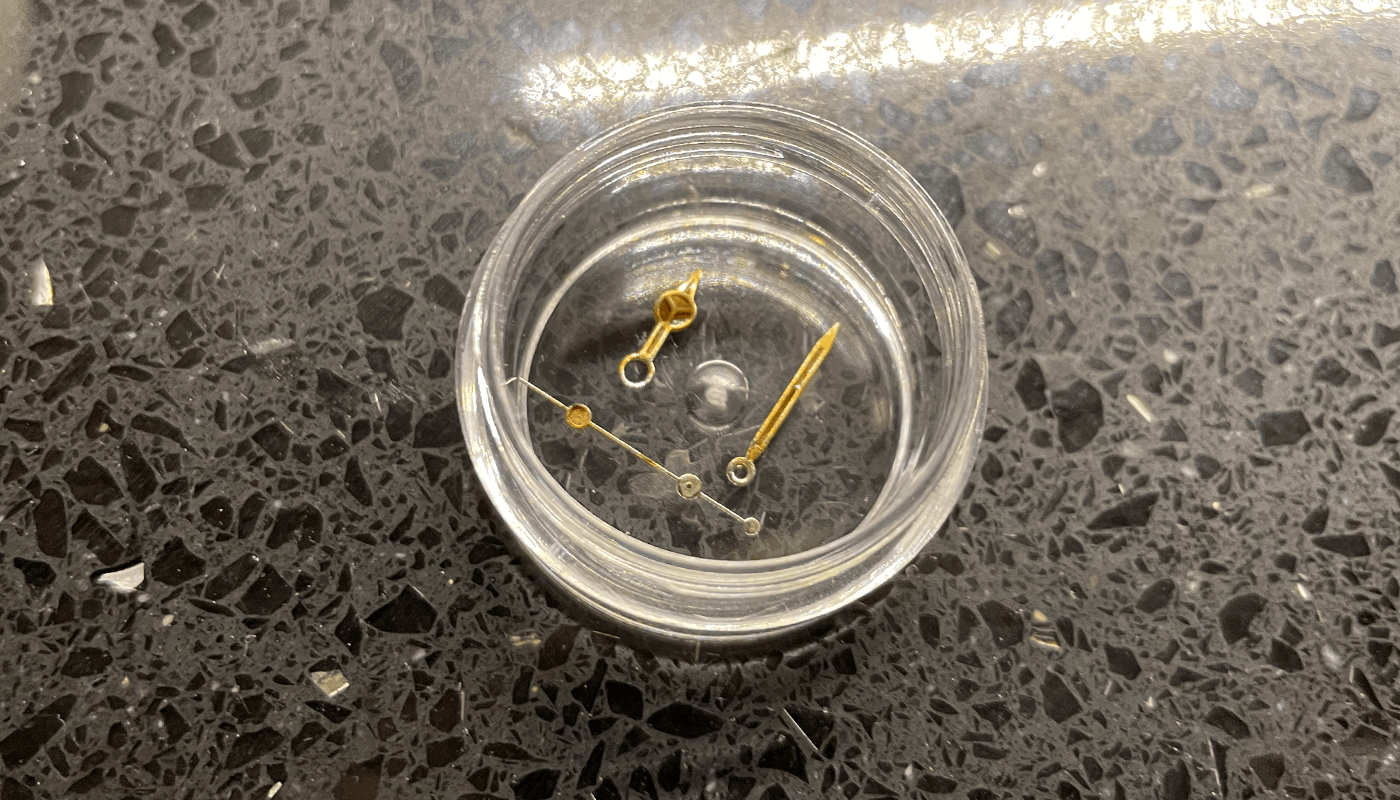
These are old style submariner hands that will look great in the explorer for 2824
Get HandsFor the strap I wanted a stylish vintage feel so i purchased a tanned coloured suede strap.
Get the StrapAging Watch Hands
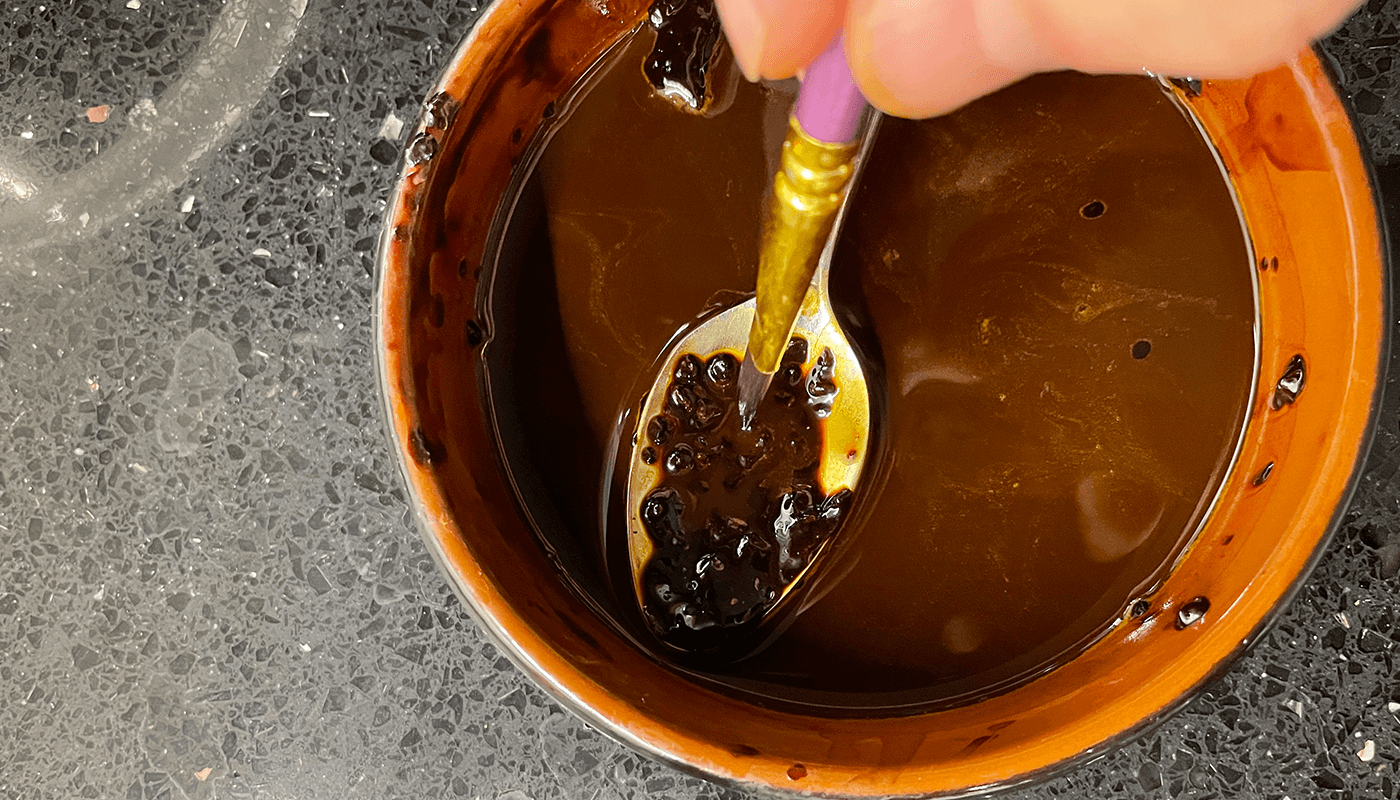
So for both aging the hands and dial we will be using a coffee paste. This is super simple to create. You will need a spoon, instant coffee, a small bowl, paintbrush and a kettle.
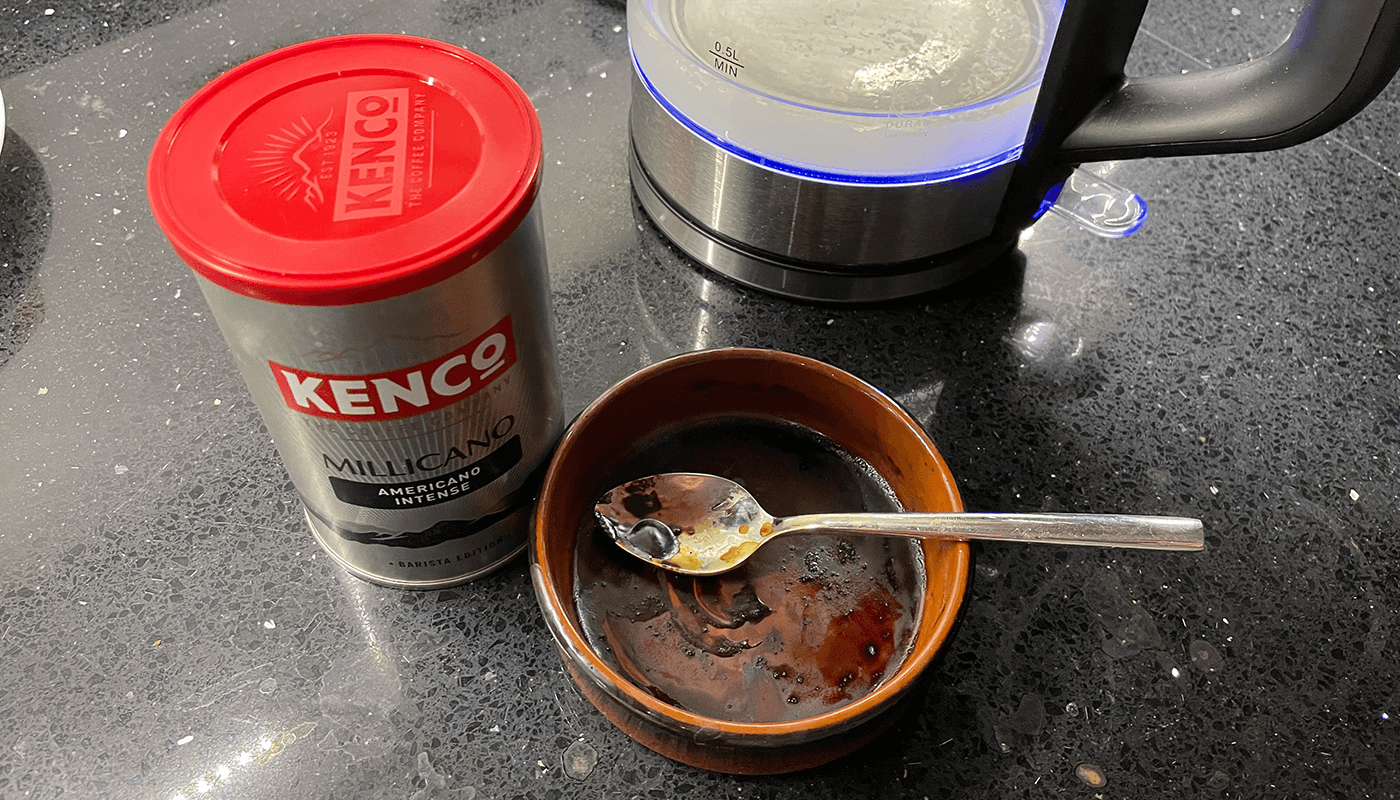
Let's get started, put some of the instant coffee into the bowl and boil the kettle. You want to pour a small amount into the bowl and on the coffee. Use the spoon to stir and mush the coffee in to a paste.
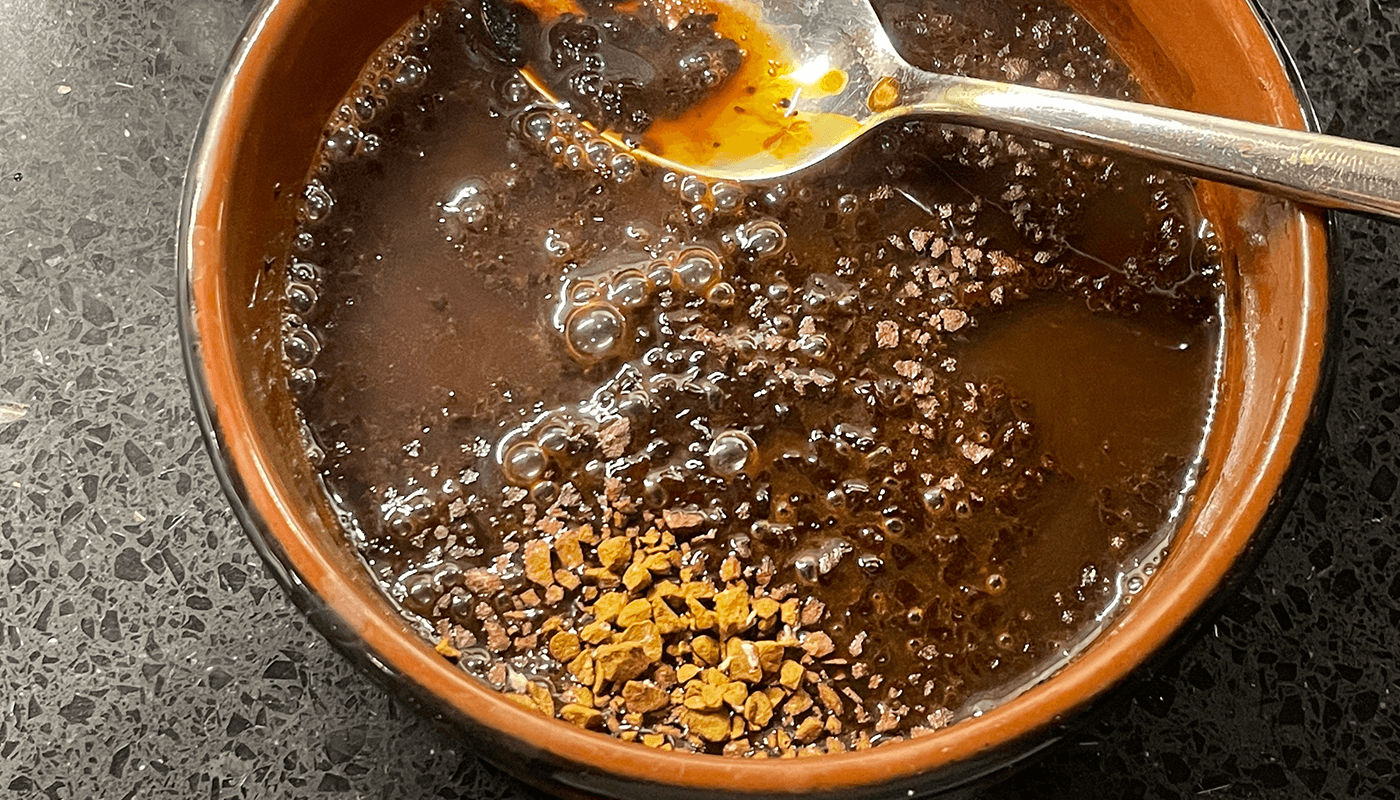
Now you have the paste you can dip your watch hands into the paste - make sure its not hot still!
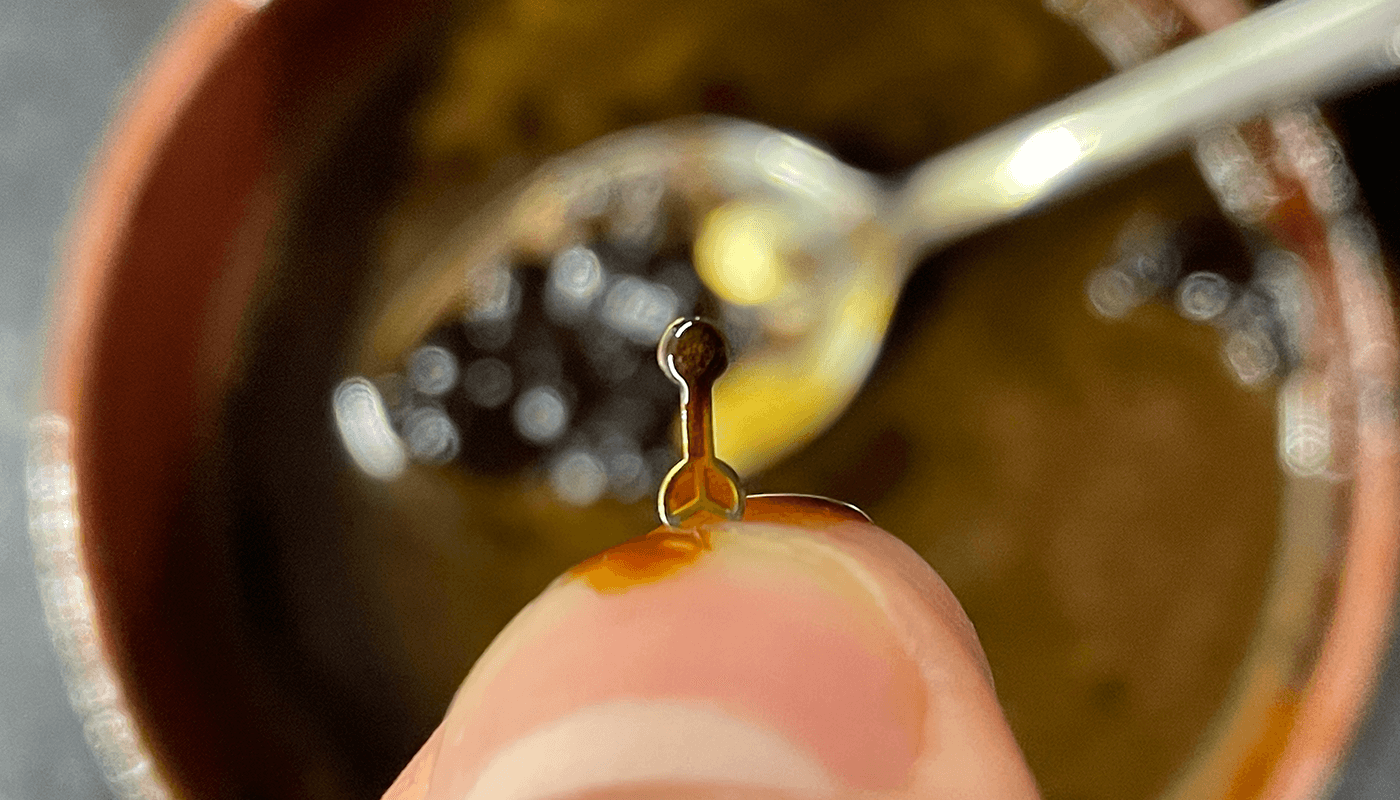
Put the watch hands onto some foil and im using an grill built into my oven. I will put them under for around 15 seconds at a time.
Here you can see it has an open flame and will heat some of the coffee onto the hands. Be careful not to leave for to long. I once burnt the lume out of a set of hands.
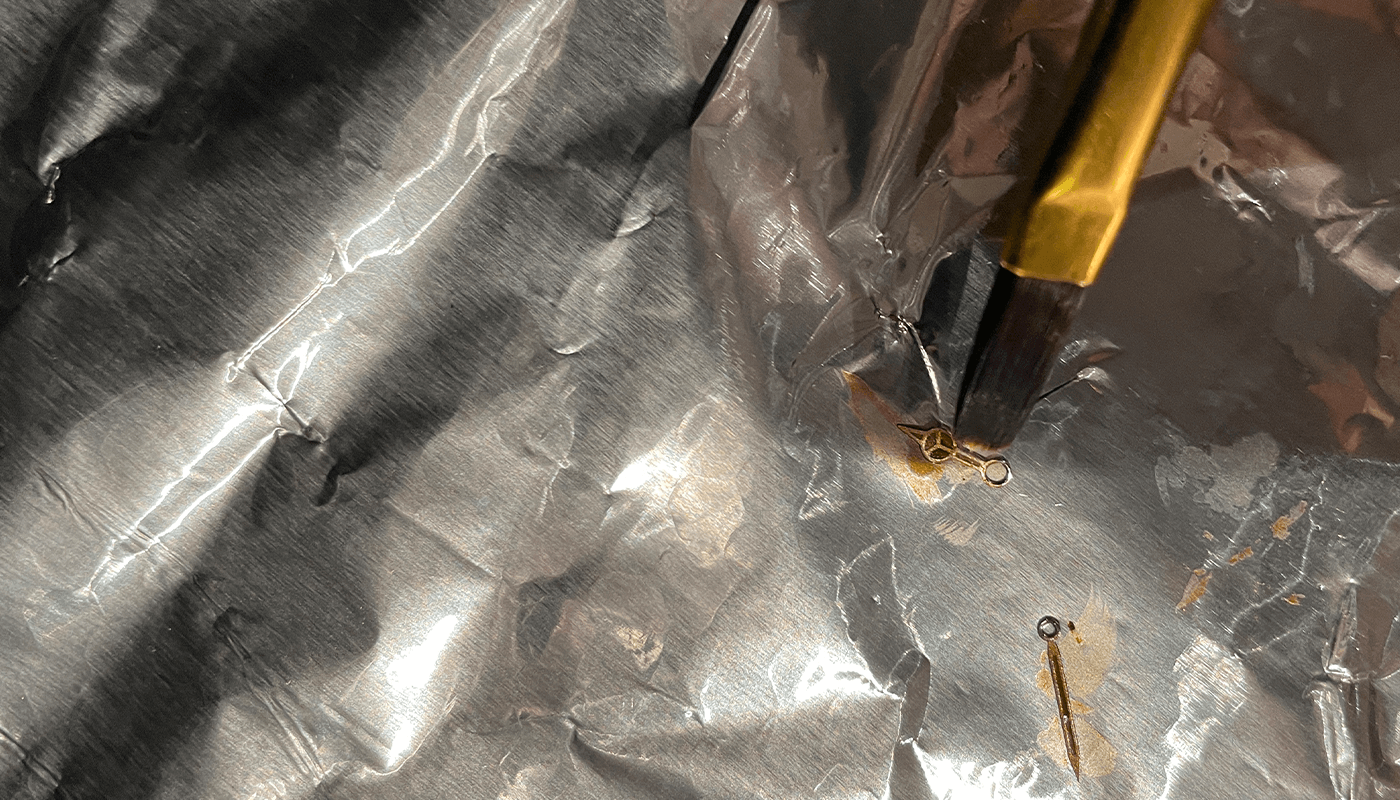
Remove the hands after 15 seconds and either reapply more coffee or use the paintbrush to remove coffee until you get the right colour you are looking for.
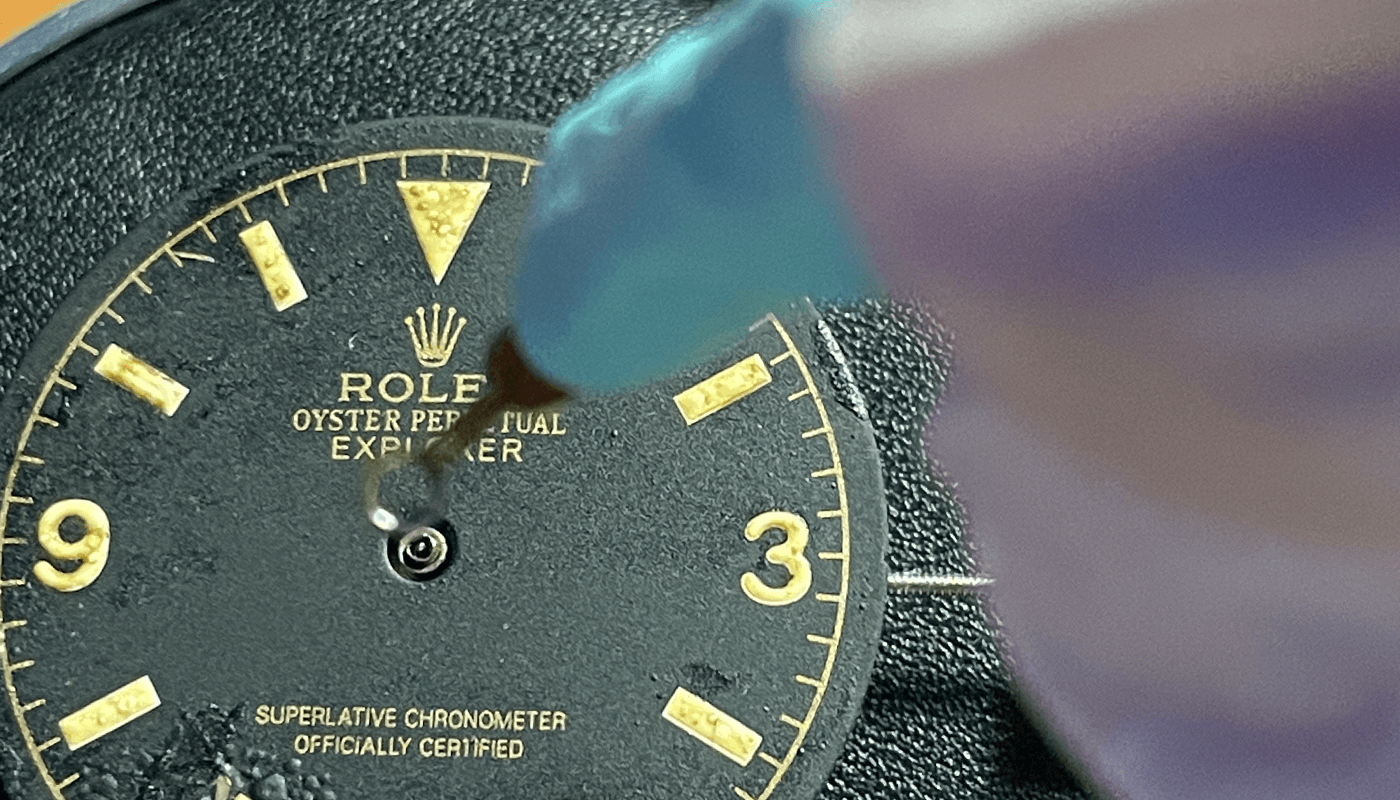
Aging Watch Dial
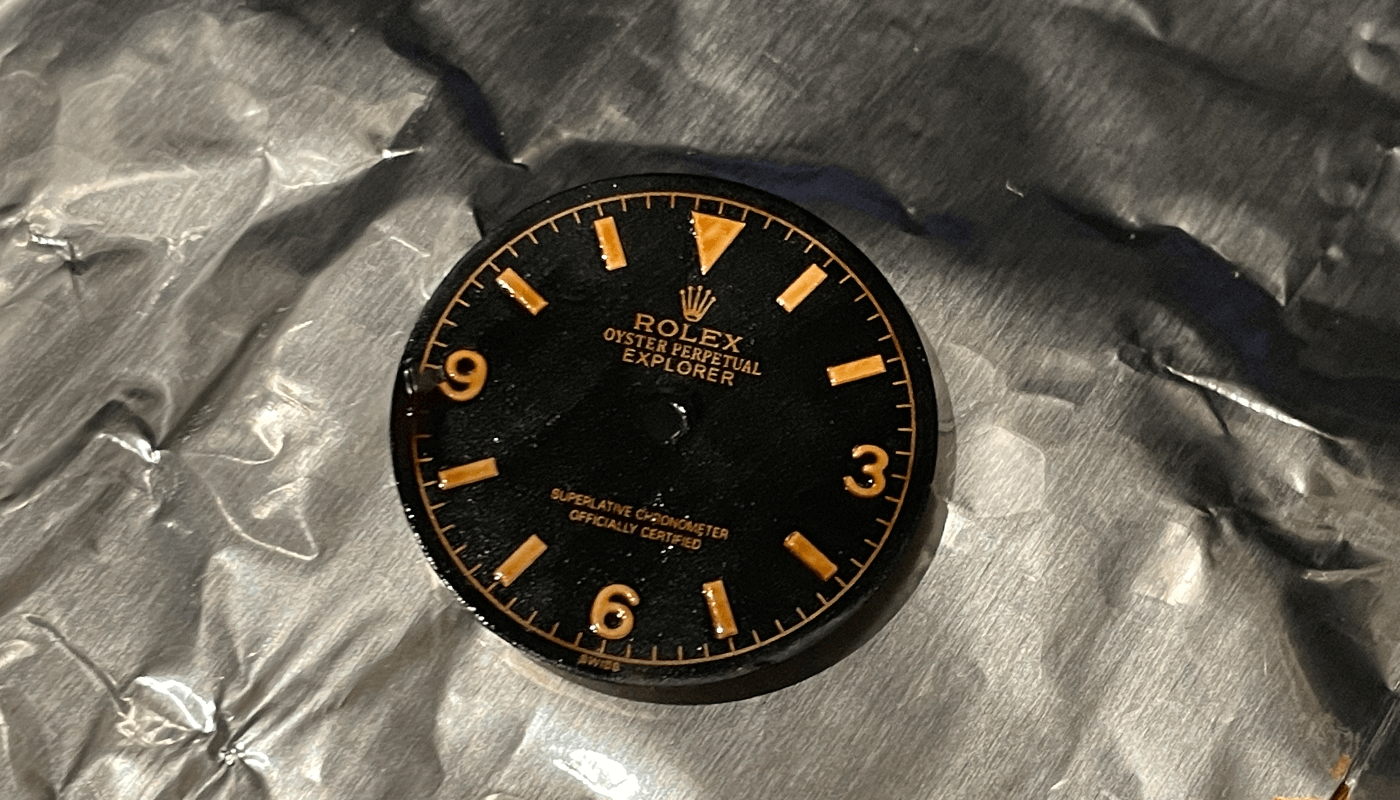
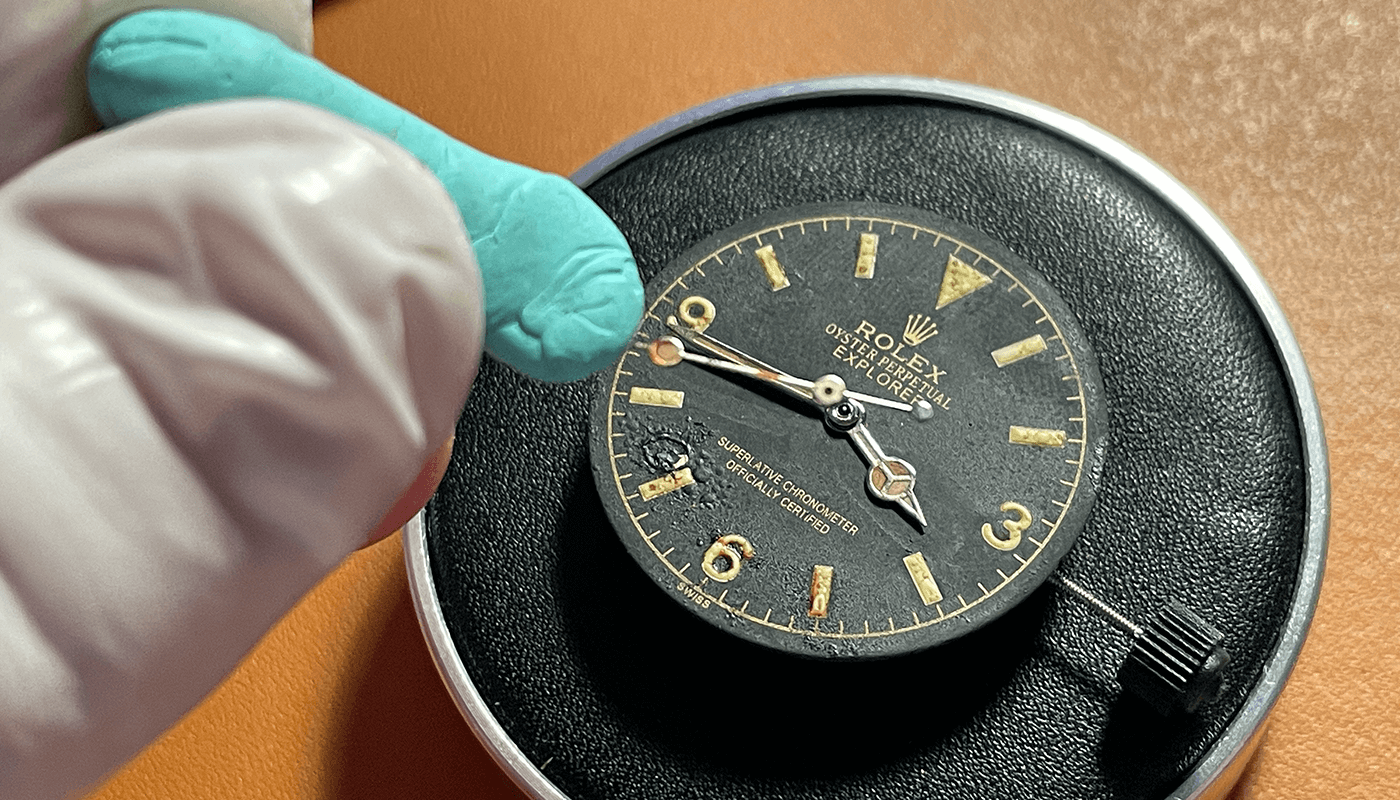
Now i found the best way to apply coffee to the watch dial is to use a paintbrush here im getting more of the paste to apply to the dial.
You can apply layers until you get the effect you want. Here you can see half the dial covered with the coffee paste.
Now im going to bake the dial under the grill again, looking back after i think you could actually put the dial to one side and let it dry and you would get the same effect. So try the put to one side first before baking.
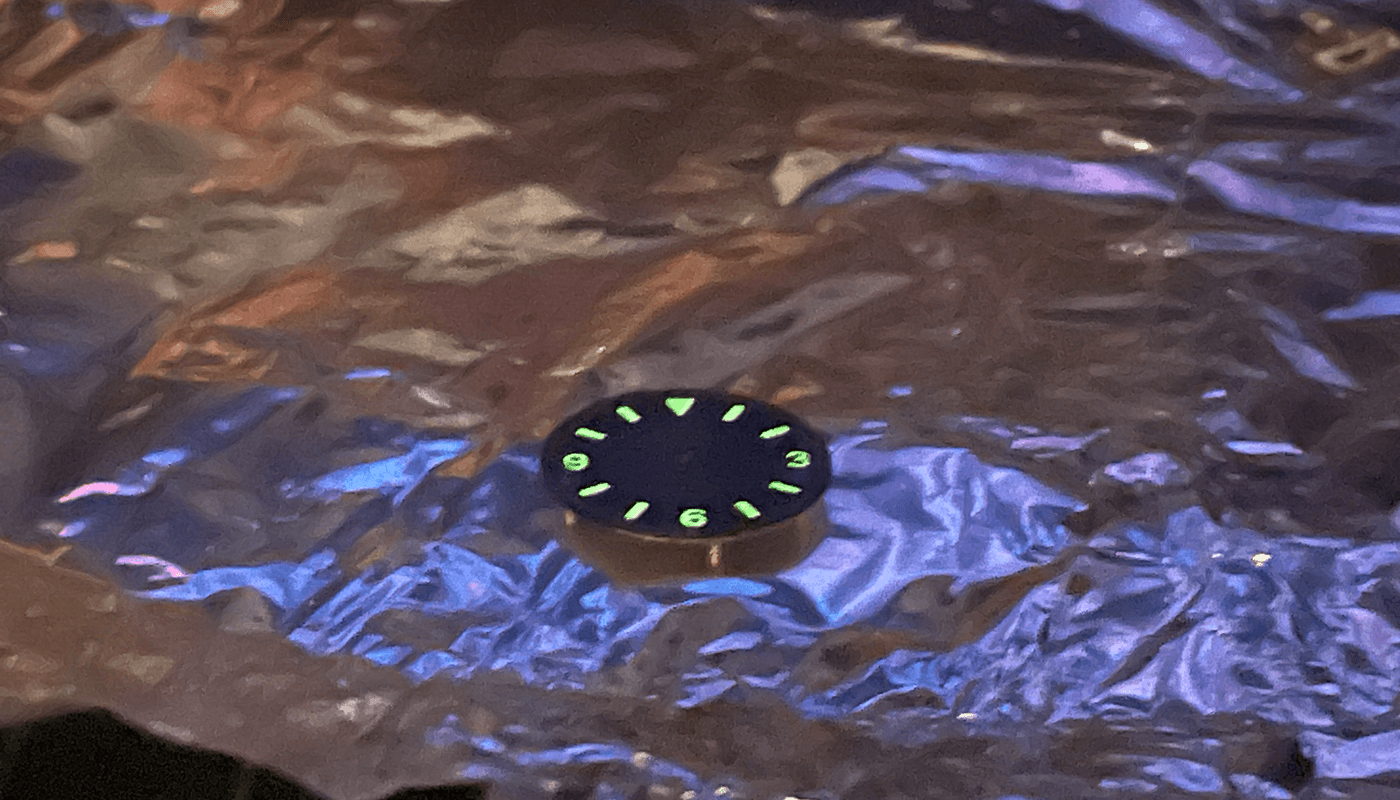
The lume going while its under the grill, move out every 15 seconds and check you are happy. It changes quickly and be careful not to burn the dial.
Now remove from the grill and set aside. The dial is metal so will be hot i removed using gloves
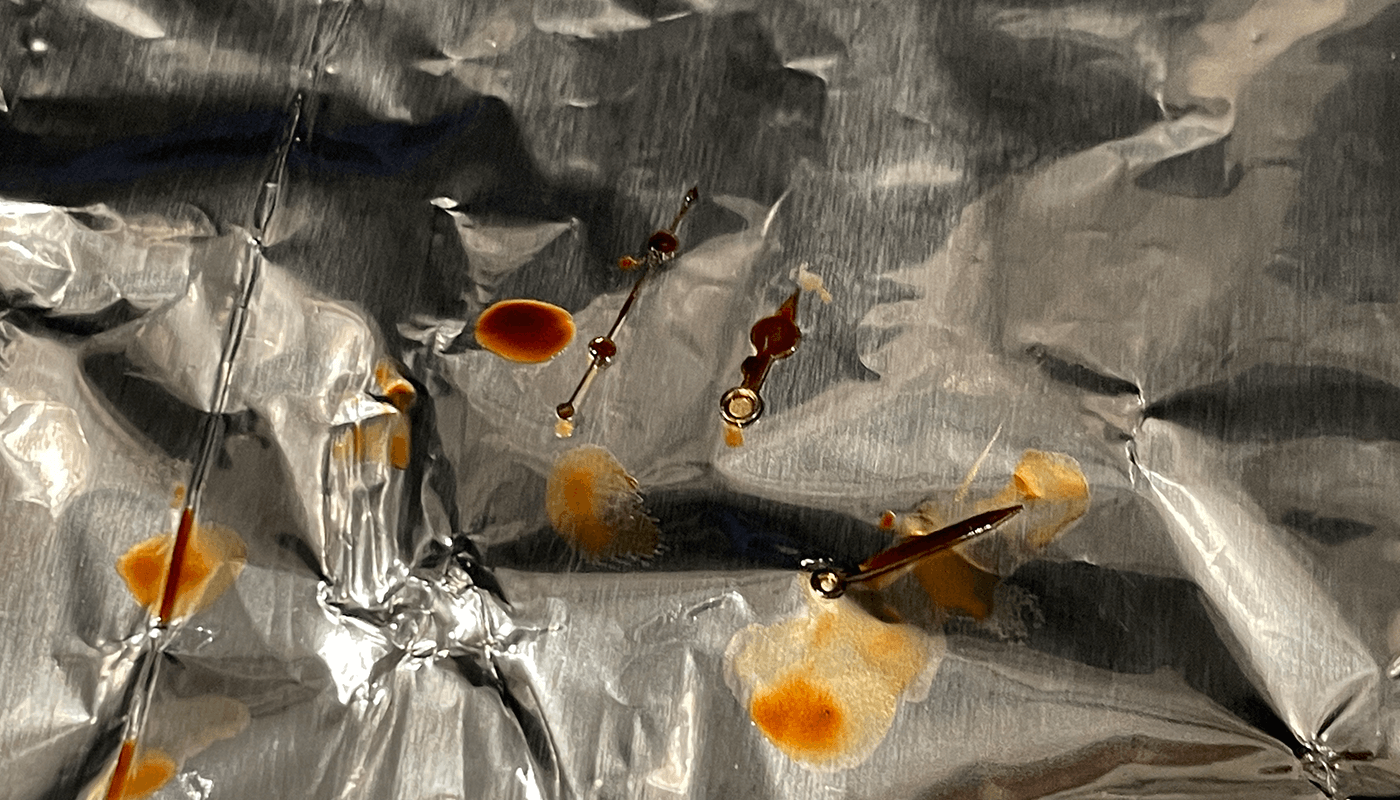
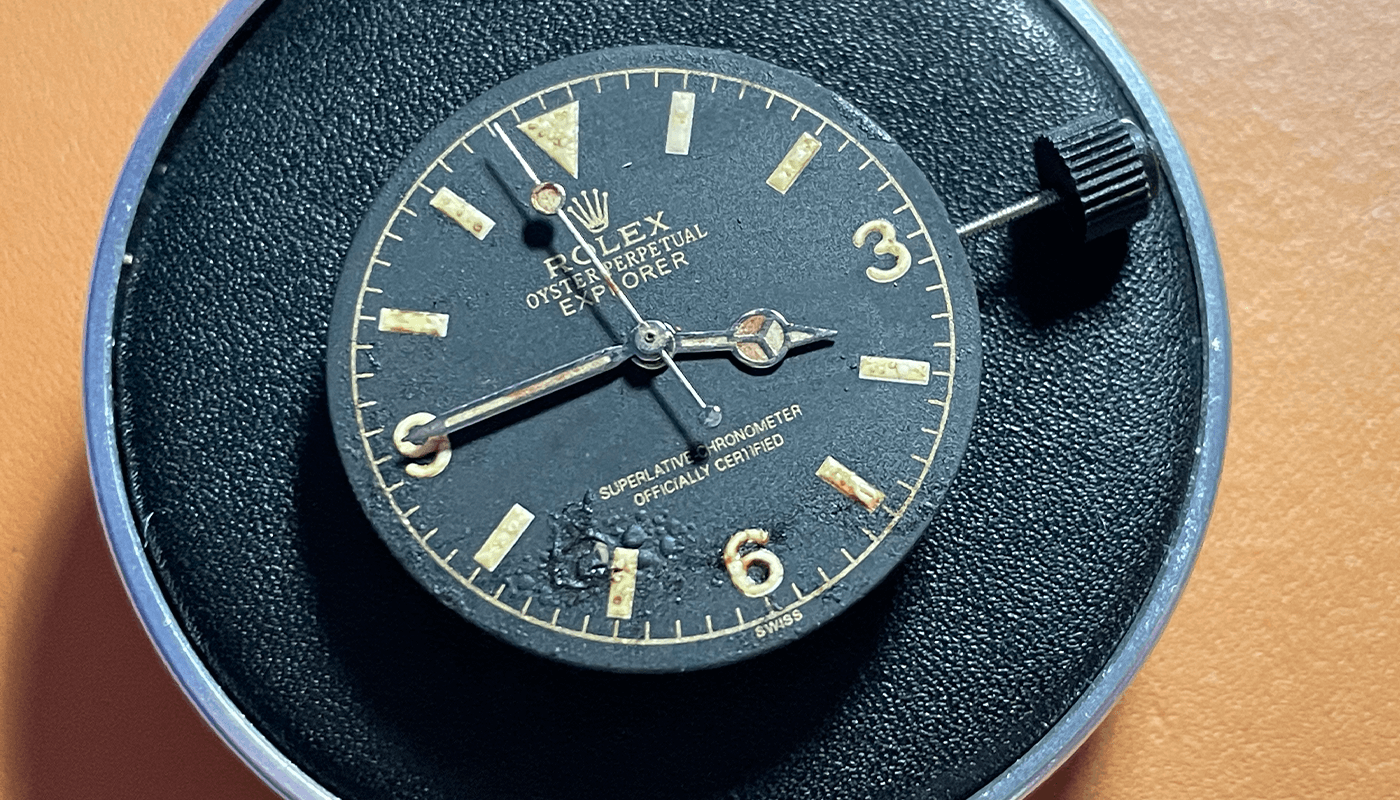
These are the finished watch hands after they have dried. If you think they are too dark you can use a bit of water on the paint brush and slighty brush to remove some of the coffee
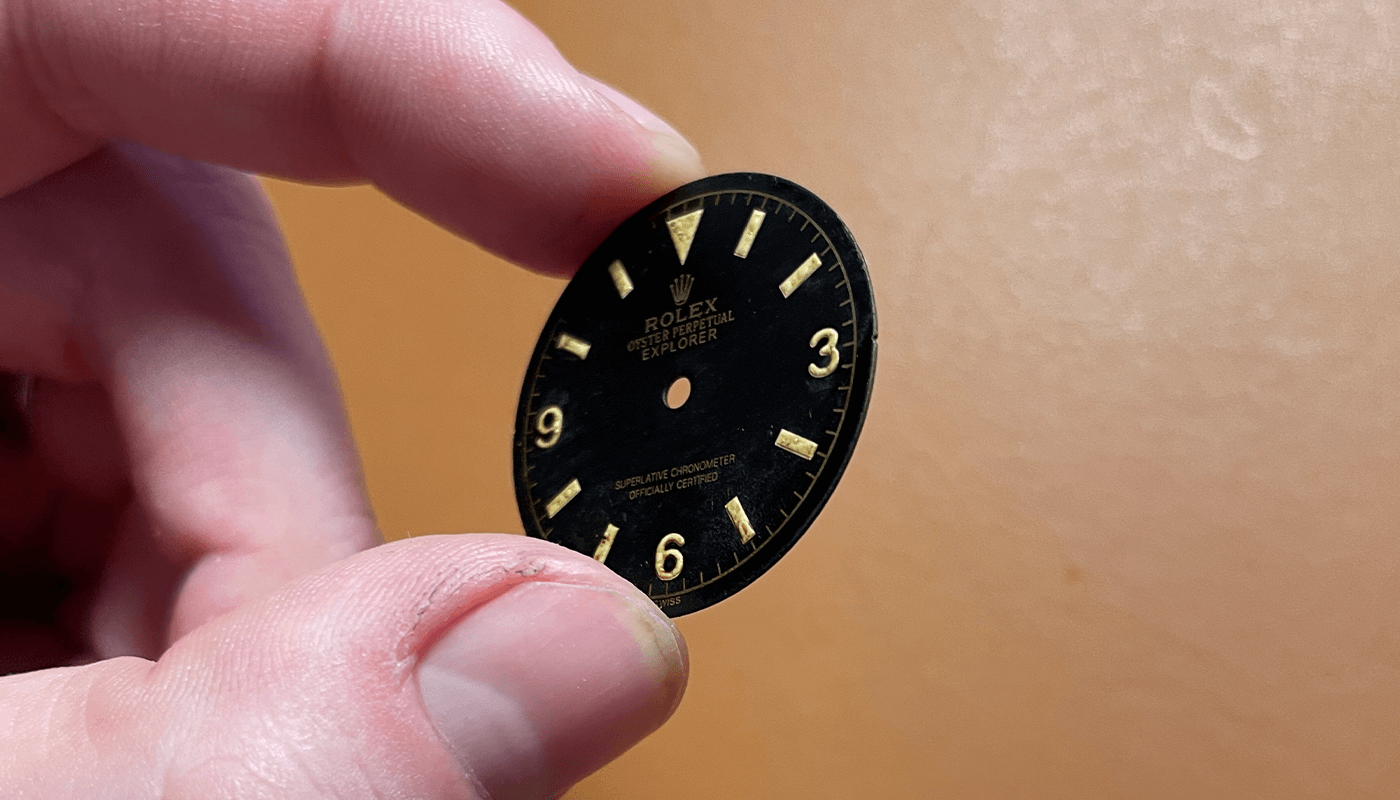
The dial after it has dried off
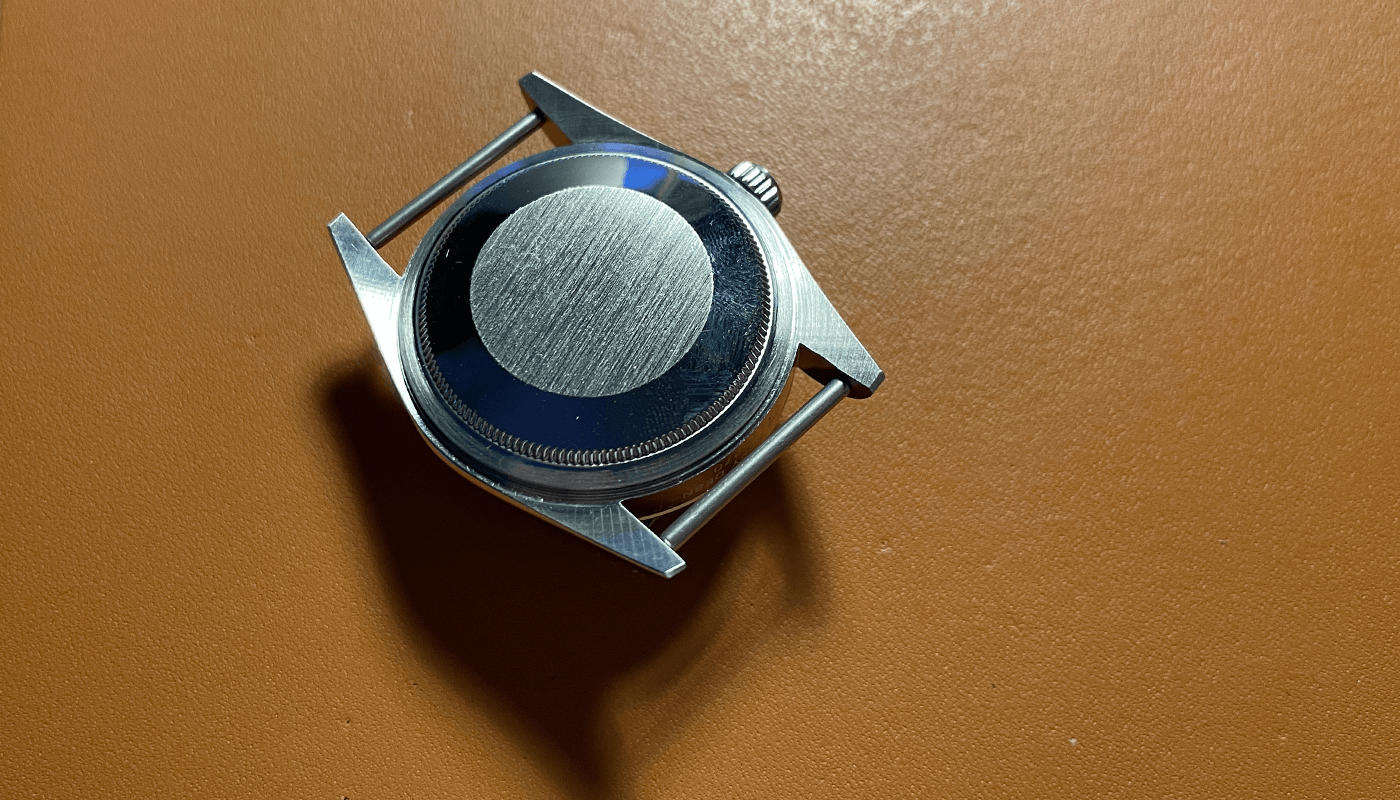
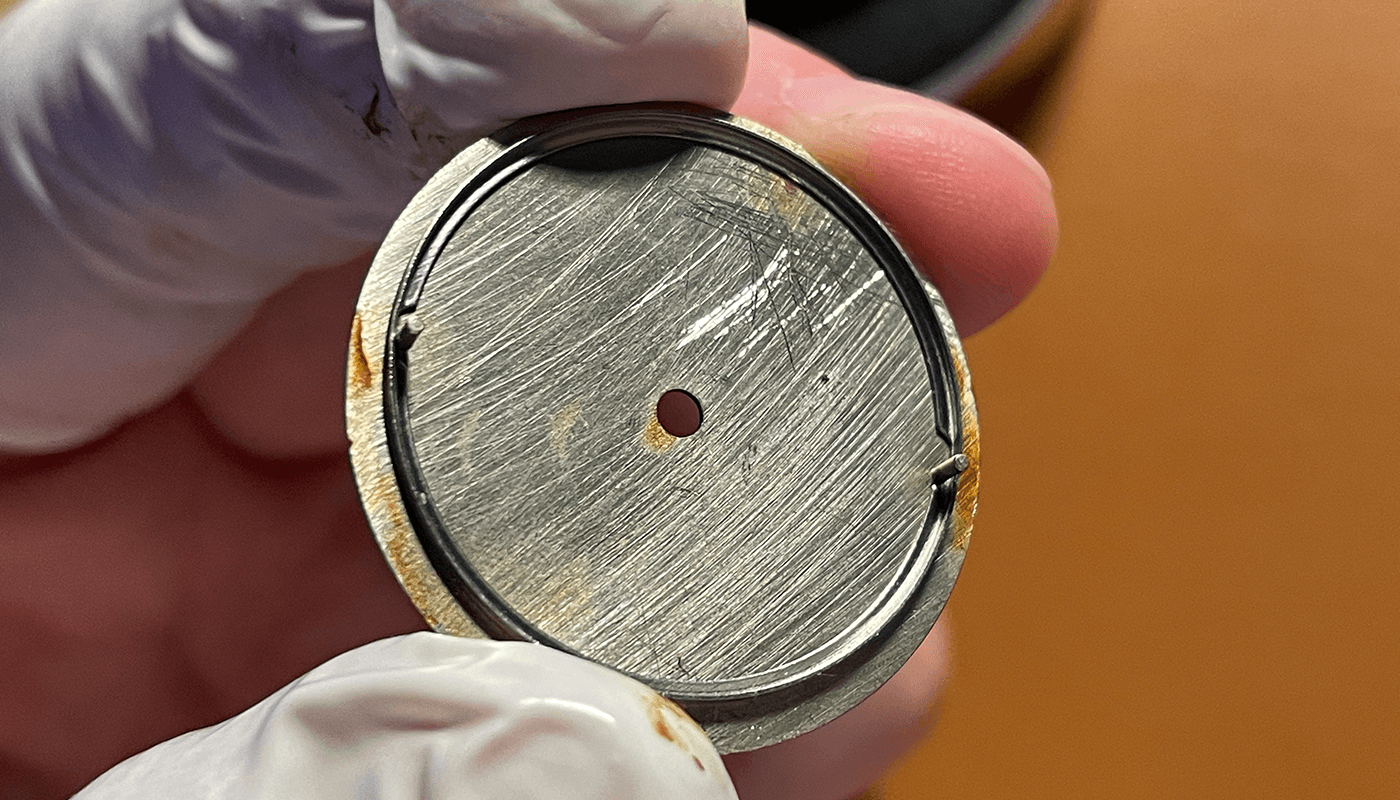
Aging Watch Case
You can see we have the watch case for the explorer from Raffles and we will want to add a bit of aging
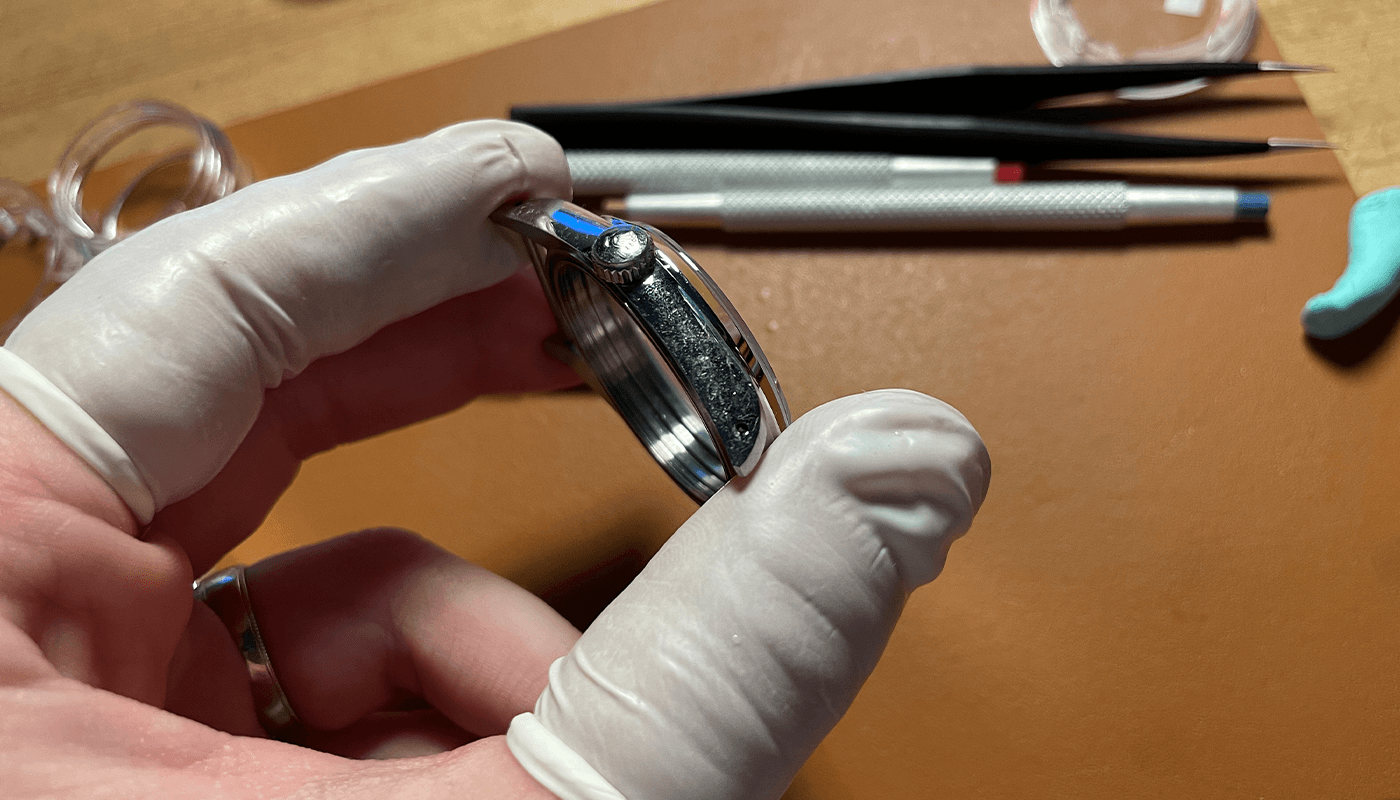
I dont want to damage the dial so i am covering with some masking tape.
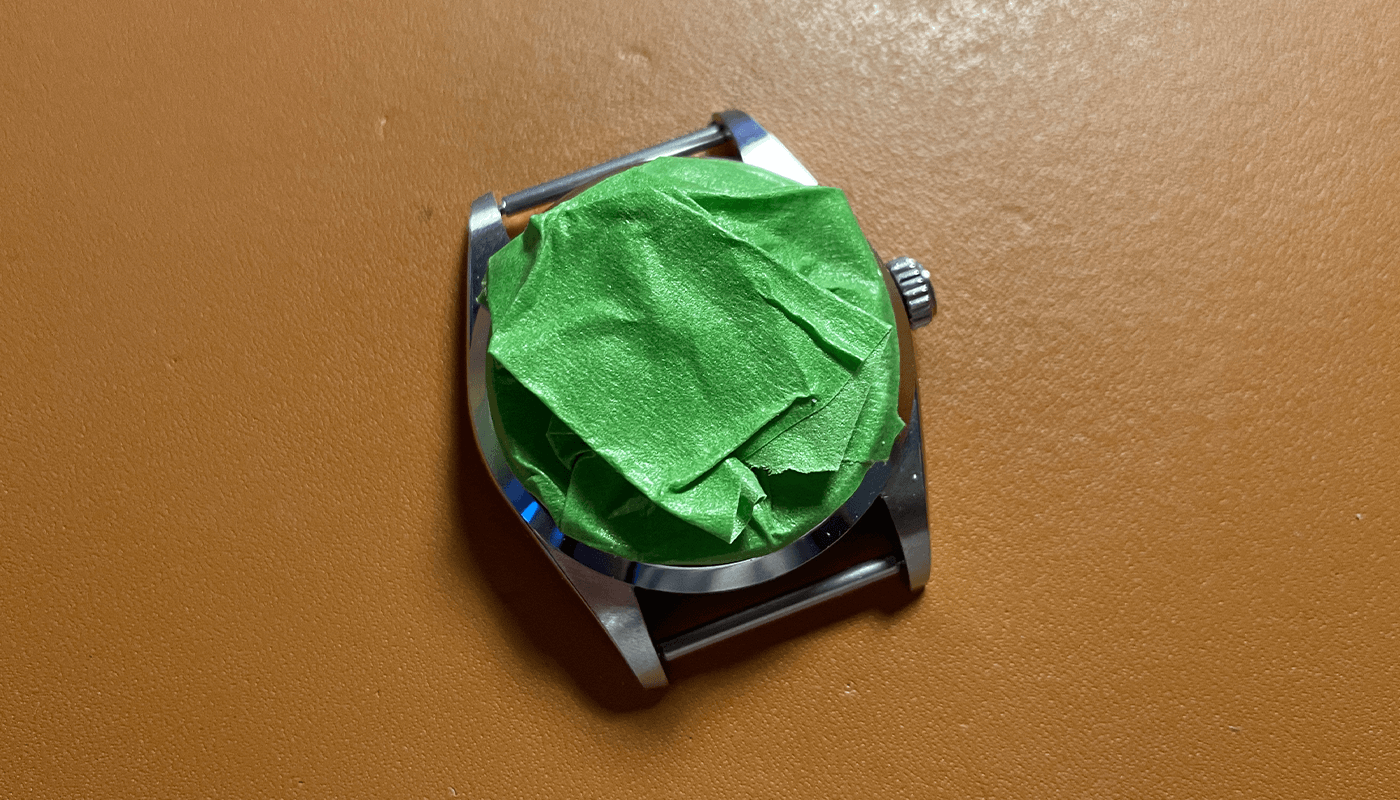
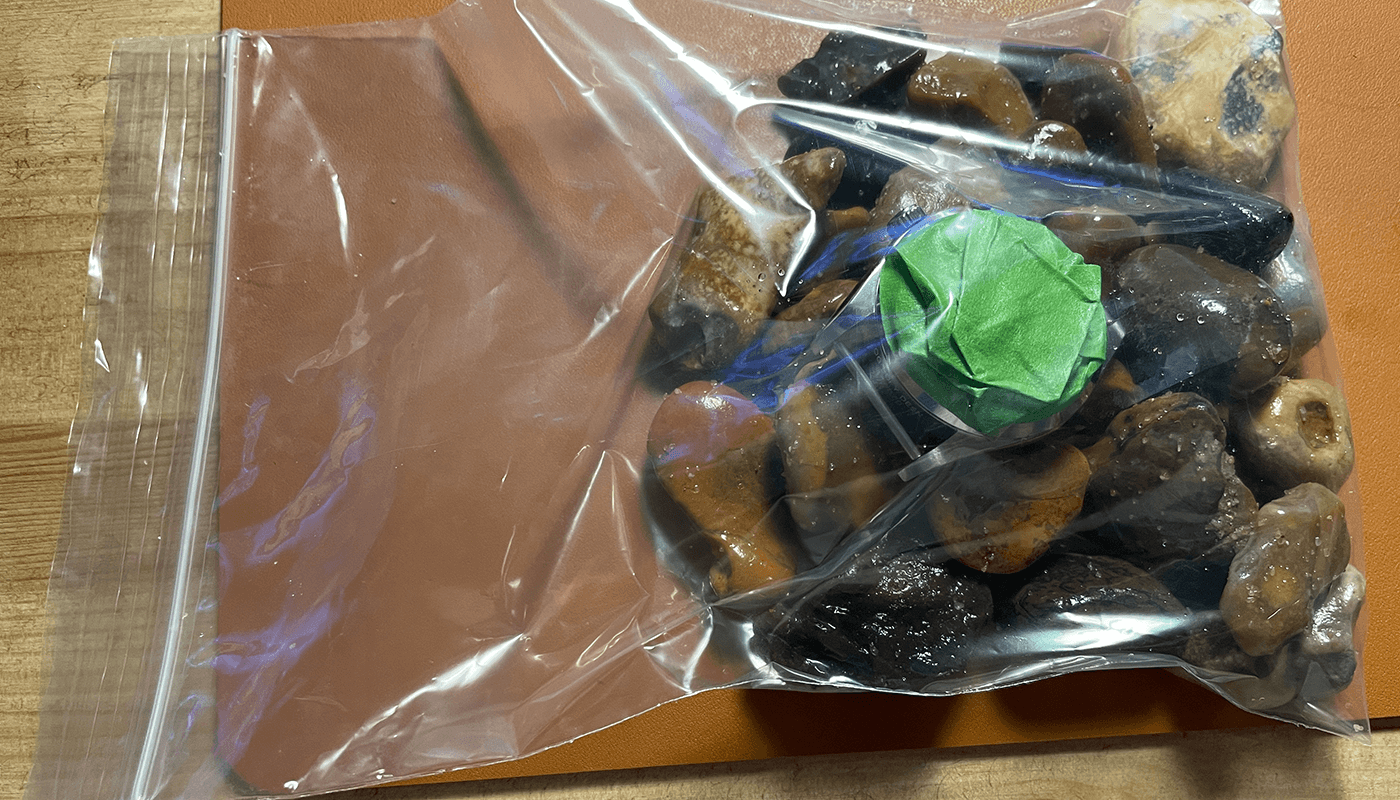
Also i dont want the side of the case getting damaged, so i put the case back onto the watch.
I got some stones from the beach and put them into a small plastic bag and placed the watch case inside, i shook them for around 30 seconds and check. I was happy with this effect and removed.
Here you can see the aging it has added to the case and is starting to look great. Give the case a rinse with some soap and water to remove any dirt from the stones.
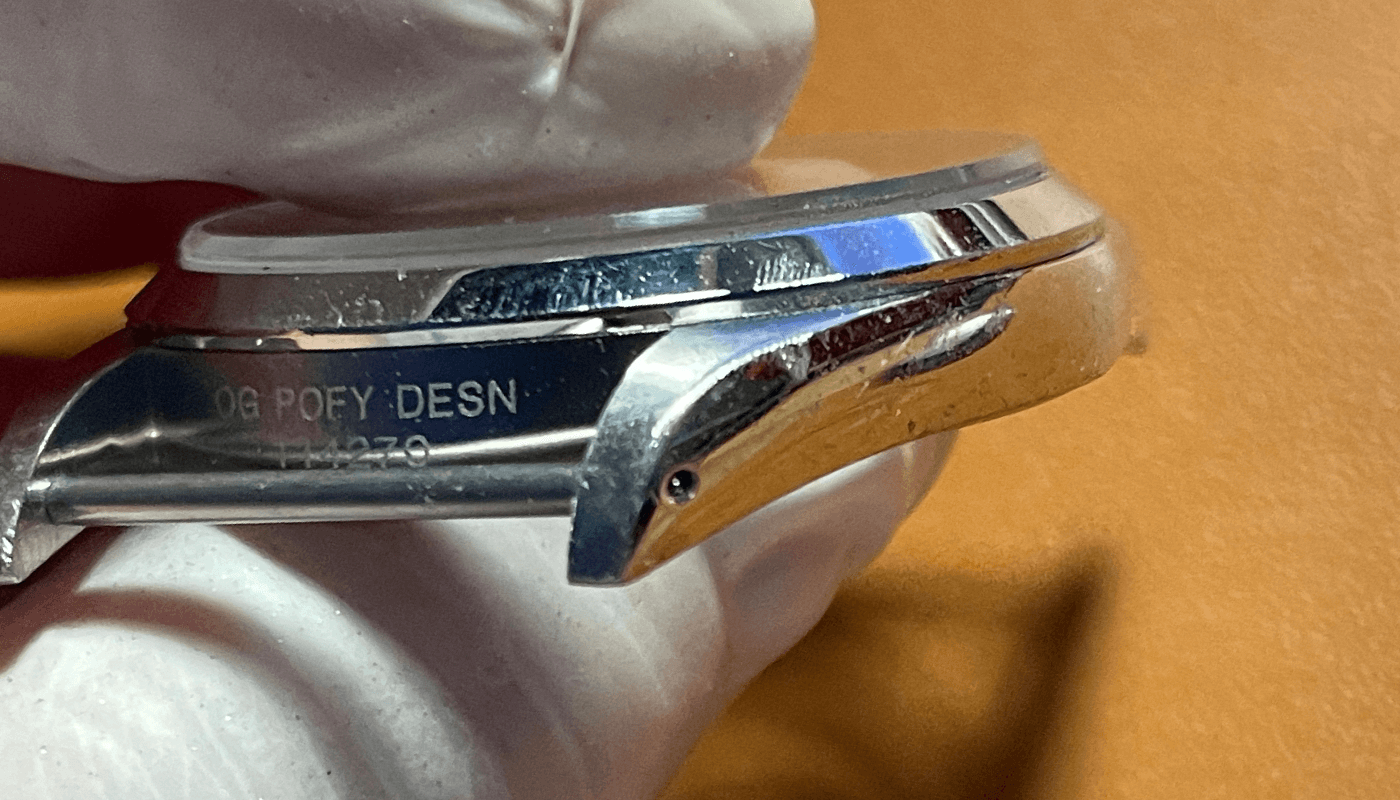
To also remove some of the sharpness from the case im using a Dremel with a sander attachment and running it along all the edges of the cases and around the lugs.
Get Dremel Tool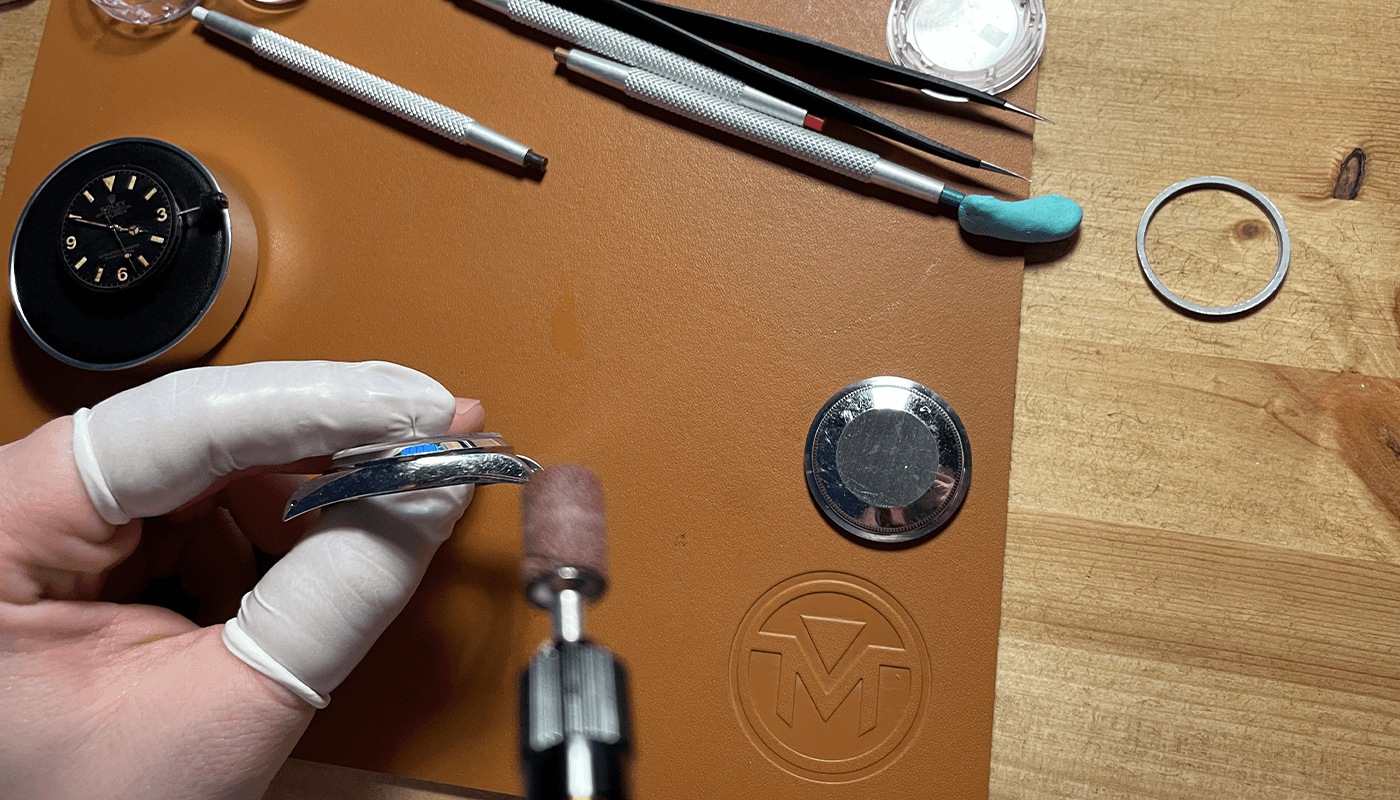
You can see the effects on the case now
I now want to remove some of the roughness and tidy the case up a little so im using some polishing paste and my Dremel to give the case a polish.
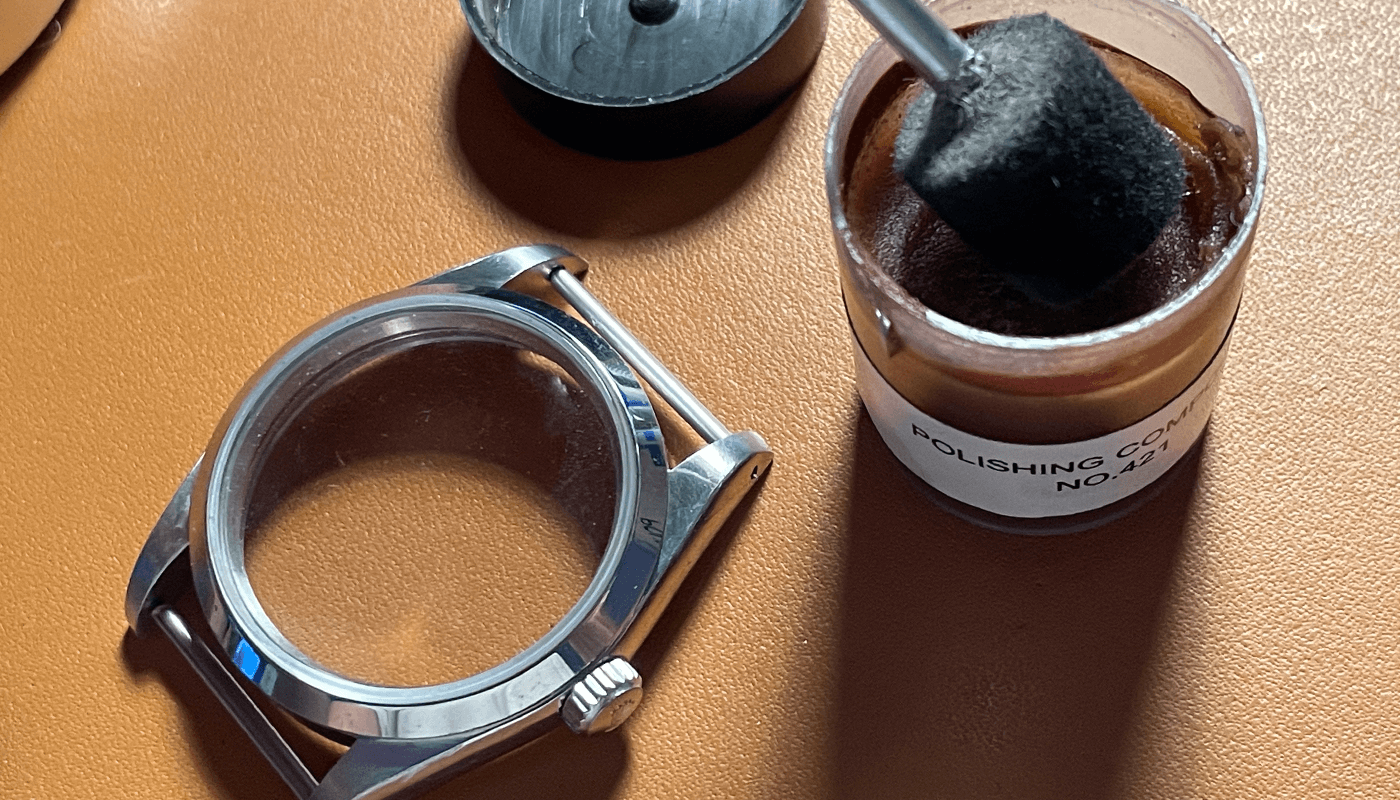
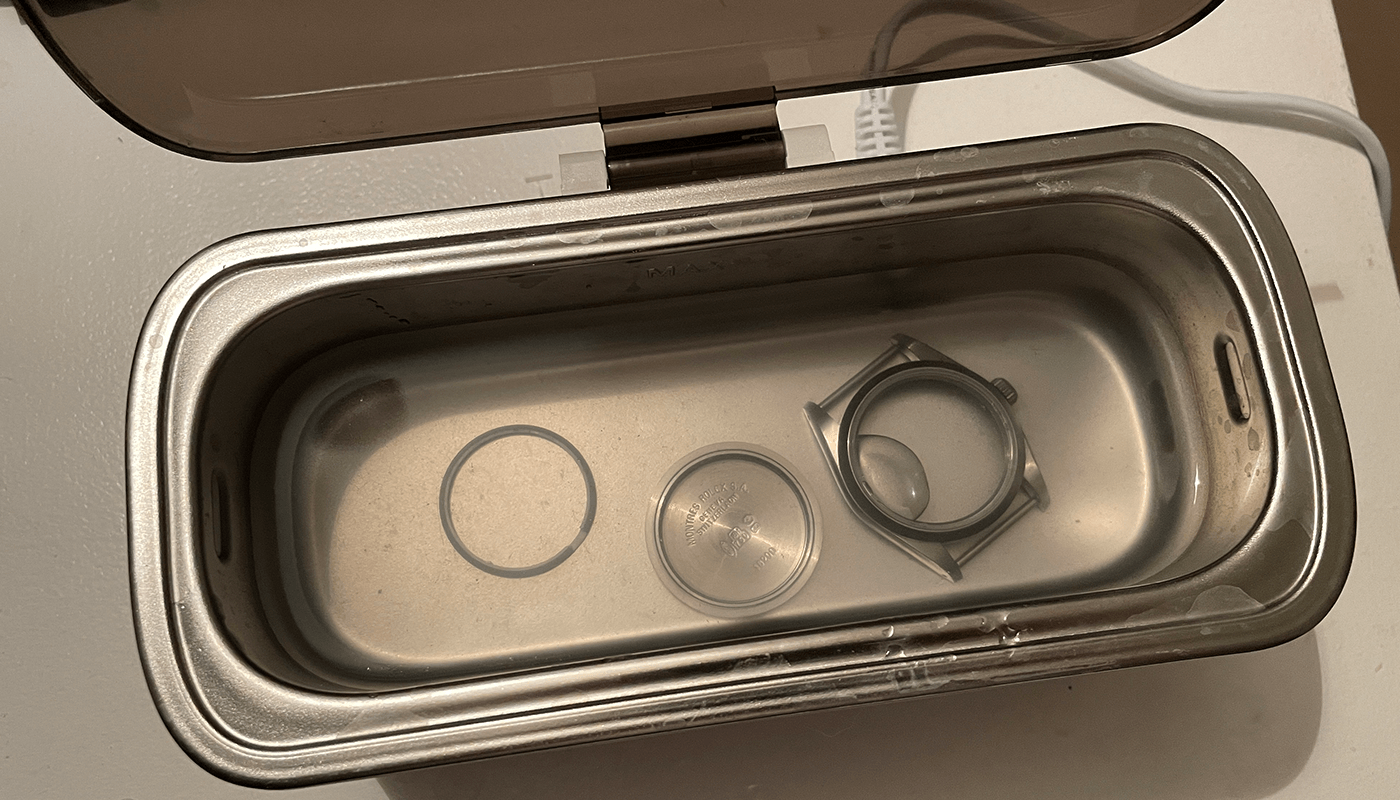
Finally for the case and ultrasonic clean removing any dirt and polishing paste
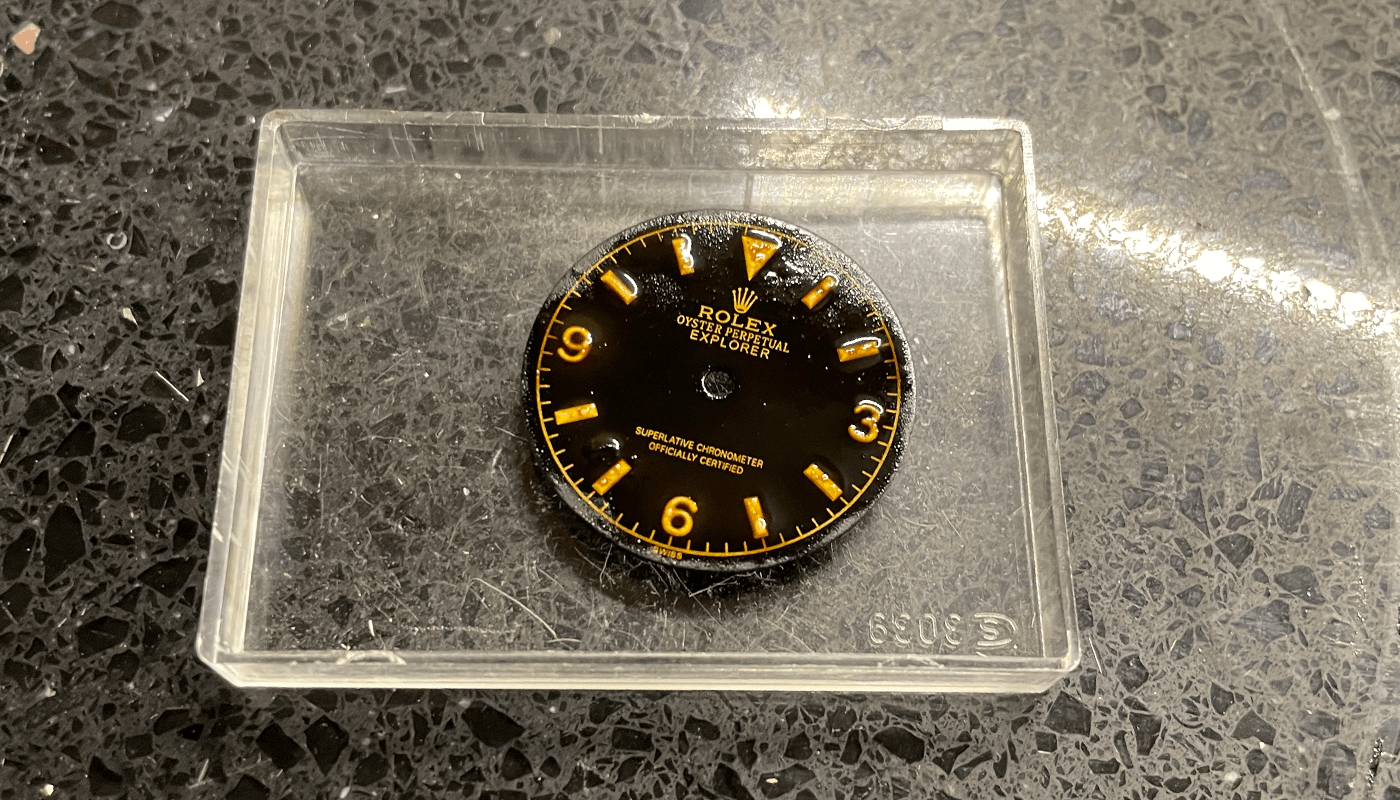
Dial Prep
You can see the dial has now fully dried and i can start removing some dial feet as it comes with feet for different movements, You will want to keep the feet just above 3 and below 9.
Back of the dial flipped, you can see the dial feet
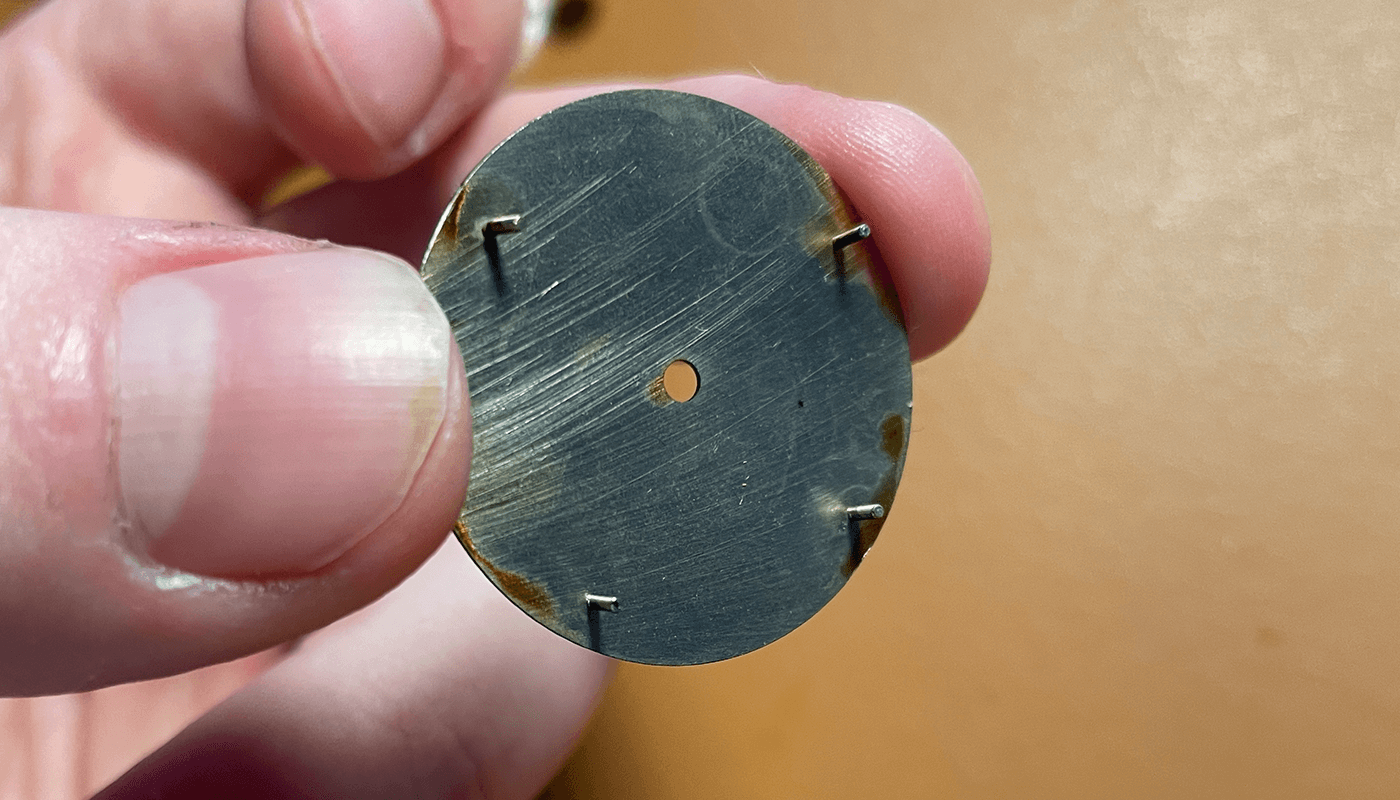
Check your movement to make sure you are snipping the right dial feet. Now you can snip them off with some clipers
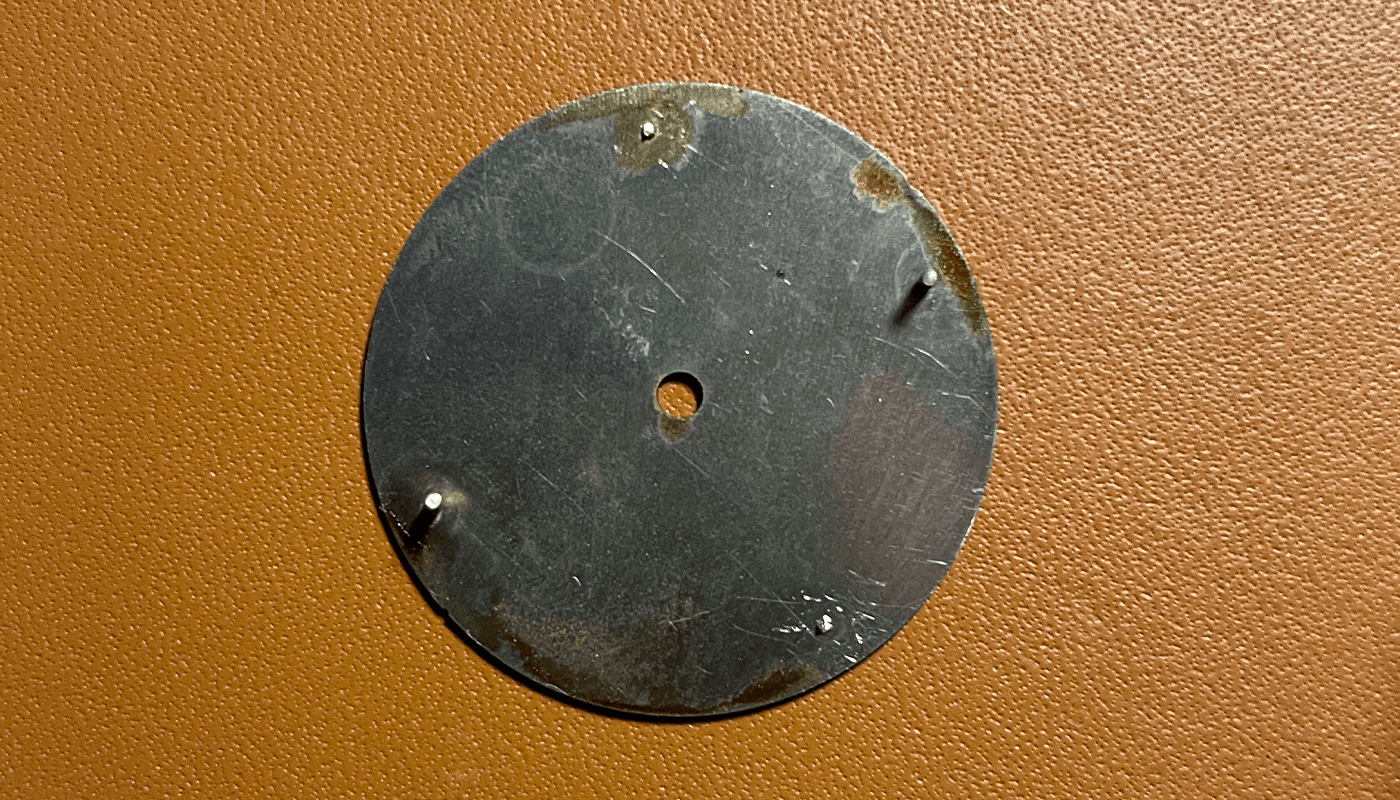
Now removed use a foil to remove any remaining metal from where the old feet where.
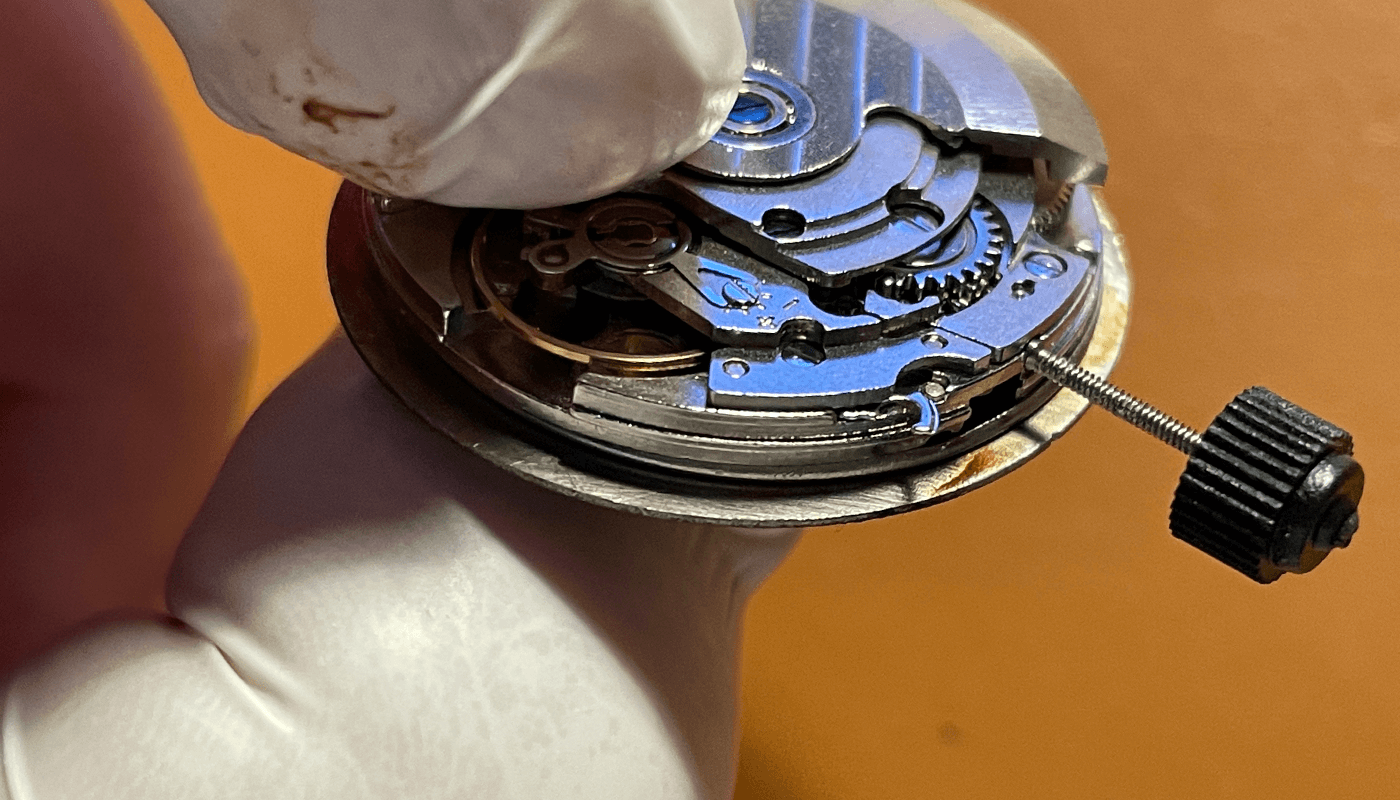
Dial and Hands onto Movement
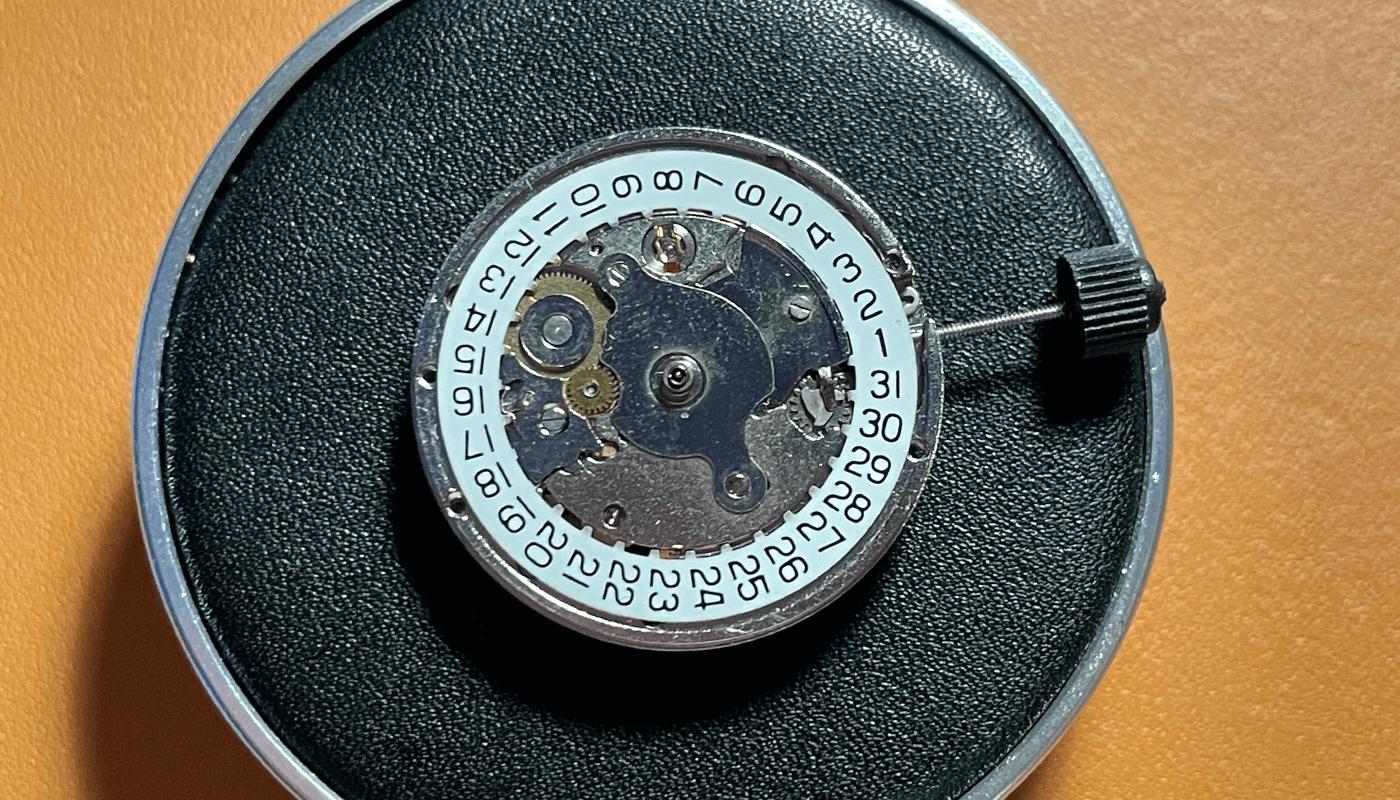
Now we have the 2824 movement ready for the watch dial
Flip the dial over and attach the dial ring
On the movement turn over and where the dial feet are you will need to pull out the holders. You can pull these out with small tweezers

Now attached the dial to the movement and turn over push the dial feet holders into the movement to secure the dial.
The watch dial is now attached to the movement. Time for the hands
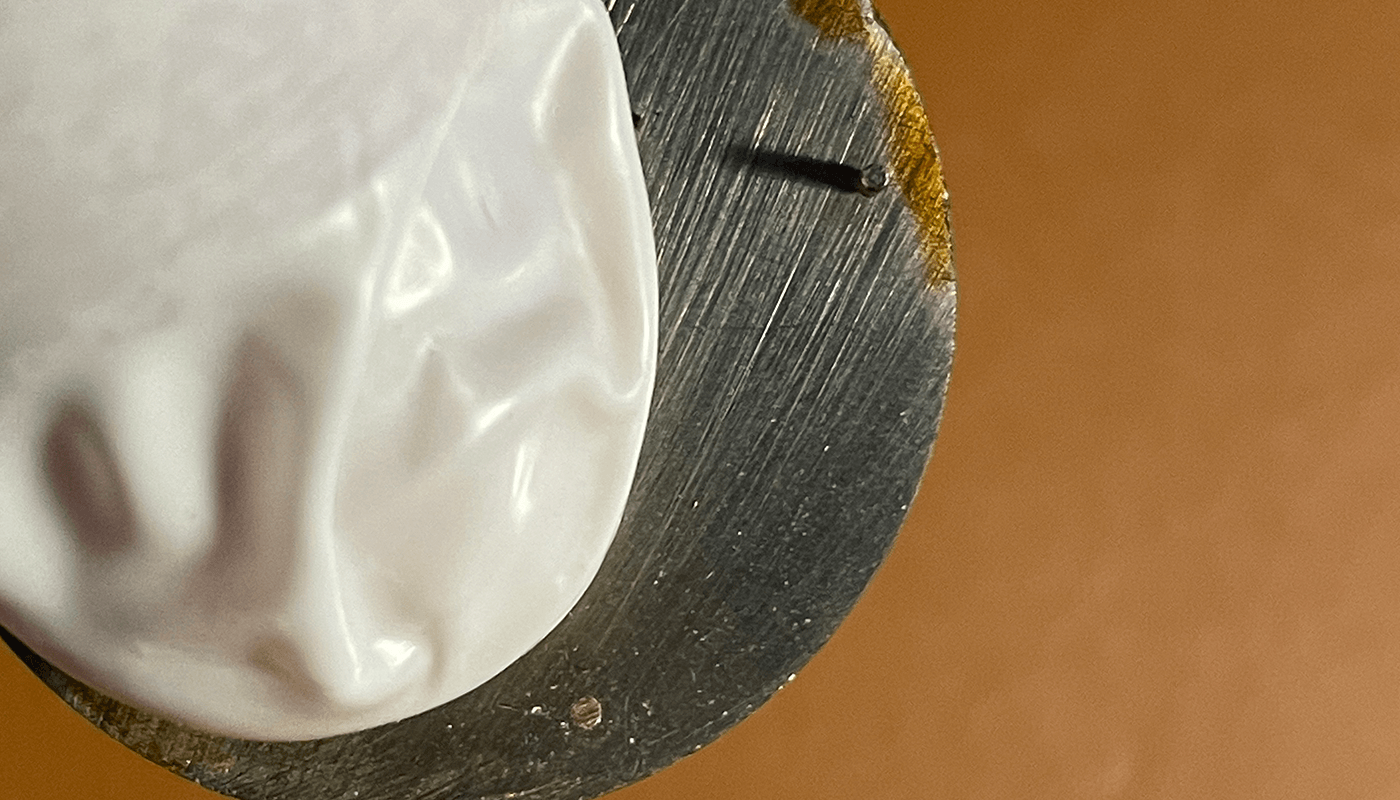
Im using a small bit of rodico to help hold the hand while i bring over to the movement. Align up with the 12 marker and use a hand press to push the hand onto the movement.
Do the same for the minute and second hand. Be sure to align the hour and minute hands at the 12 marker to ensure when using the will be correct at all hours.
The hands are now one the movement.
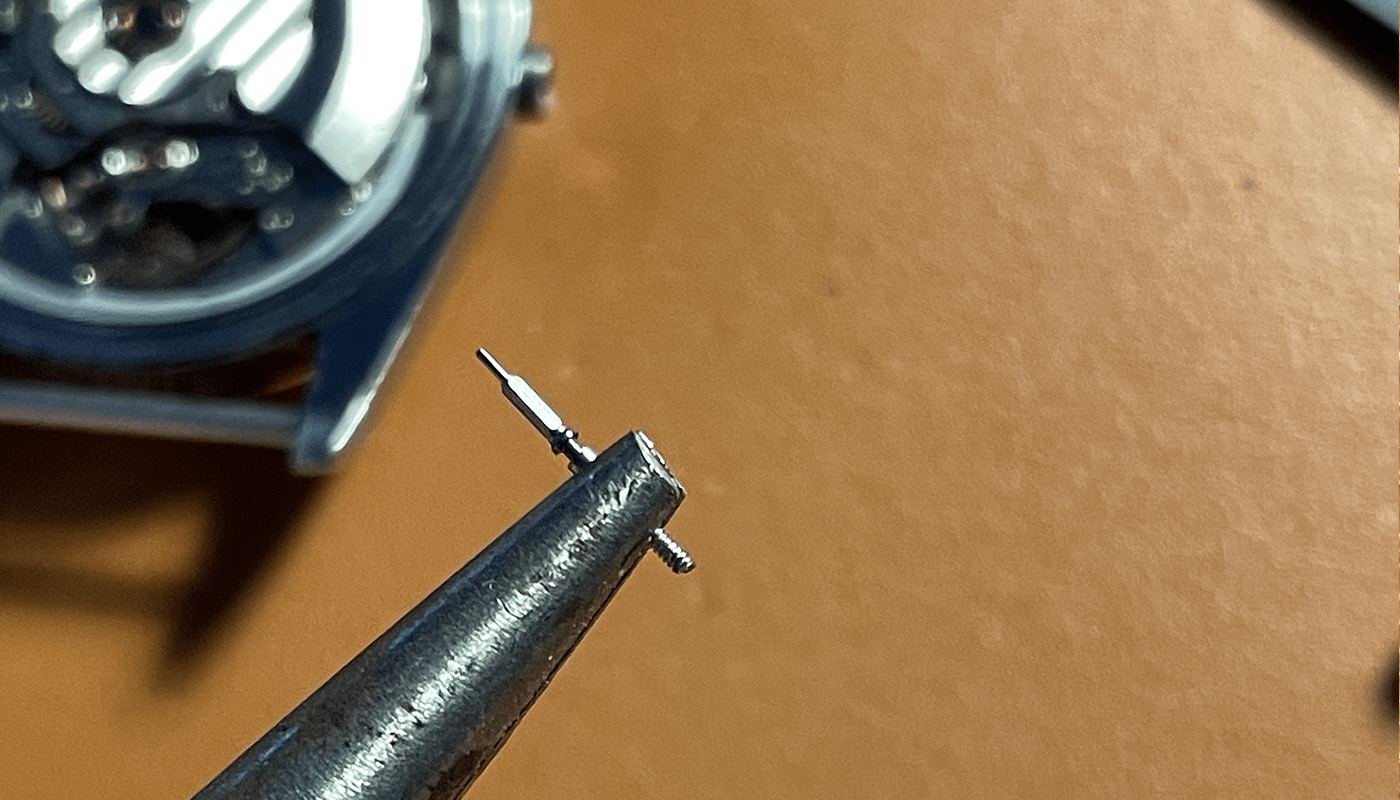
Remove Stem
Now turn the movement over watch the hands and remove the stem in the winding position. Put a small screwdriver into the little hole above where the stem enters the the movement. Only press lightly enough so the stem will become loss and come out with ease.

Once you have removed the stem. You can put the movement into the case
Put Movement into Case
You need to make sure the case movement ring in put around the movement and use the watch clamps to secure the movement in the case.
Now we need to trim the stem and apply the crown. I cover this in my other watch builds in alot more detail. Now you need to put the stem back into the watch and apply the watch base.
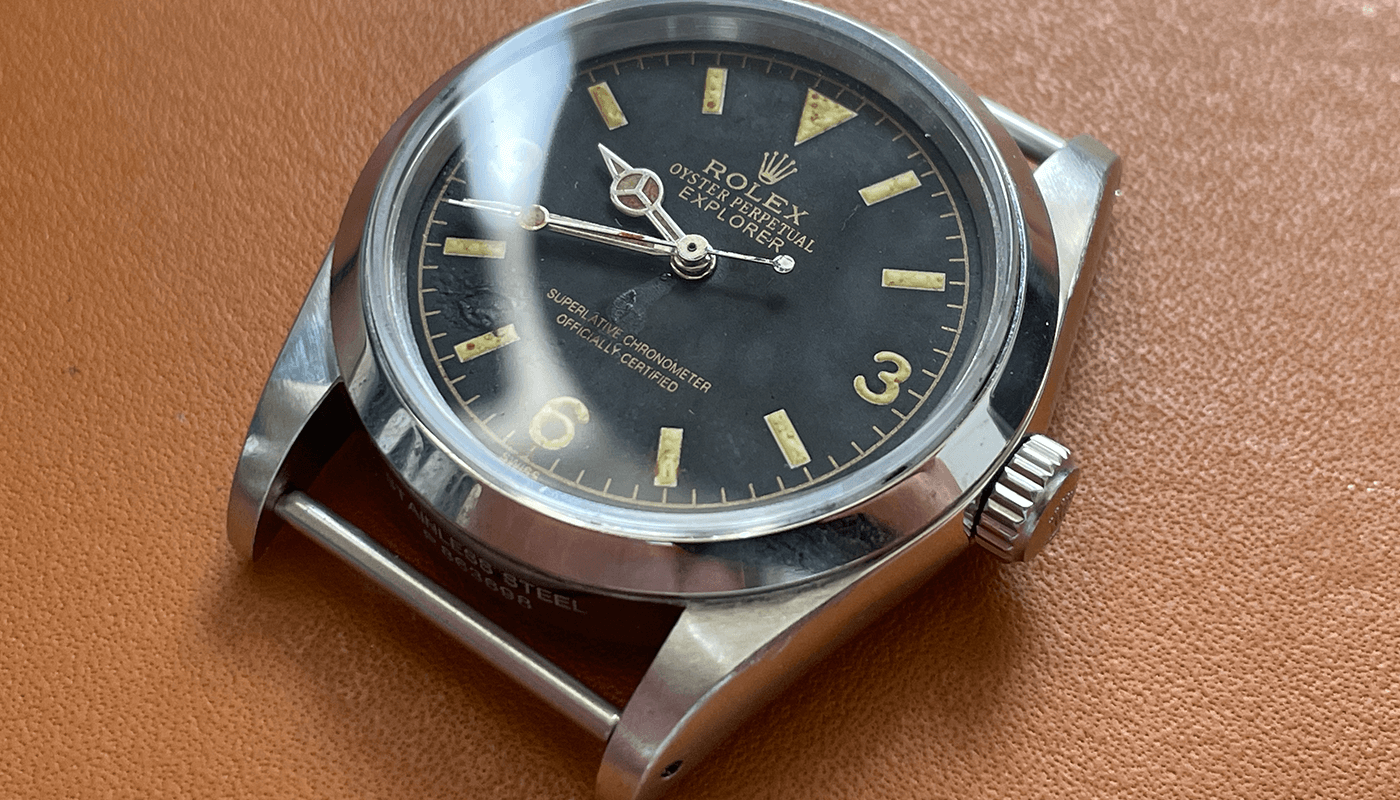
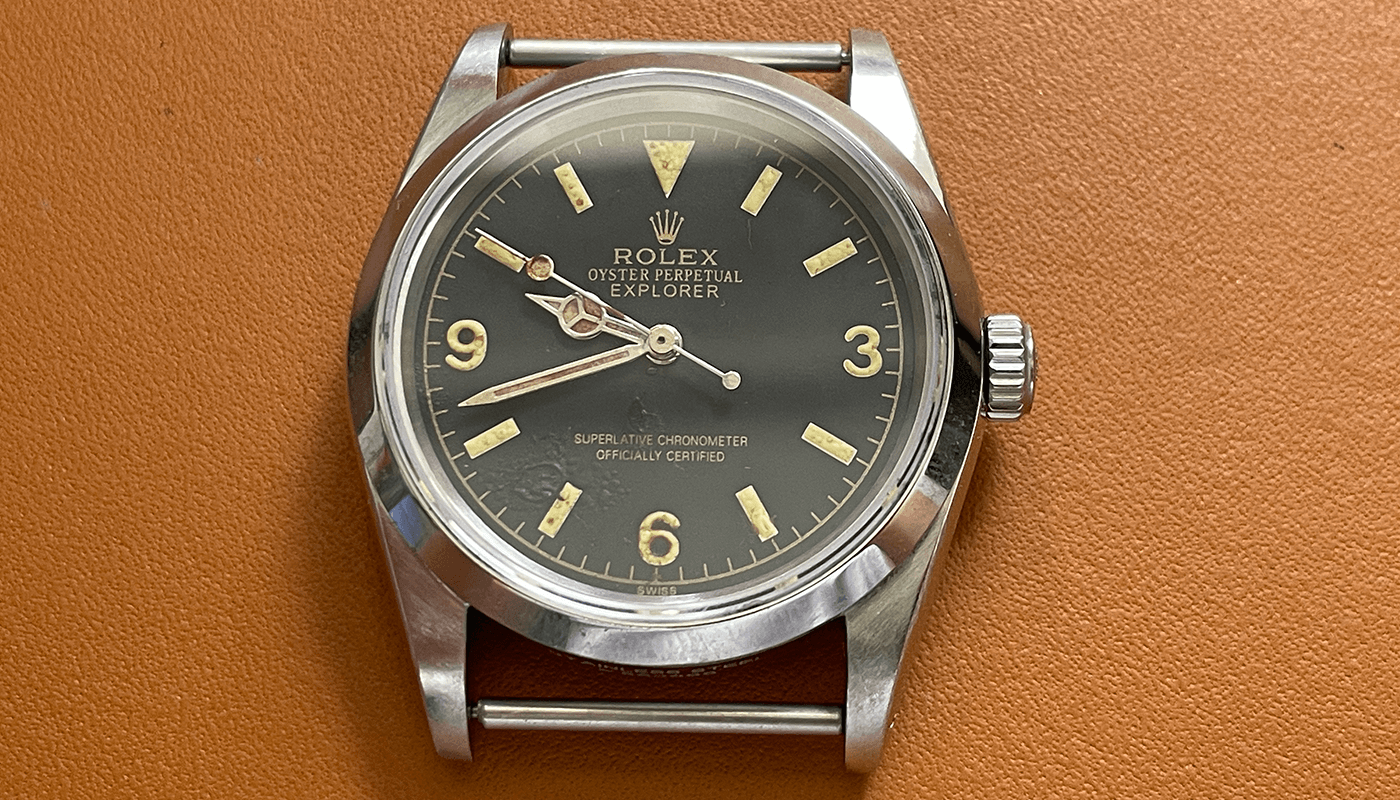
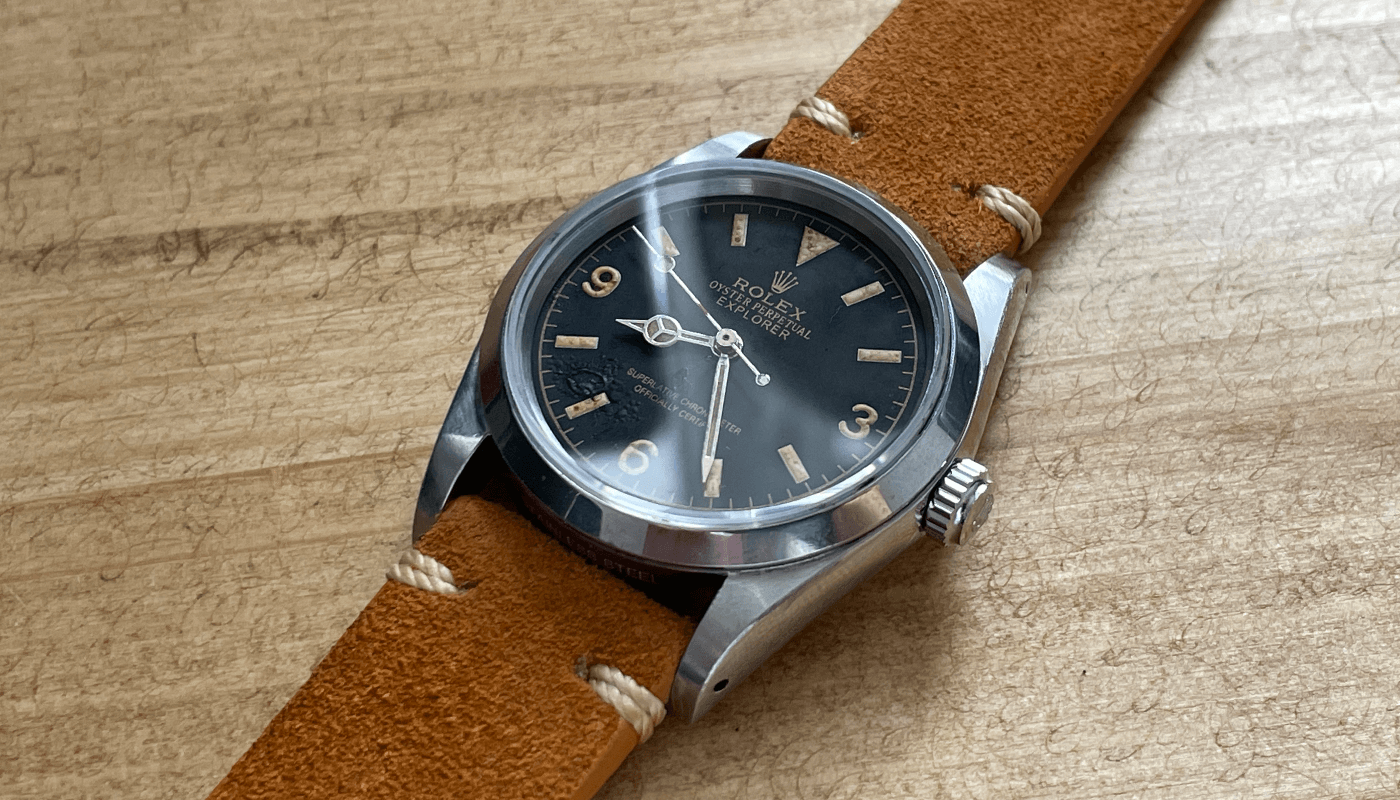
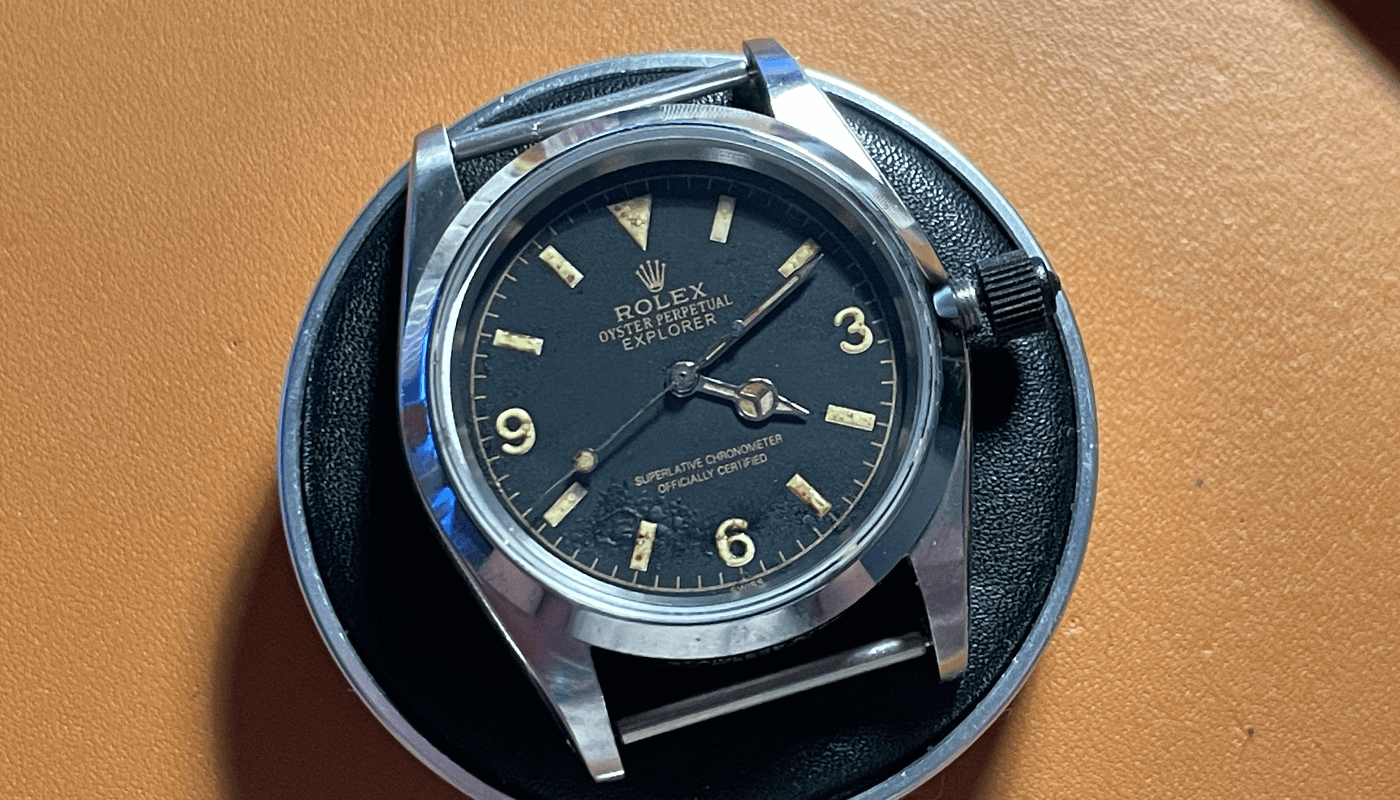
Finished Vintage Explorer
Now we have a finished vintage explorer that has been aged. I put this on a suede watch strap.