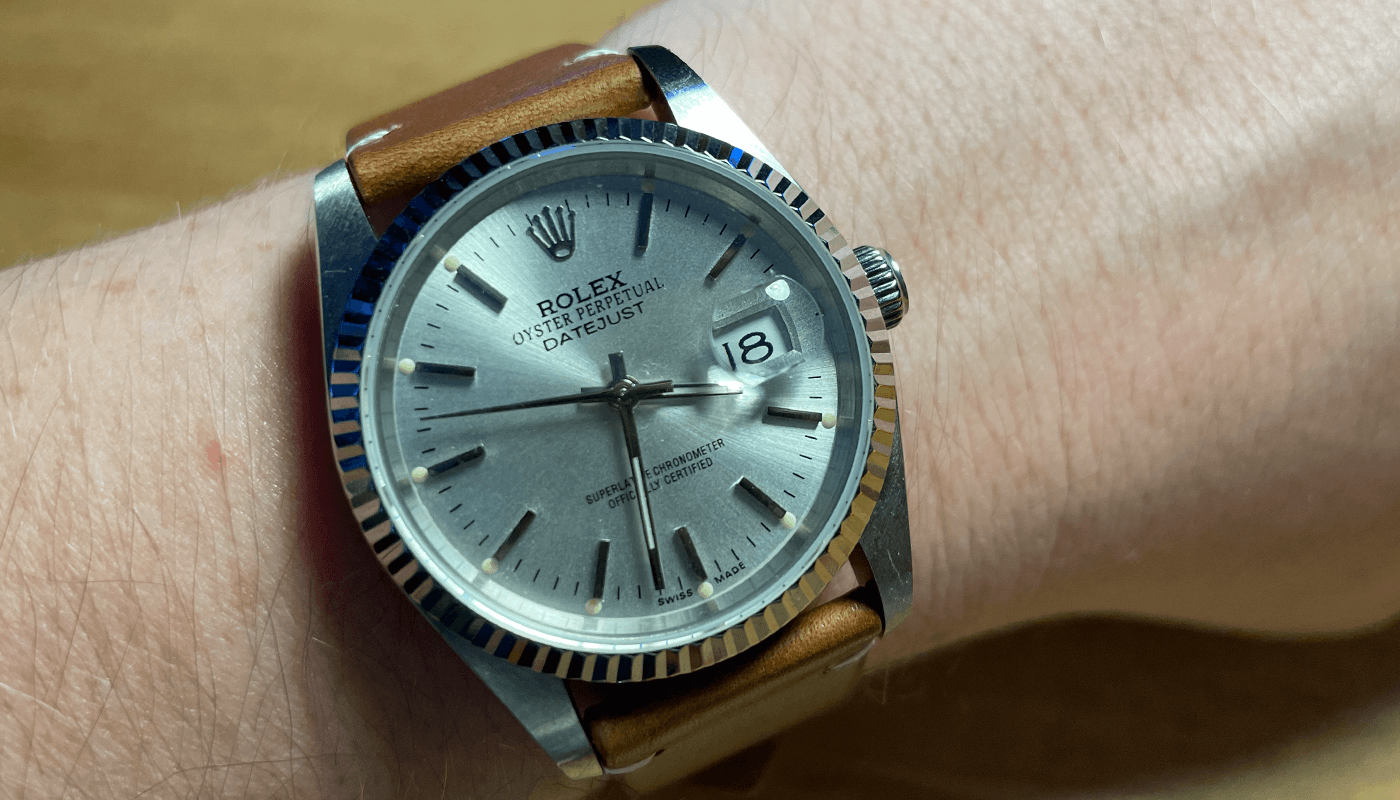
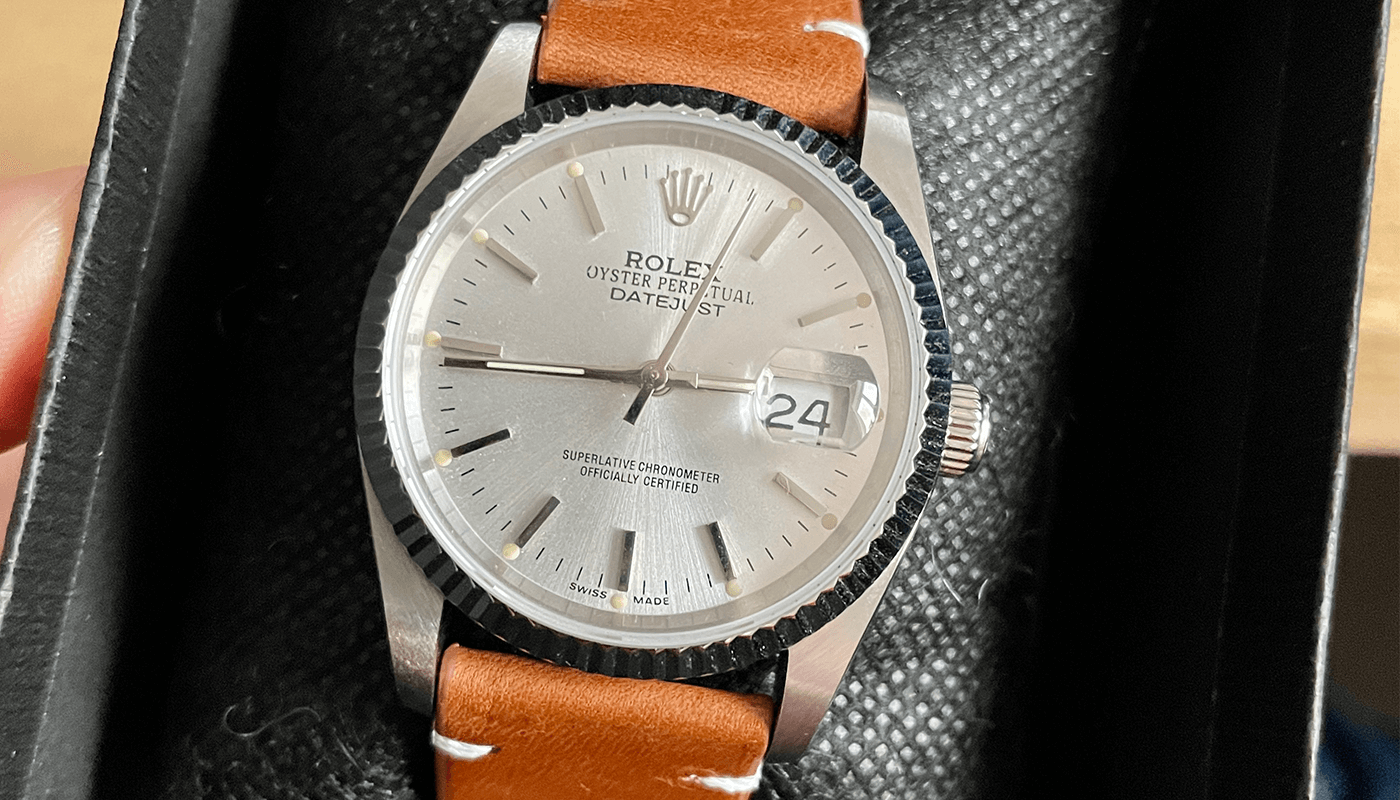
After owning a genuine datejust 36mm 16220 with a blue dial - I have always had a sweet spot for the datejust with a silver dial. I was able to source the parts and build this lovely watch. It has a 2813 movement with a fluted watch case on a leather strap.
Sourcing Parts
I was planning on using a 2836 movement for this watch but had set a limited budget for this build. To build this watch I opted for a movement with 21,600 bph (6 bps), date wheel overlay, a watch case, dial, hands and strap.

For the movement i used a movement with 21,600 bph - which is the Asian close 2813. I have written more information about this movement here
Get 2813 MovementFor the case i wanted a vintage style case. I picked up this watch case from Raffle dials. It comes with glass crystal for date at 2.5x zoom. It also comes with case movement ring to secure the movement.
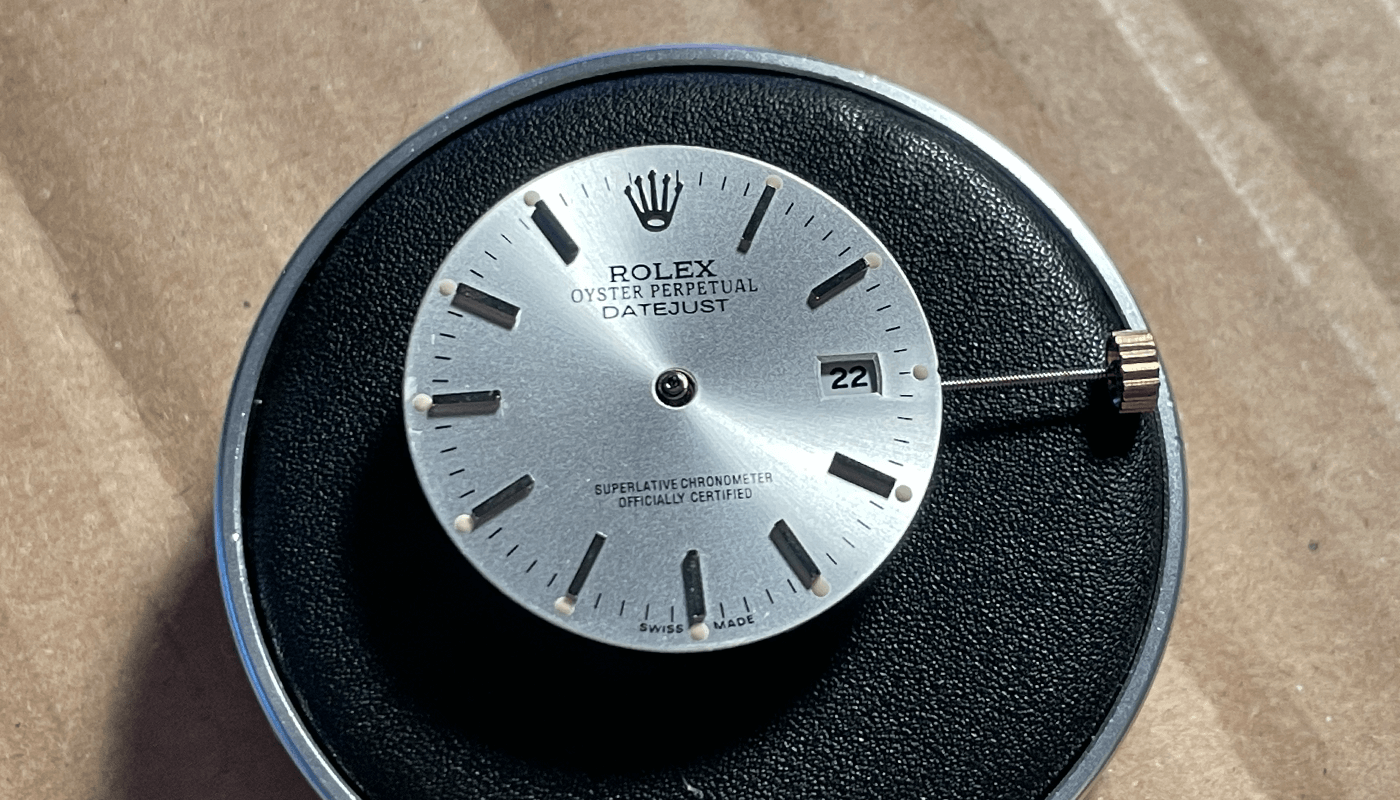
For the dial we needed something which looked like a datejust - I wanted a silver dial with a vintage feel from 80's / 90's Rolex's. I purchased this from Raffle dials also.
Get DialAs i was using a dial with a data option i needed to improve the quality of date font on standard 2813. So i purchased a date wheel overlay (DWO) which i can glue onto of the current date. I purchased this from Raffle Dials also and it comes with an excellent rolex style font.
Get DWOI had purchased hands for an 2836 movement however due to the size of hands i could not use these on a 2813 movement. So i purchased a set of 2813 hands for a datajust of eBay - these have a green lume.
Get HandsFor the strap I wanted a stylish but clean looking - I found a really clean looking leather strap for a good price on Amazon so went for this to complete the build parts.
Get the StrapThe Build
For this build it took me just over a month but a total of 4 to 5 hours of actual build time. Sourcing the parts is the long processing of waiting on deliveries from across the world. I try to source parts local to me for quick delivery.
Overall the build is pretty straight forward once you have done the right amount of research. I tried to gather here the tips and tricks i found along the way and will highlight them to you.
A reminder before touching any dial parts you should wear something to cover transmitting your body oils onto and parts or getting them dirty. I use vinyl gloves to touch parts and also reduce touching by using tweezers where i can.
Preparing the Dial
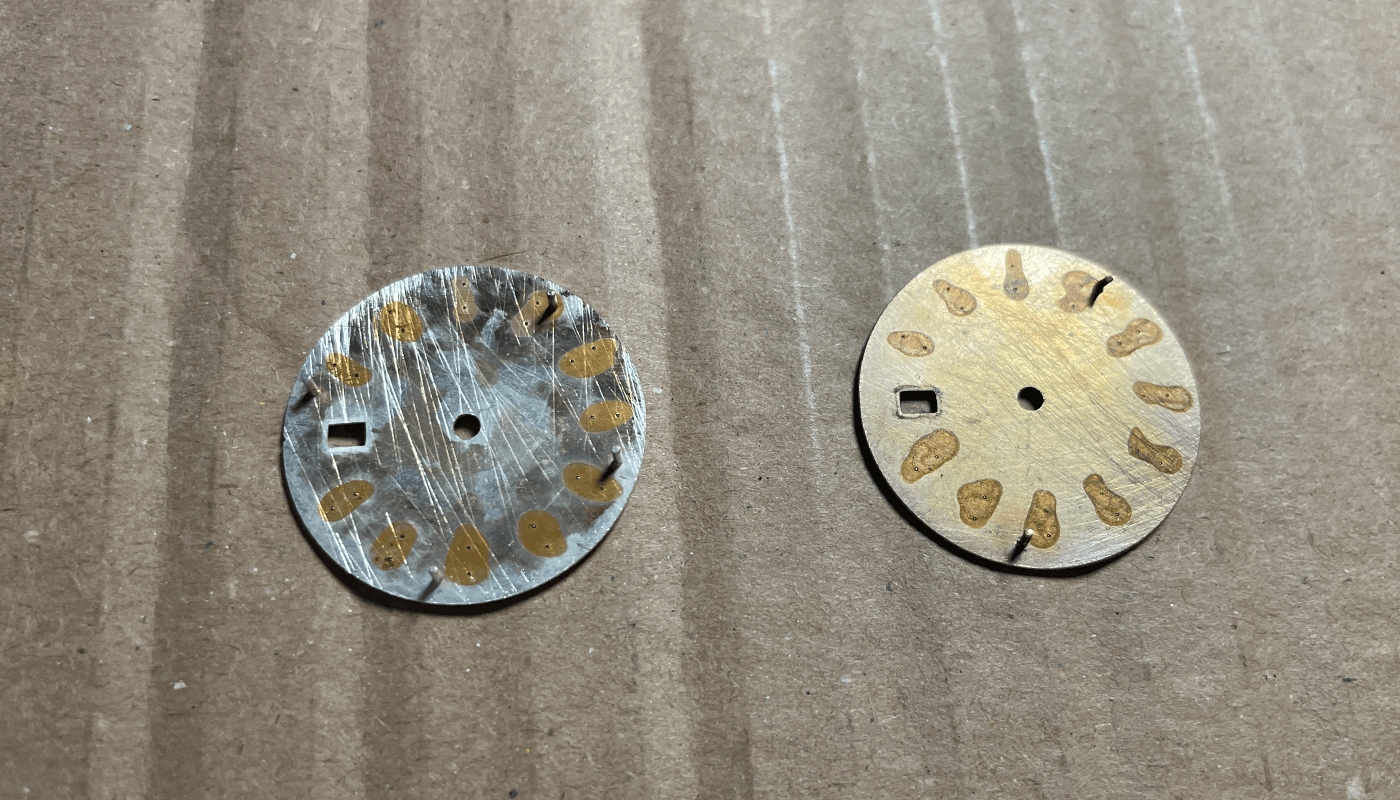
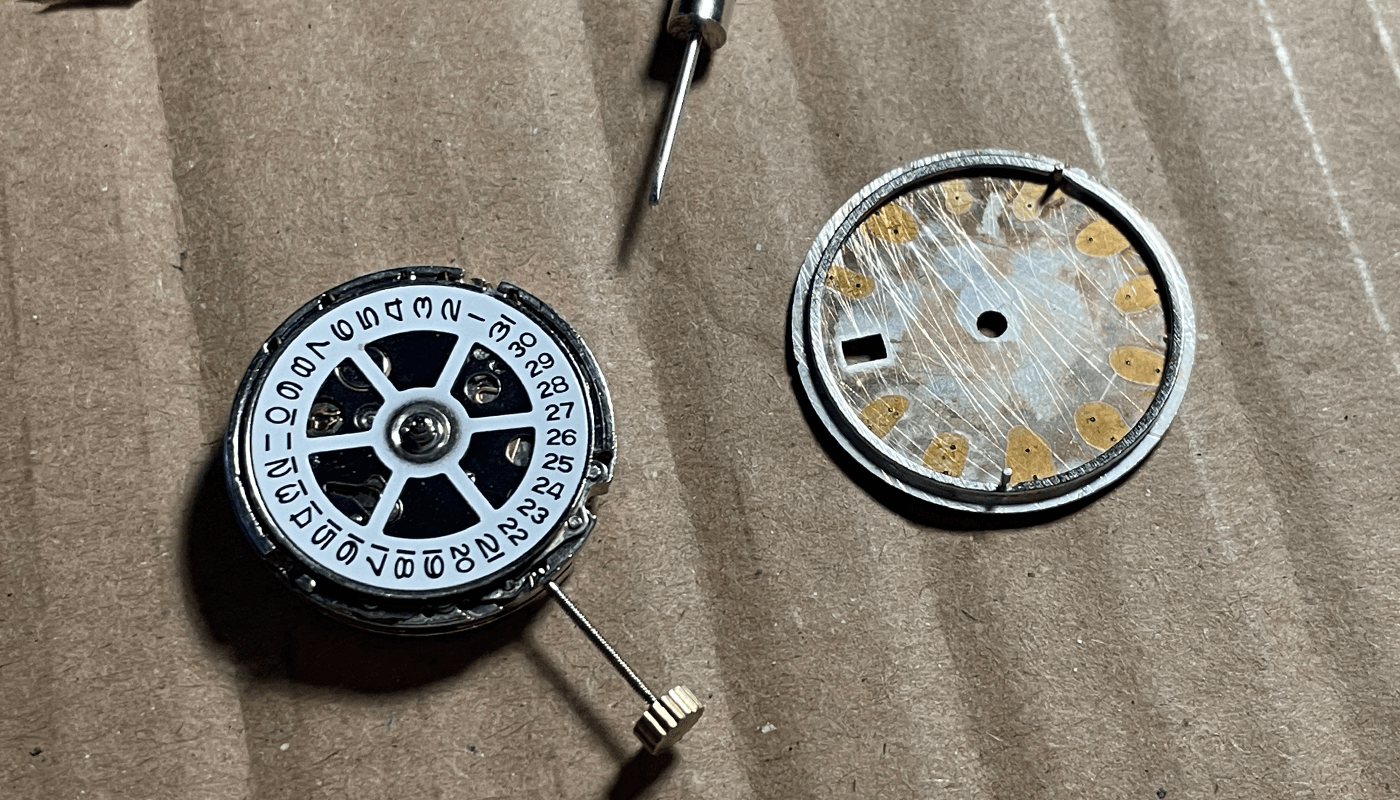
The dial comes with 4 dial feet. To prepare the dial for the movement we are using which is the 2813. On the right i have a dial that fits the 2813 i used this for guidance and to show which feet are required. The dial feet are at the just before 6 marker and 11 marker are required.
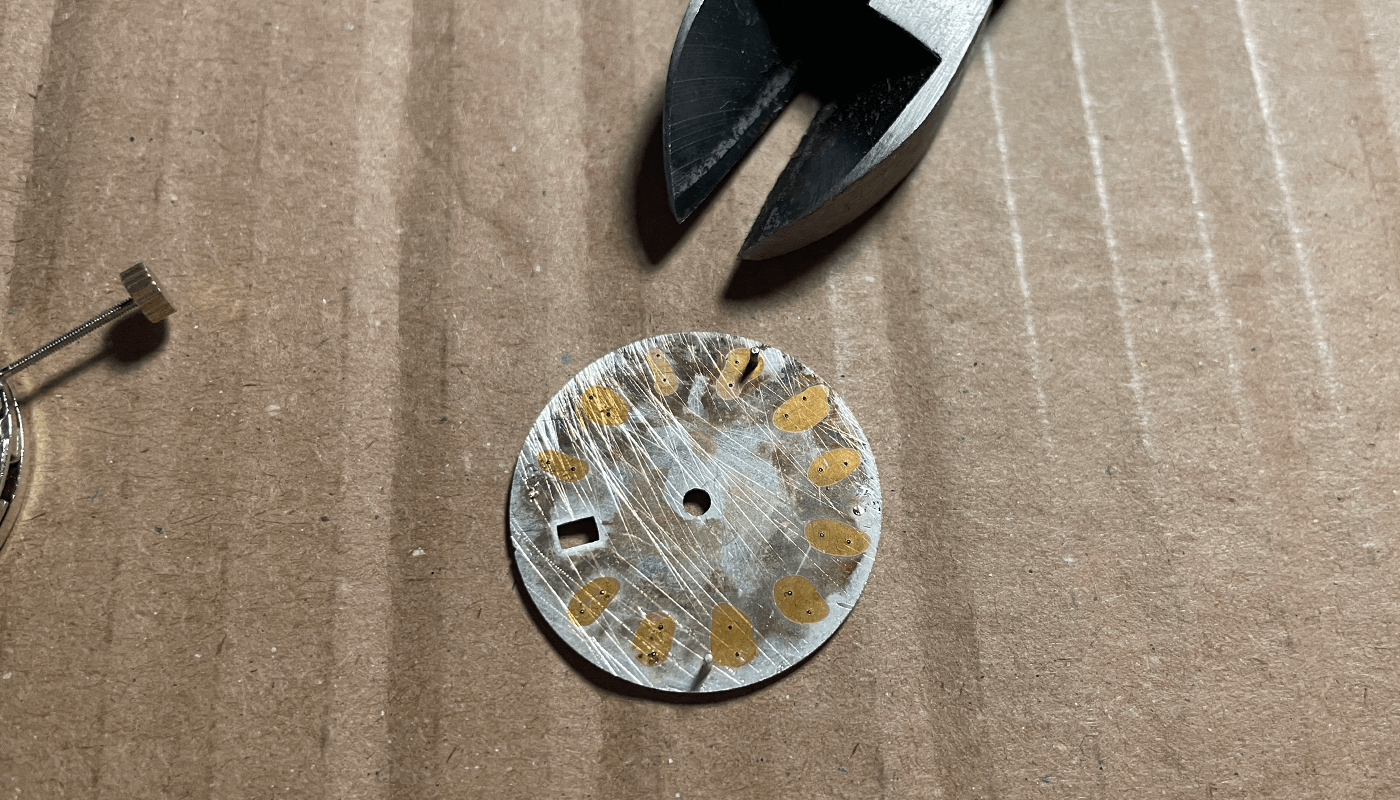
The dial feet are quick and easy to remove use some cutting pilers (linked to my tools). Pick the dial up and put the tip of the cutting pilers to the base of the dial foot you want to remove. Once ready snip close to the base and the foot will be removed, if you have a little still visible and not smooth then snip again to get a flush finish.
To secure the dial to the movement you will need to undo the screws. Make sure you do not remove the screws but just lose them enough so the dial feet can fit onto and the feet can slide behind. You secure the dial by tighten the screws to it holds again the dial feet.
The movement i purchased comes with a movement ring to go between the movement and the dial, this is important to use as this gives the clearance between the dial and movement for the date wheel to move. You can just slide this ring onto the back of the dial.
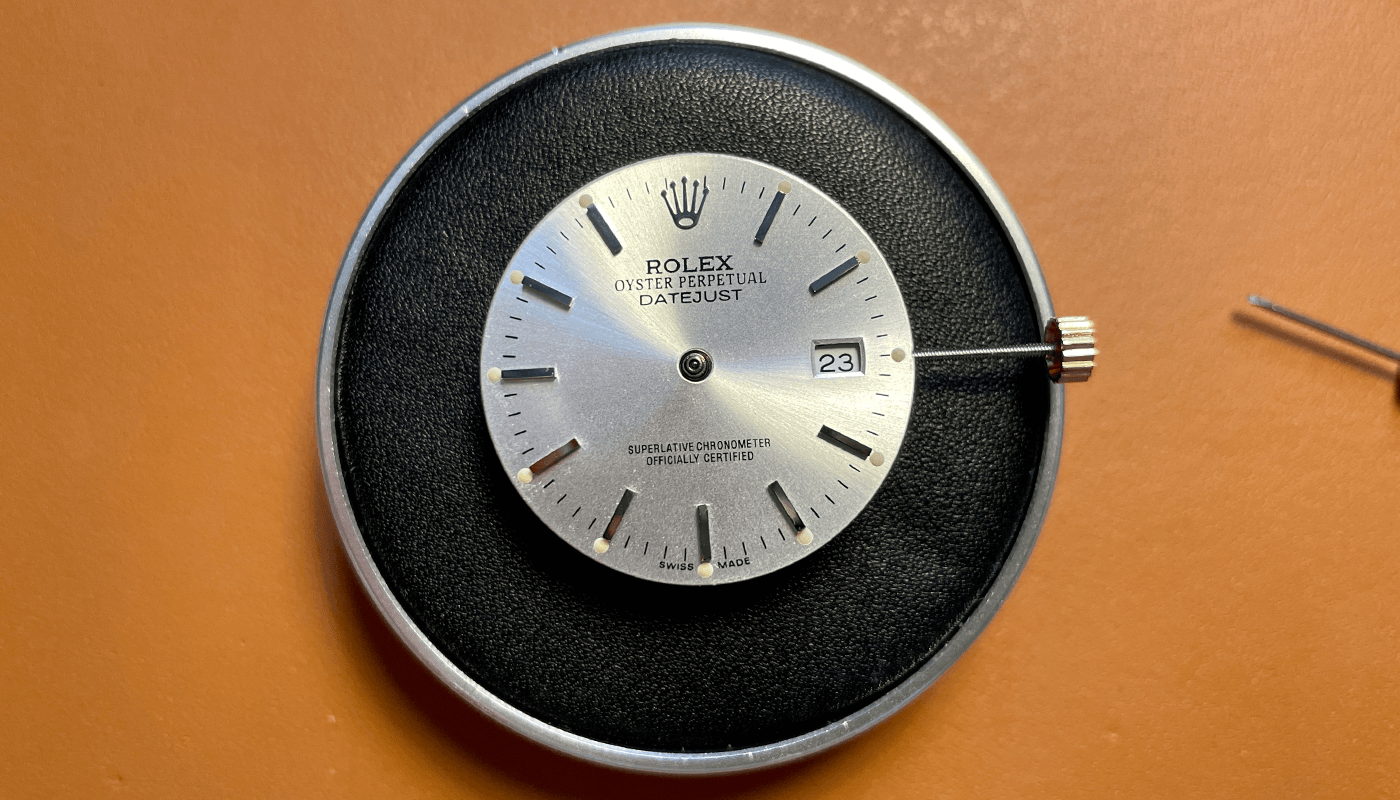
Now you can slide the dial with movement ring onto the movement and check the date wheel position. When you are ready you tighten the movement screws and secure - do not do this yet if you are planning on using a date wheel overlay. You can see from the dial placed on the movement.
Date Wheel Overlay
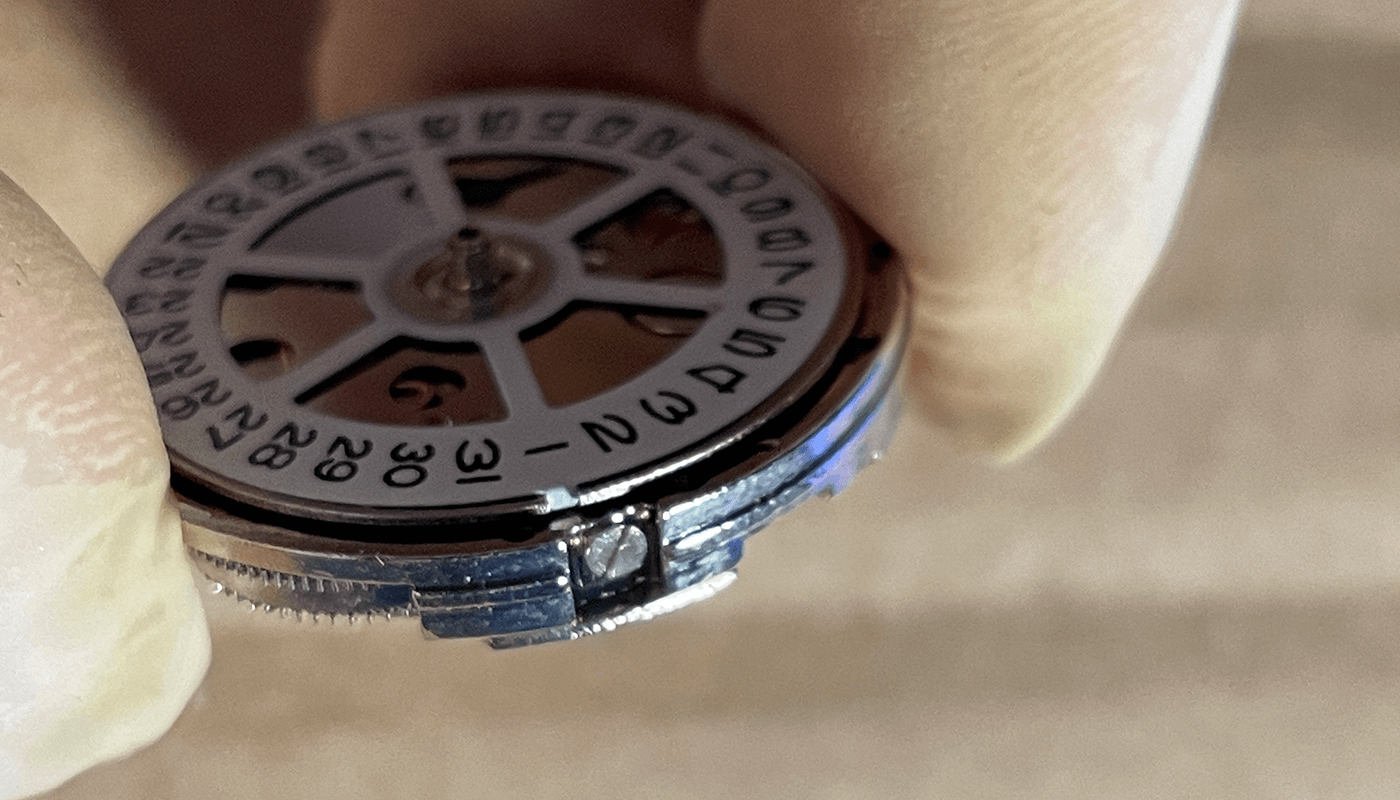
You can see the date that comes with the dial is great with some numbers but other numbers are printed with poor quality. A way to resolve this and to get a great font which looks like Rolex is to use a Date Wheel overlay (DWO). It is a little tricky to glue the DWO on the movement.
Get Glue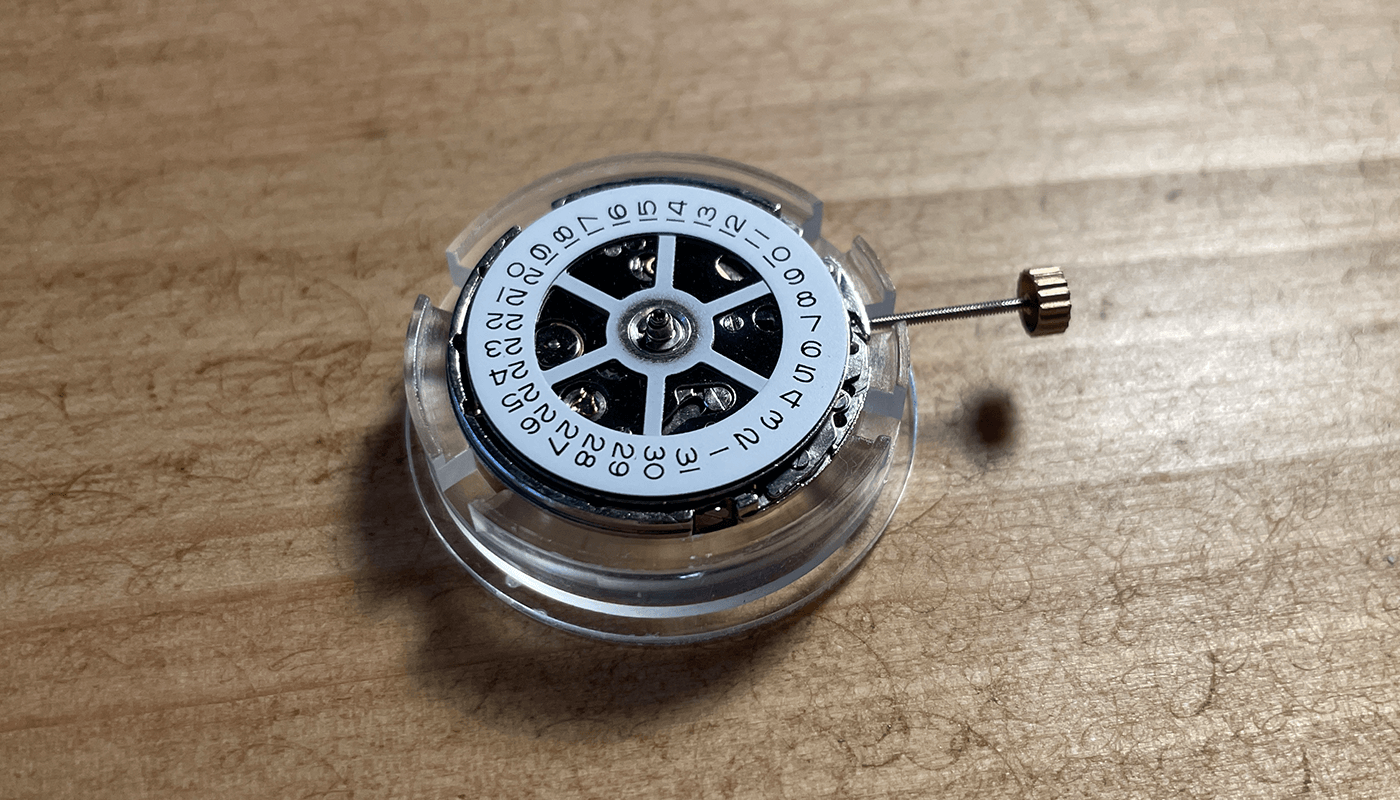
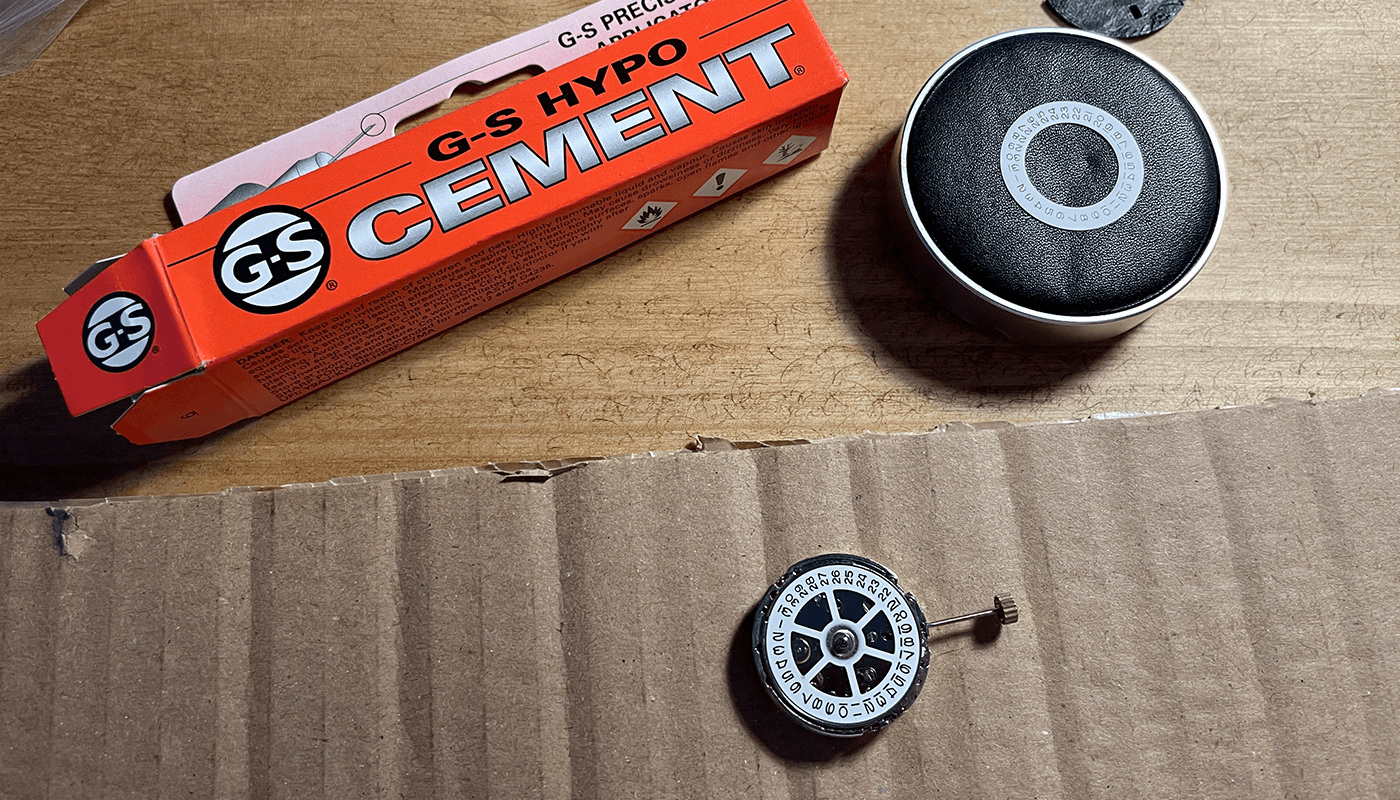
To secure the DWO i used GS Hypo Cement. Its a good compound to use as it doesnt get stuck to your hands and is not like super glue but allows you have play before it sets. I used a bit of cardboard and put a small amount of the glue on to the cardboard. I then used a small pin to put a couple of drips onto the end. I can now use the pin to place a small amount on top the back of the DWO.
You can now with care place and position this onto the movement. Be care not to get glue into the movement. You will have a little play to rotate and check its position. I suggest placing with care the dial over the top to check. Check a couple of times by moving the date wheel on the movement. Once happy i left for 24 hours so it could dry and settle.
After waiting for the DWO to set you can now place the dial on and if you are happy with the line up of the date. You can screw the screws from above so they are tight and hold the dial in place. Check the date can move freely when moving with the stem.
Hands onto Movement
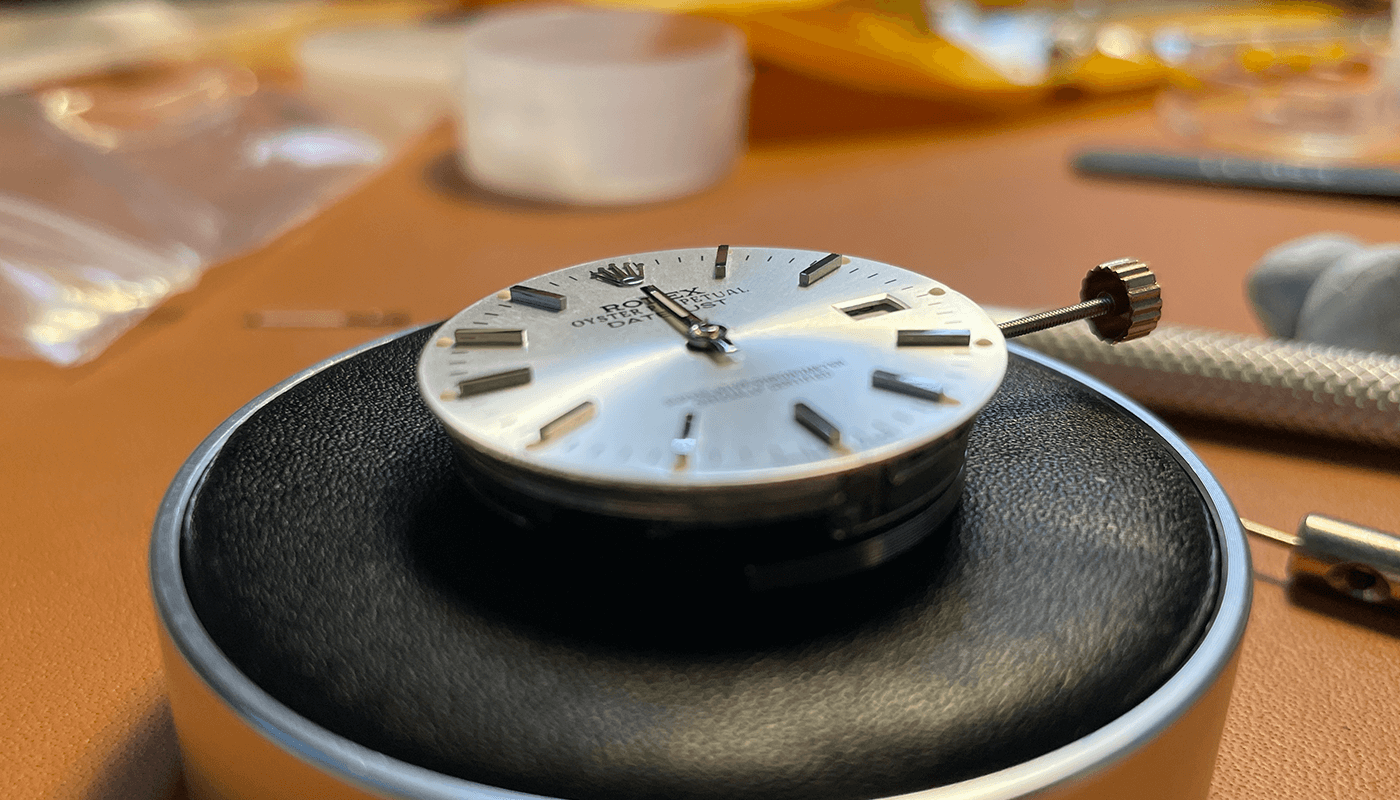
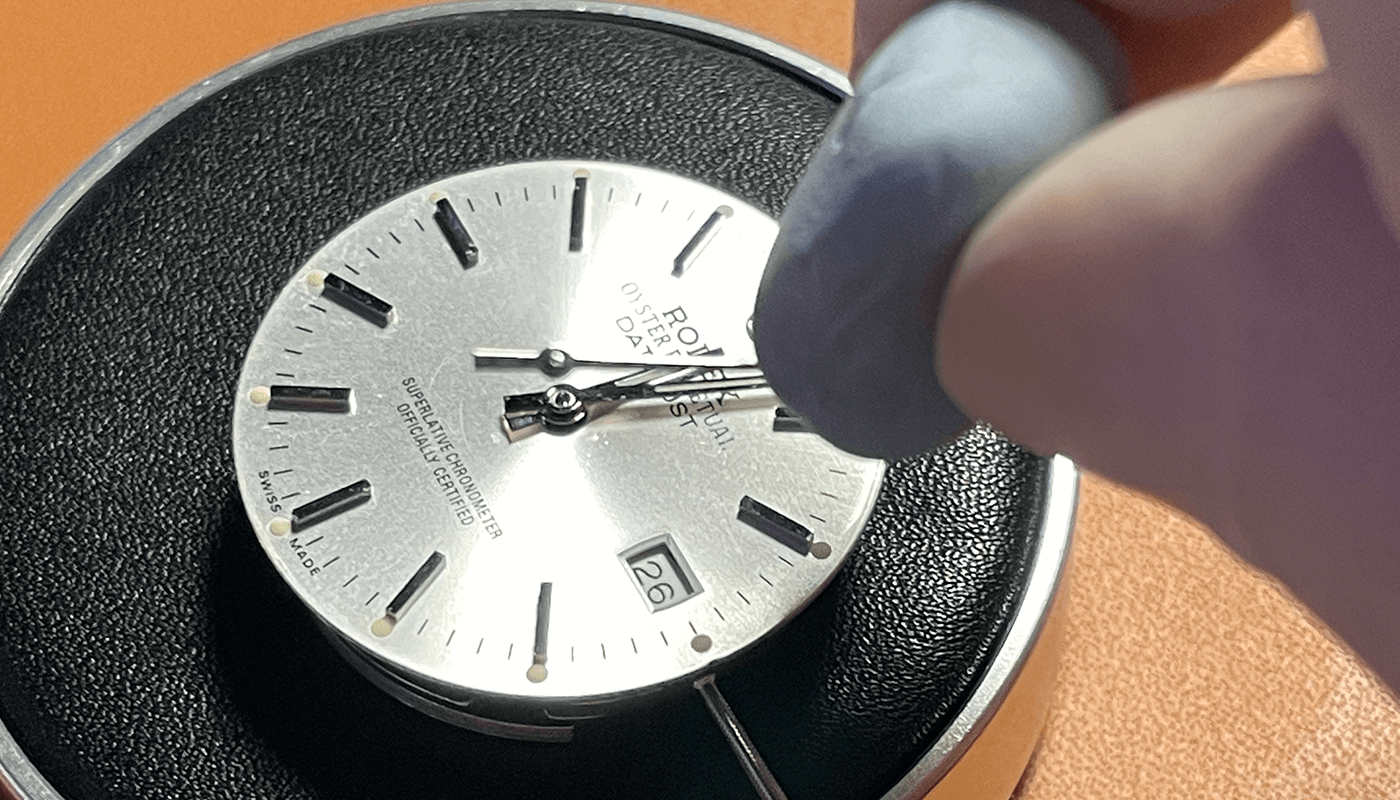
To place the hour hand onto the movement. You want to pull the stem movement out so you can move the hands. Before placing the hands move the dial so the date flicks to the next day. You now know the position to place the hour hand so it will be at 12 so when the date moves to the next day it will be correct. I use blue tac to hold the hands by pressing the end and the holding over the movement. Now use hand press to push the hour hand on. Using the stem move to ensure it moves freely.
It is also important to position the minute hand at the 12 marker also so its on top of the hour hand. Use the hand press and push the minute hand on. Use the stem to move to ensure it is moving freely also. Its easier to use the mag glasses for the minute hand and second hand.
When putting the second hands on i push the stem back in so the movement is in the sitting position so you can heard it and the movement is ticking. Be careful lining up the second hand and place on to the pin. I use the 20x zoom on mag glasses to see this up close. You can see an up close on my 2813 movement post.
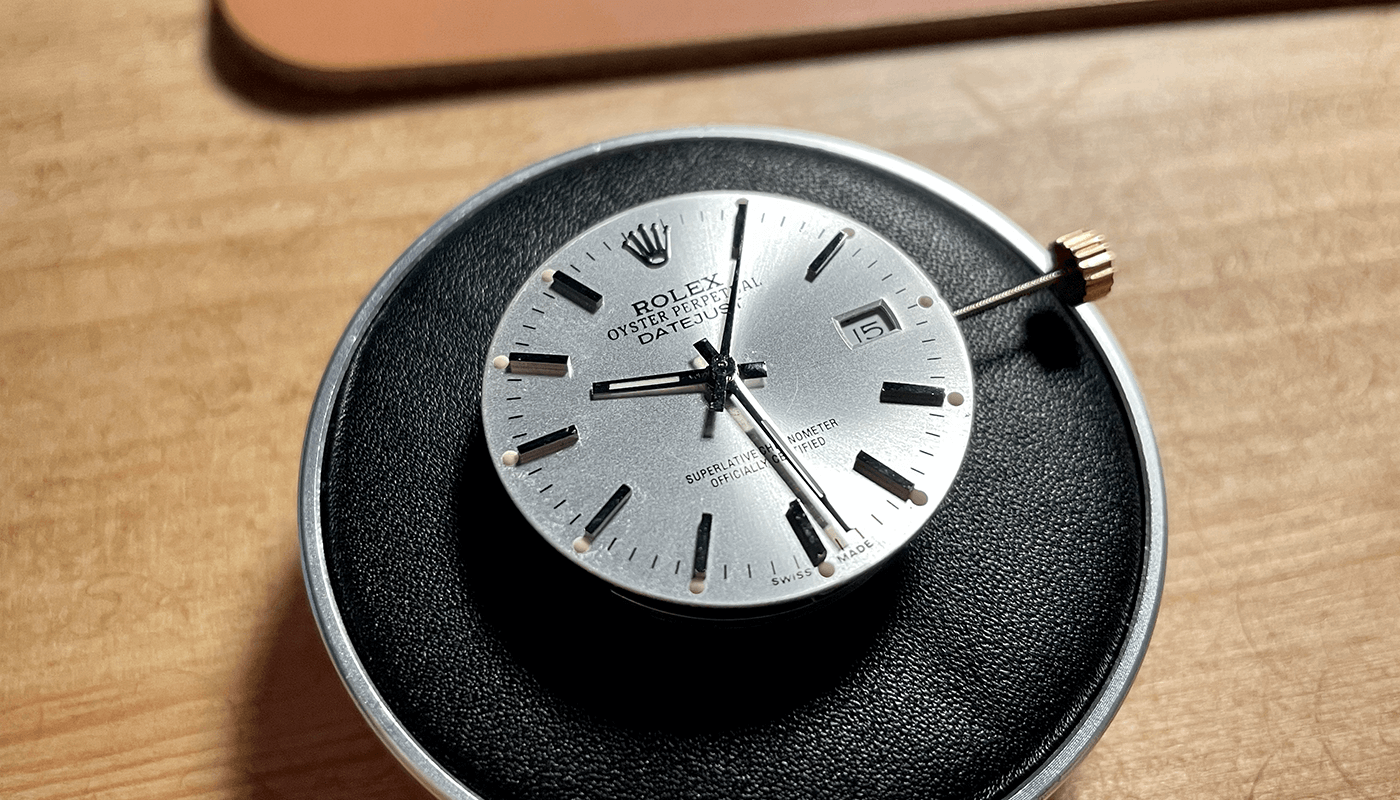
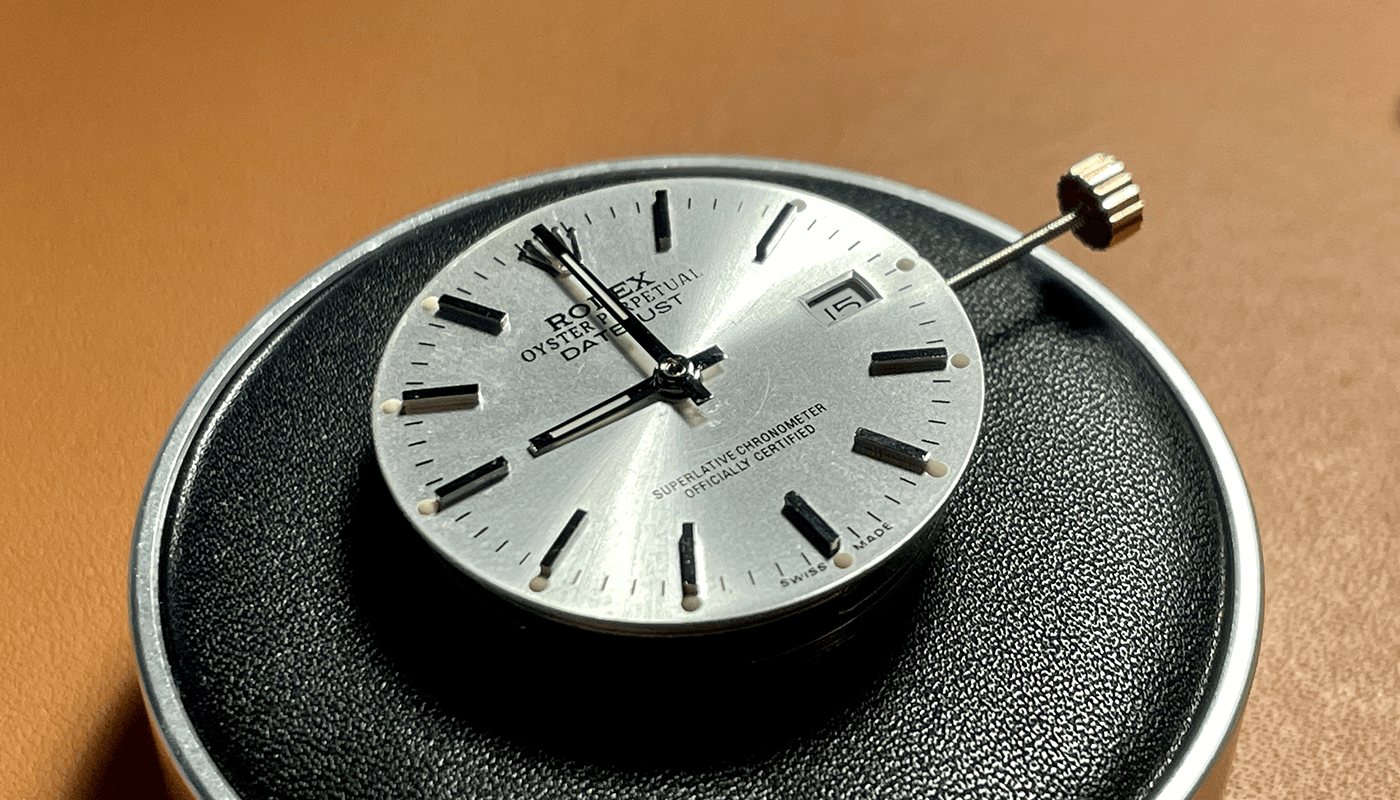
Once the second hand has been placed and secured by hand press tools it will start to sweep. You can see now we have a finished dial, movement and hands working.
Removing the Stem

We now need to remove the stem to get the movement in to the watch case. You can push with tweezers the back of the movement and remove the stem. The stem should be in the winding position. Gently pull and it will be released.
Movement into the Case
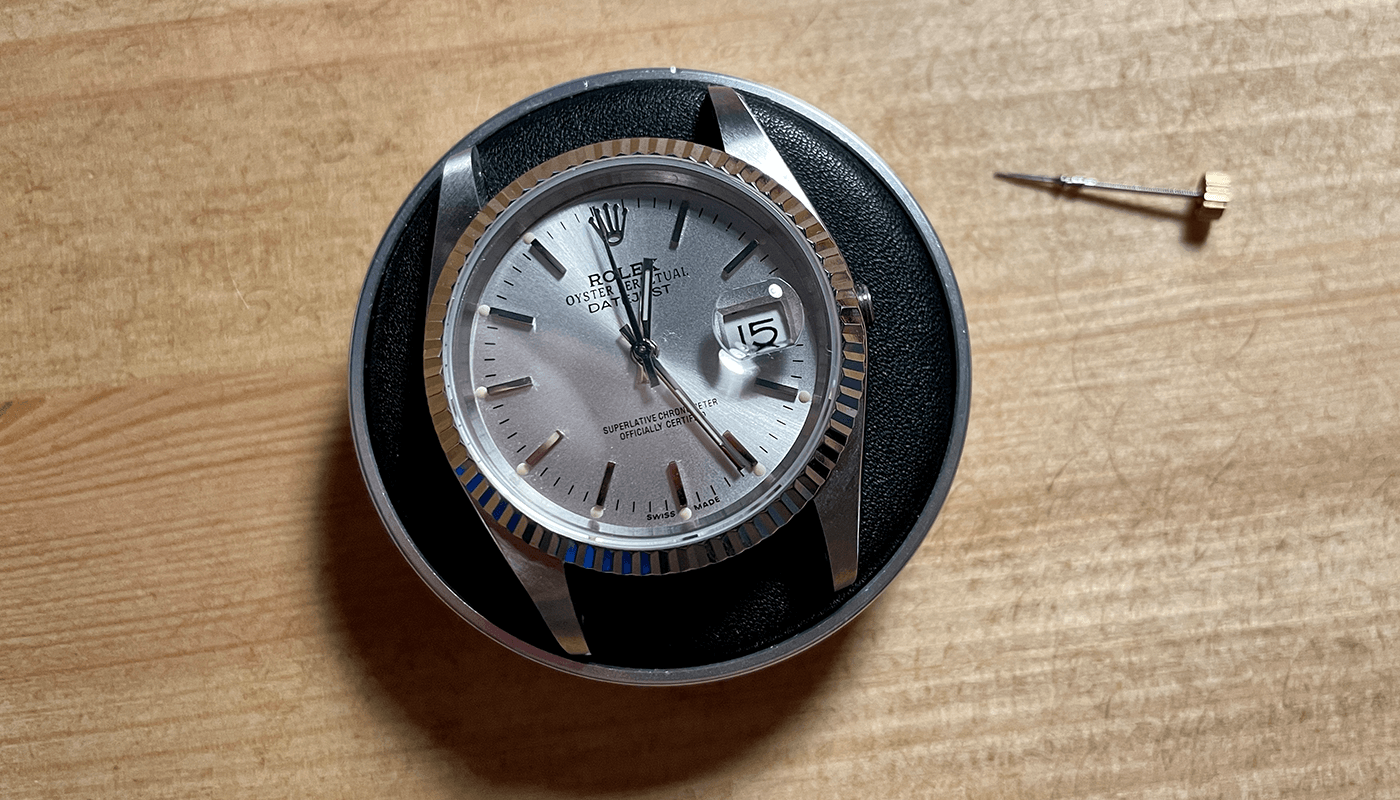
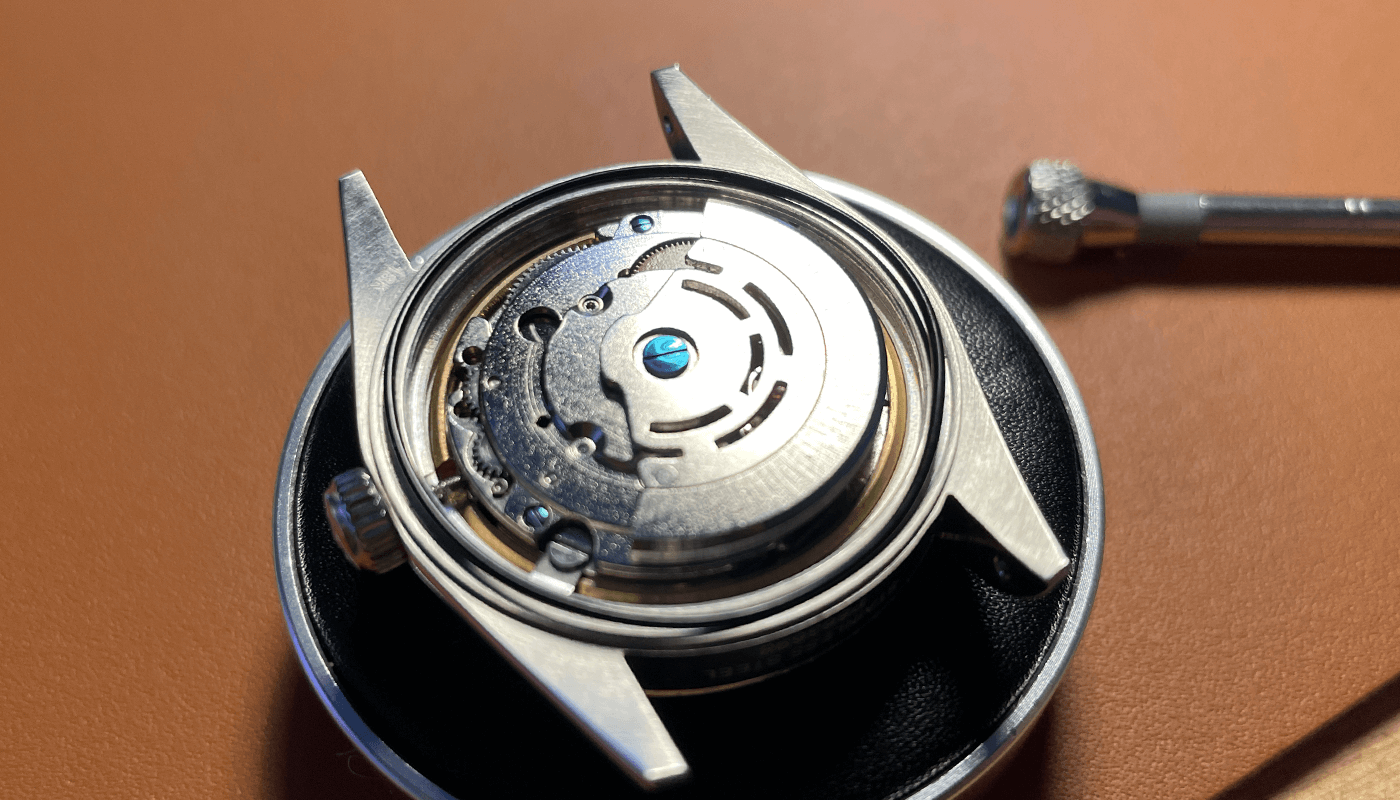
You can place the watch case over the top of the complete movement and you will see your watch come alive for the first time.
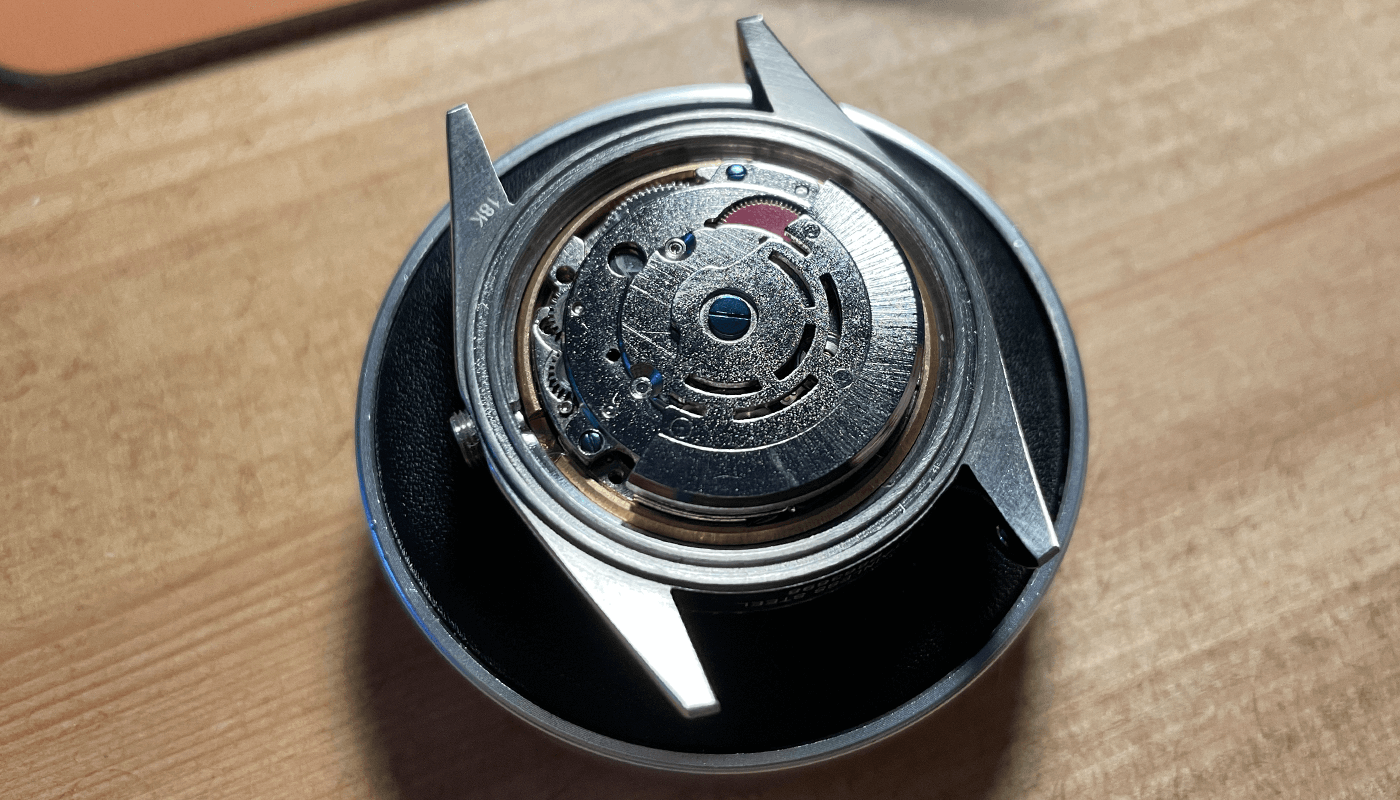
Now flip this over by lifting your watch cushion and then hold the watch case you can place the watch cushion down and place the watch case down so the movement is facing up. Place the case ring between the movement and the case so it can be secured
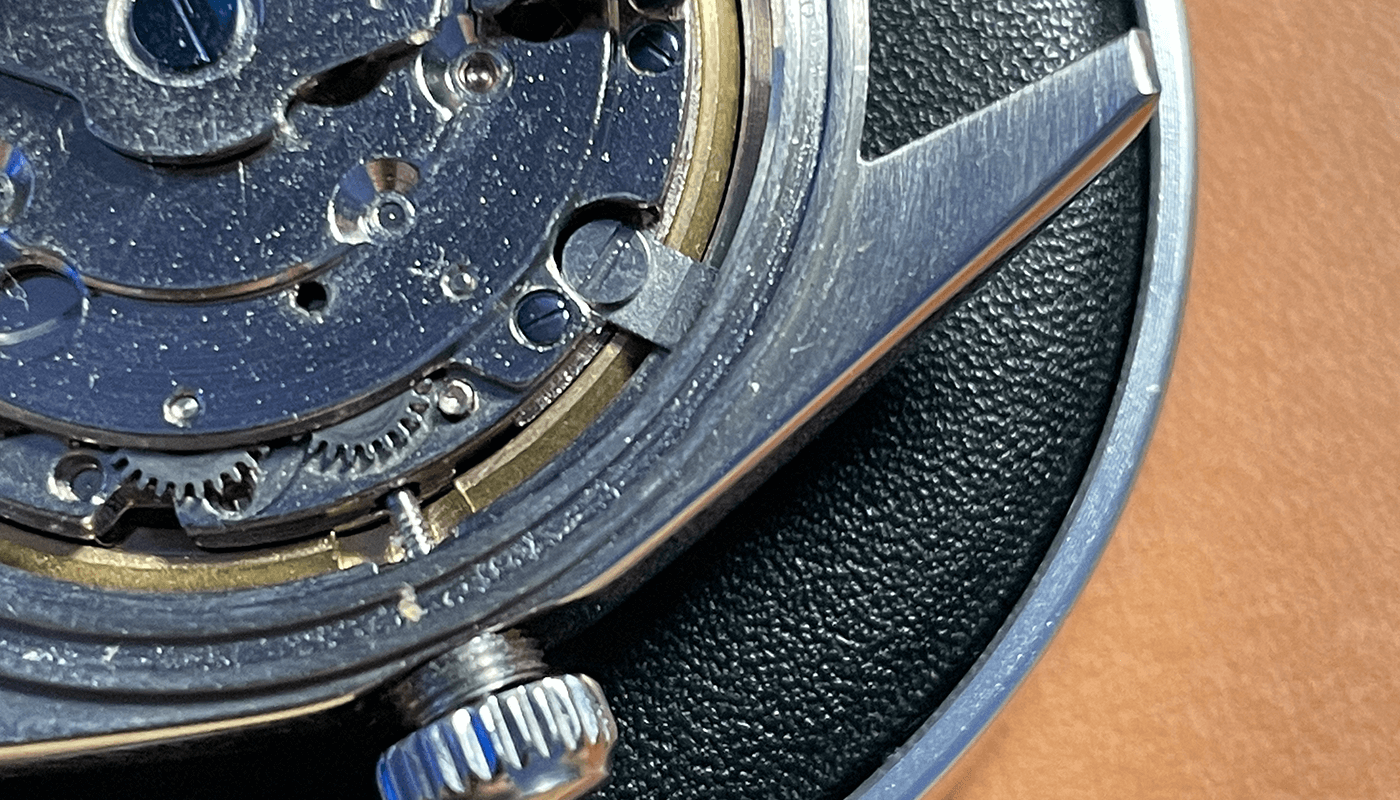
Now put the two case clamps into place on the movement and ensure they are facing up and can just fit under the top of the case there is a gap you will see it pushes up against. You can now secure the movement to the case and tighten to secure.
Sealing into the Case
Place the gasket ring into the area on the back on the case so its ready to seal.

Now place the case back onto the watch and tighten with finger tips once it is ready you can now tighten with rolex watch case back opener tool. You can purchase this here
Get Watch Case Back Opener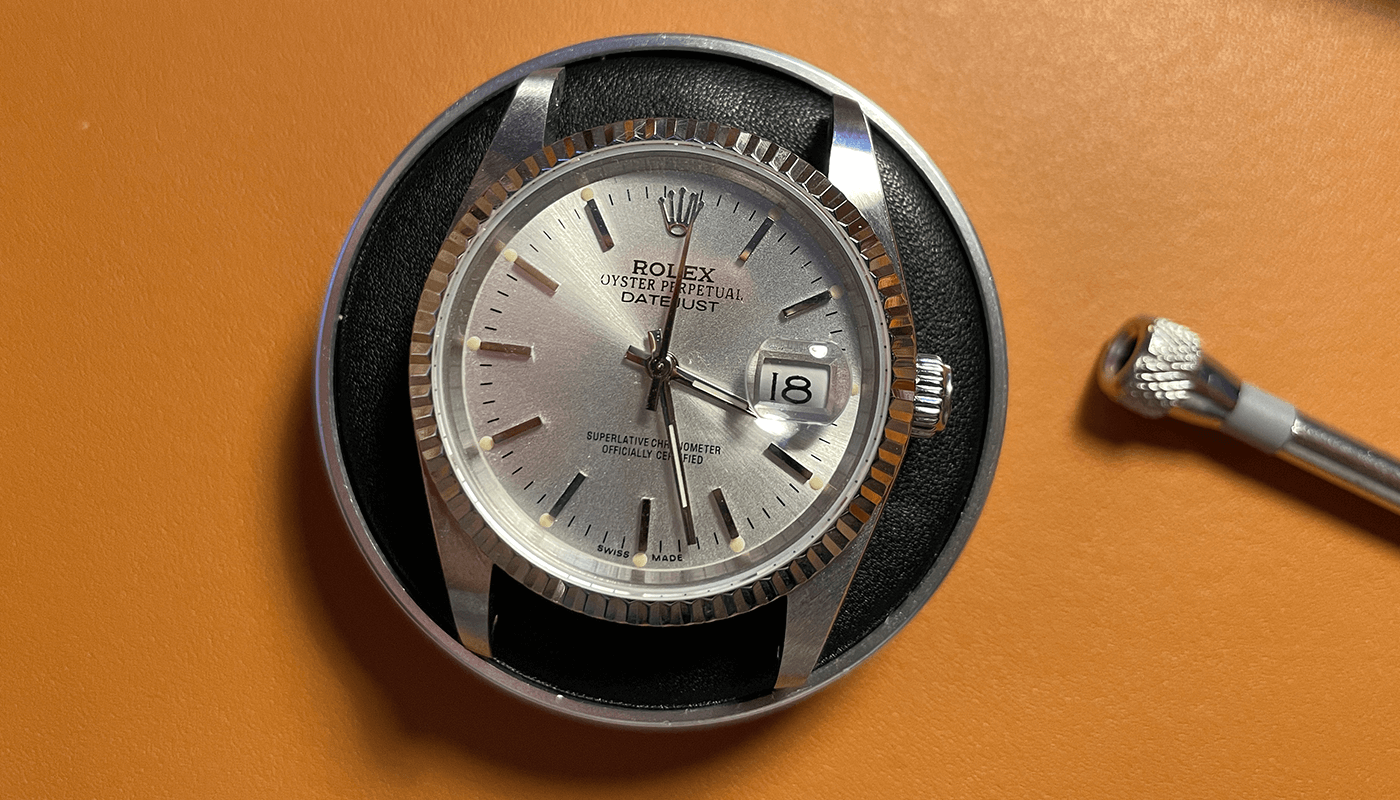
You can now flip the watch - Congrats you now have a completed movement and dial in the watch case
Strap and Finished
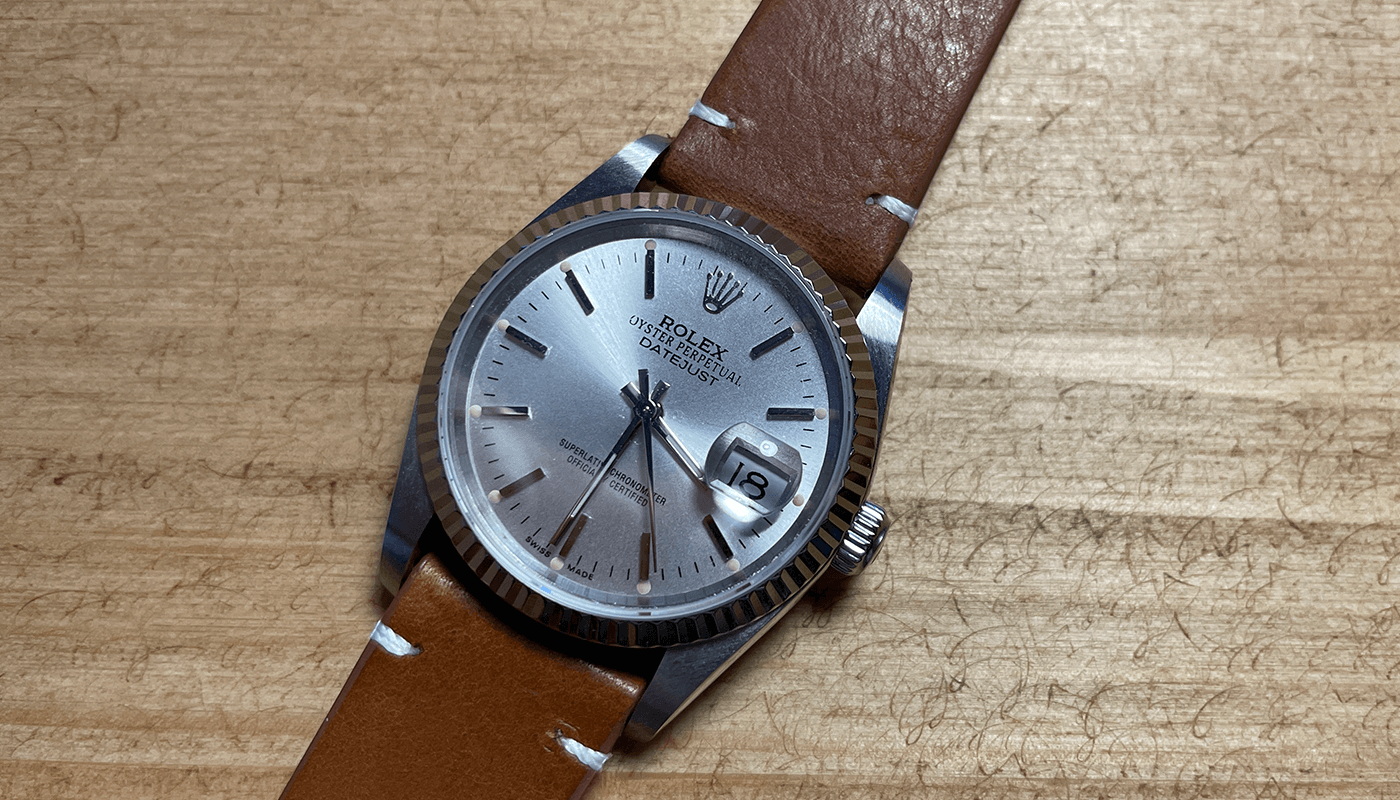
You can now use the tool that come with the strap and use the spring bars in the strap to fit onto the case.