How to build your first watch, start to finish
Everything you need to go from a bag of parts to a running automatic watch, in the order I’d do it now, plus the mistakes to avoid on a first build.
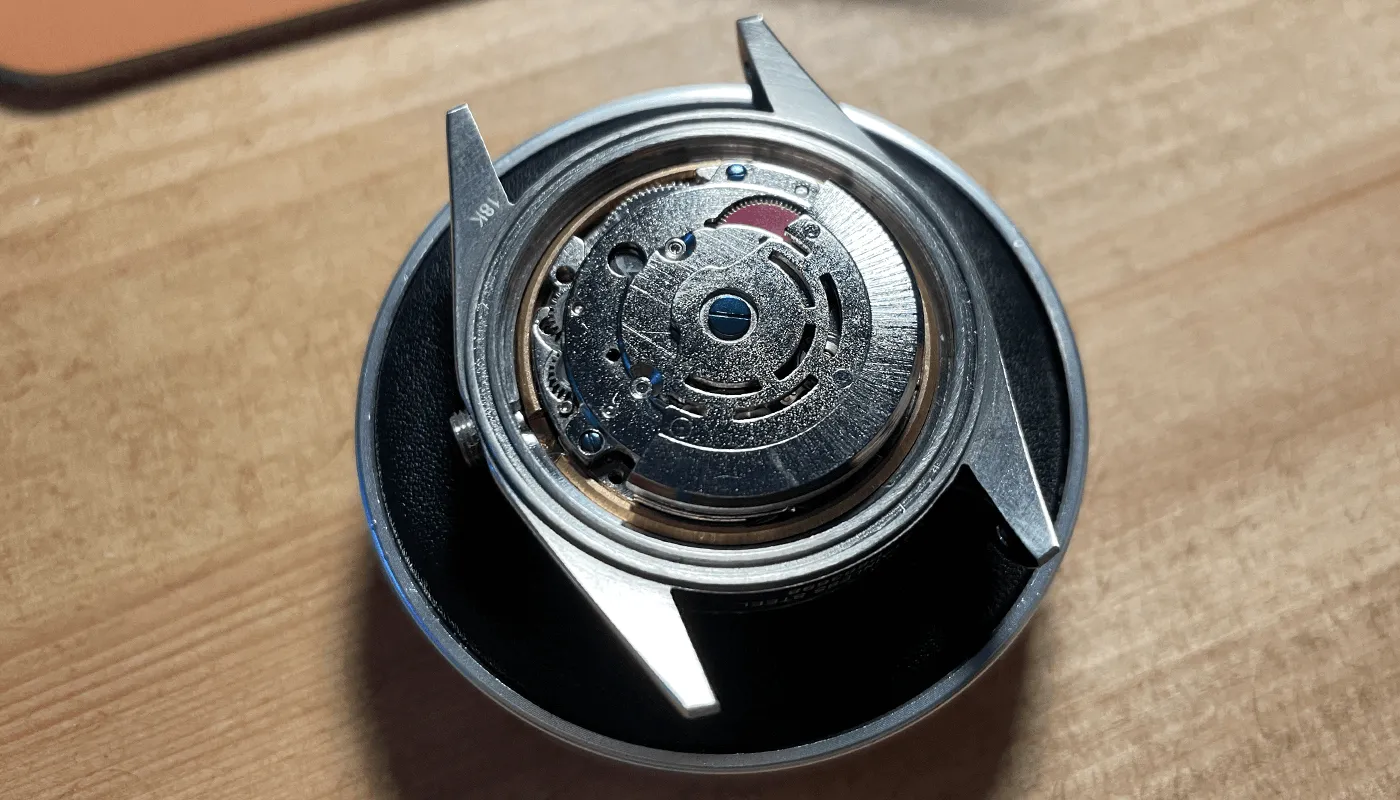
Building your own mechanical watch from parts sounds like something only watchmakers do, but it’s really an assembly job: a ready-made automatic movement, a dial, a set of hands and a case, put together in the right order. No soldering, no machining, and nothing you can’t undo if you take it slowly. This guide walks through the whole thing from start to finish, in the order I’d tackle it now, with links to the more detailed guides and to my own builds along the way.
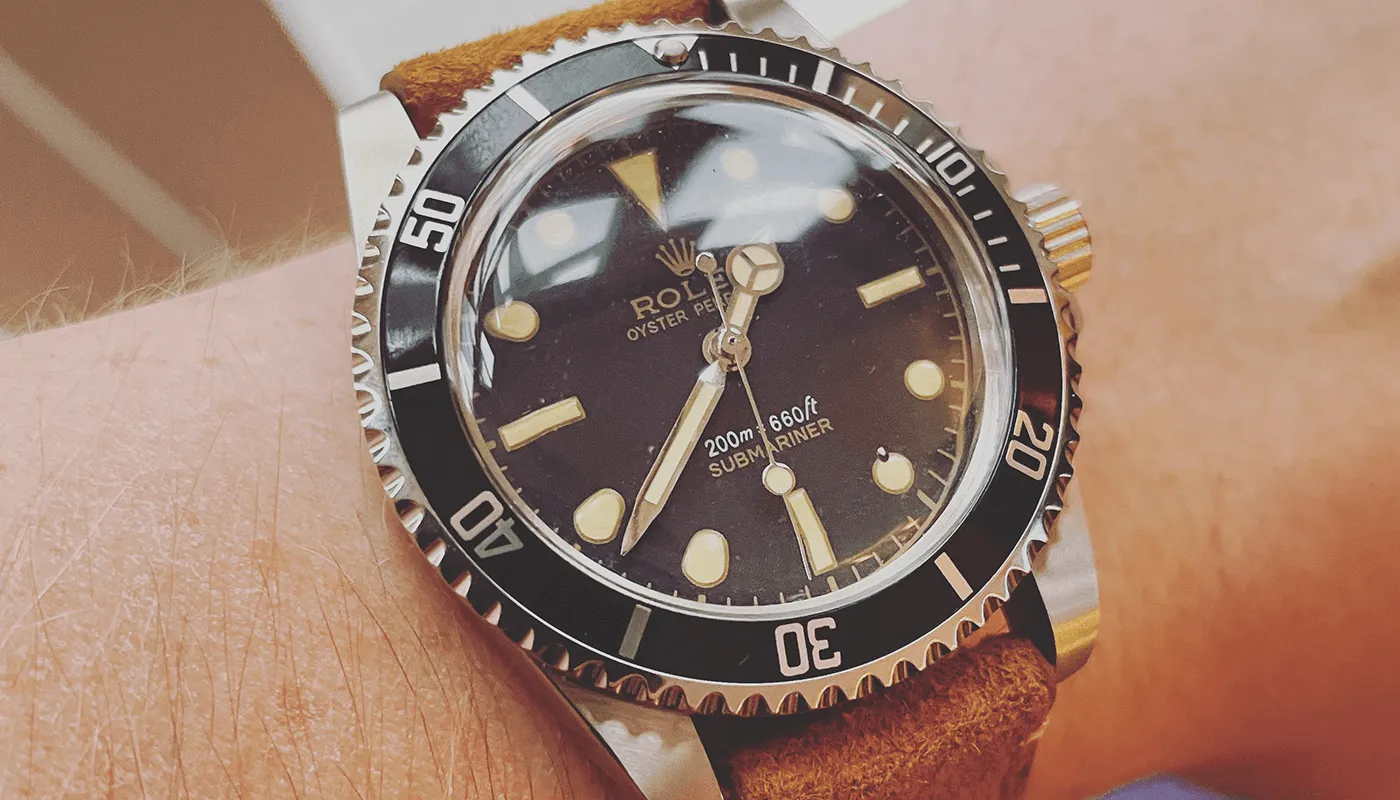
If you want to see what it looks like in practice first, my first build was a vintage dive-style homage on a 2813 movement, and the silver dial Datejust-style build has step-by-step photos of every stage. Set aside an evening: a first assembly usually takes two to three hours once you have all the parts, and it’s worth not rushing.
My first build, the 5513, took most of an evening, around three to four hours, and a good chunk of that was the seconds hand. If I could tell myself one thing before starting, it would be to lay every part and tool out first and give the seconds hand as long as it needs.
Step 1: choose the movement first
Everything else in a build is sized to the movement (the calibre). The dial’s feet have to line up with holes in the movement, the hands have to match the movement’s pinion sizes, the case has to suit its diameter and height, and the stem and crown thread have to match. So pick the movement first and buy everything else to suit it, never the other way round.
The four movements most beginners choose between are:
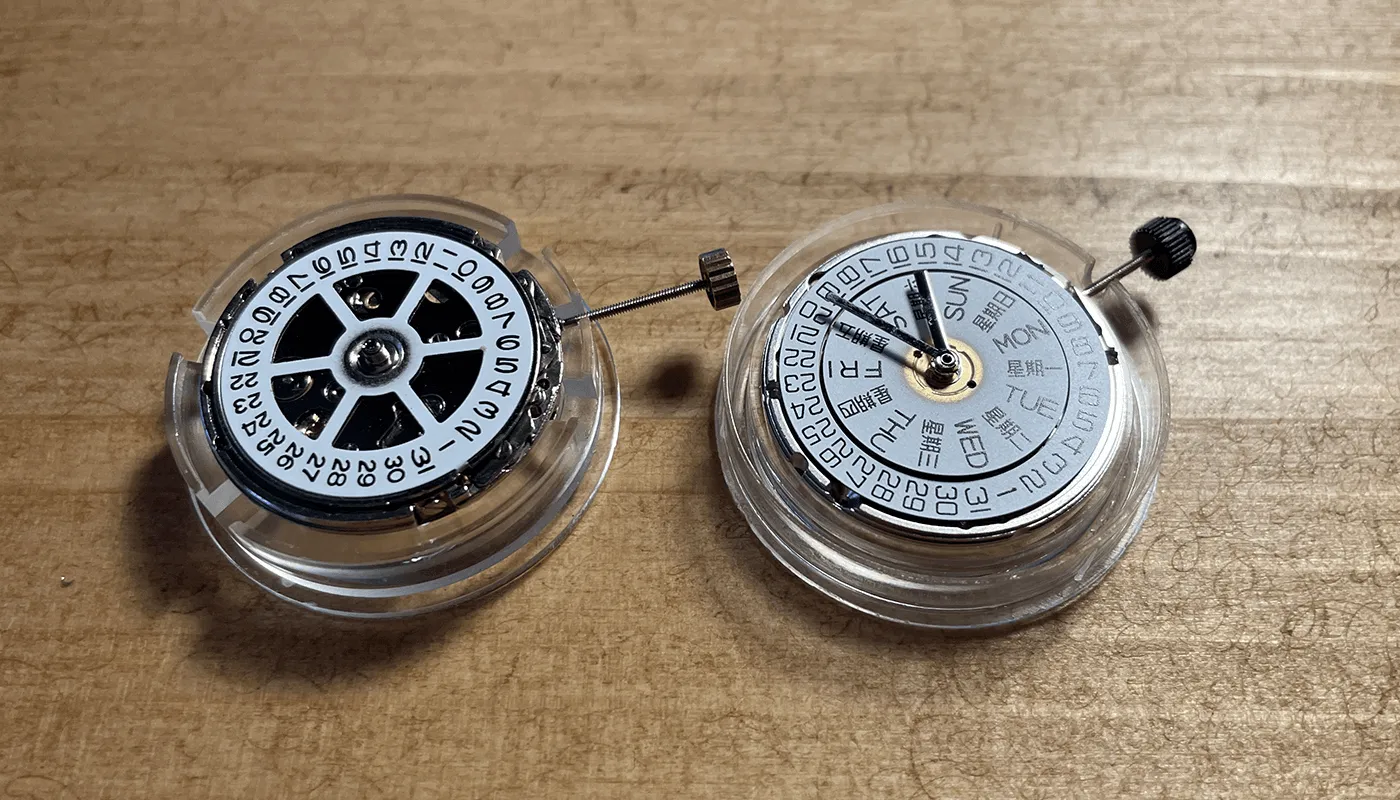
- Asian 2813 (DG2813): cheap, date at 3, runs at 21,600 bph and is modelled on the Miyota 8200 family. It’s what I used for my first build. See my 2813 review.
- Asian 2824 / 2836 clones: modelled on the Swiss ETA 2824 and 2836, so lots of parts are made to fit them. The 2836 adds a day wheel. See the 2824 and 2836 reviews.
- Miyota 8215: the Japanese original that the 2813 imitates, with consistent quality control and a published accuracy spec. See my Miyota 8215 review.
- Seiko NH35: the movement most of the modding scene is built around, with the widest choice of off-the-shelf dials, hands and cases.
If you’re torn, my 2813 vs 2836 comparison and the wider NH35 vs 8215 vs 2813 vs 2836 guide go through the trade-offs. My honest advice for a first build: go for whichever movement has the best choice of parts for the style of watch you want. A beautiful dial you can’t fit is no use.
Step 2: match the case, dial and hands
With the movement chosen, check each part against it before you buy. These are the things that catch people out:
- Dial feet, not diameter. Dial feet positions and the centre hole decide whether a dial fits far more than its diameter does. A dial listed as fitting “2824 and Miyota” may not line up with either, because the feet sit in different places. You can clip feet you don’t need and fix the dial with dial dots instead, but you can’t add feet that aren’t there.
- Date window. The window has to sit over the date wheel. Most movements put the date at 3 o’clock; a 6 o’clock date needs a different date wheel, which is not a beginner job.
- Dial thickness. Thinner is easier. For NH35 dials, about 0.4 mm is ideal and 0.6 mm is a practical maximum before hand clearance becomes a problem.
- Hand hole sizes. Hands are sold by the diameter of their holes. The 2813 and 8215 share hour/minute/seconds sizes of 1.50 / 1.00 / 0.17 mm, while 2824/2836 types take 1.50 / 0.90 / 0.25 mm, so hands for one family won’t fit the other. My watch hand sizes chart has the full list.
- Case fit. The case listing should name your movement, and you’ll usually need the movement ring (spacer) that goes with it. A 2824 and a Miyota 8215 are different heights (about 4.65 mm versus 5.67 mm), so their spacers aren’t interchangeable.
I’ve written a separate guide on where to buy watch parts in the UK, including which sellers to trust and how to spot listings that claim to fit everything.
Step 3: the tools you need
You don’t need a watchmaker’s bench, but a few tools are non-negotiable. I list the ones I actually bought on my tools page. The essentials are:
- A movement holder or cushion, so the movement isn’t rolling around the desk
- Fine tweezers (brass or plastic-tipped are kinder to dials)
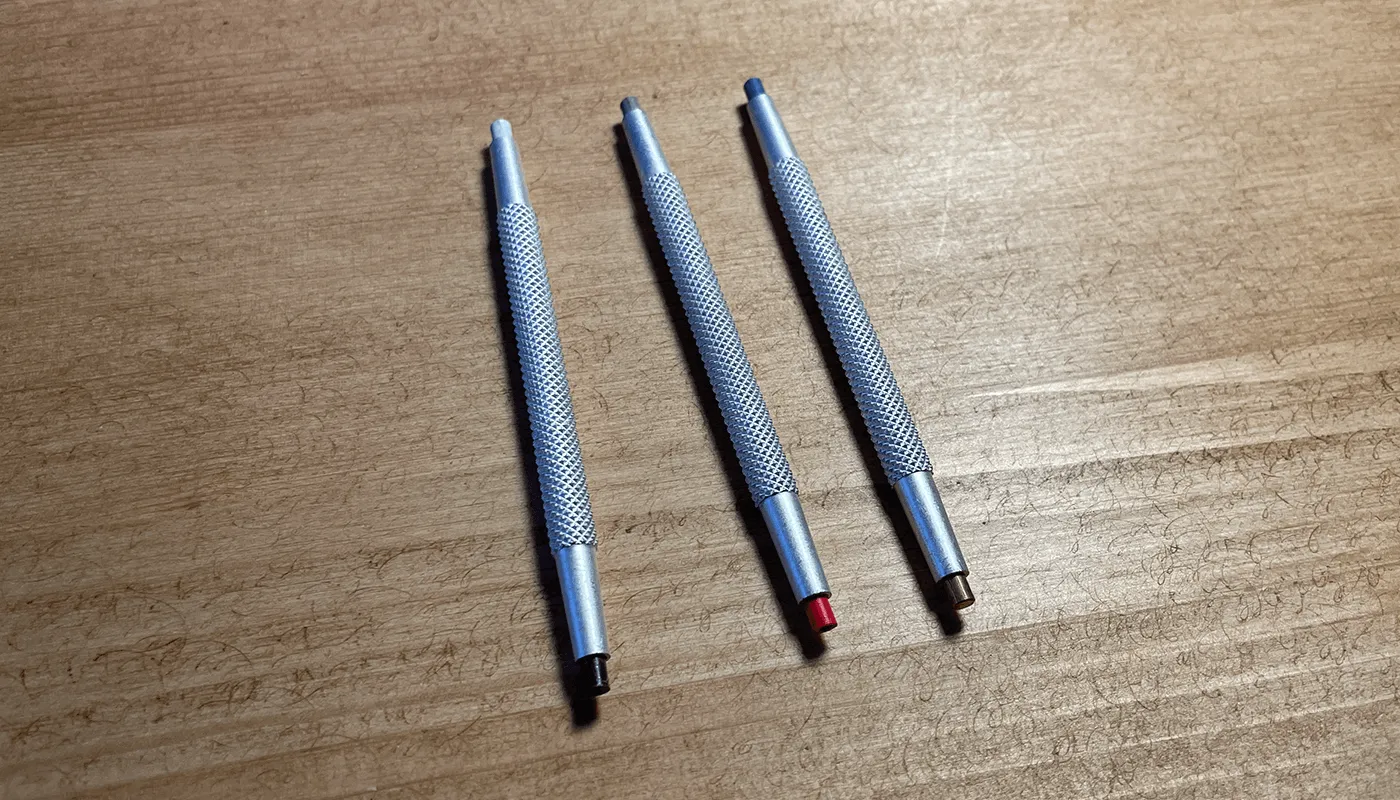
- Hand pressers in several sizes, and a hand remover for when it goes wrong
- Small screwdrivers for dial-foot screws and case clamps
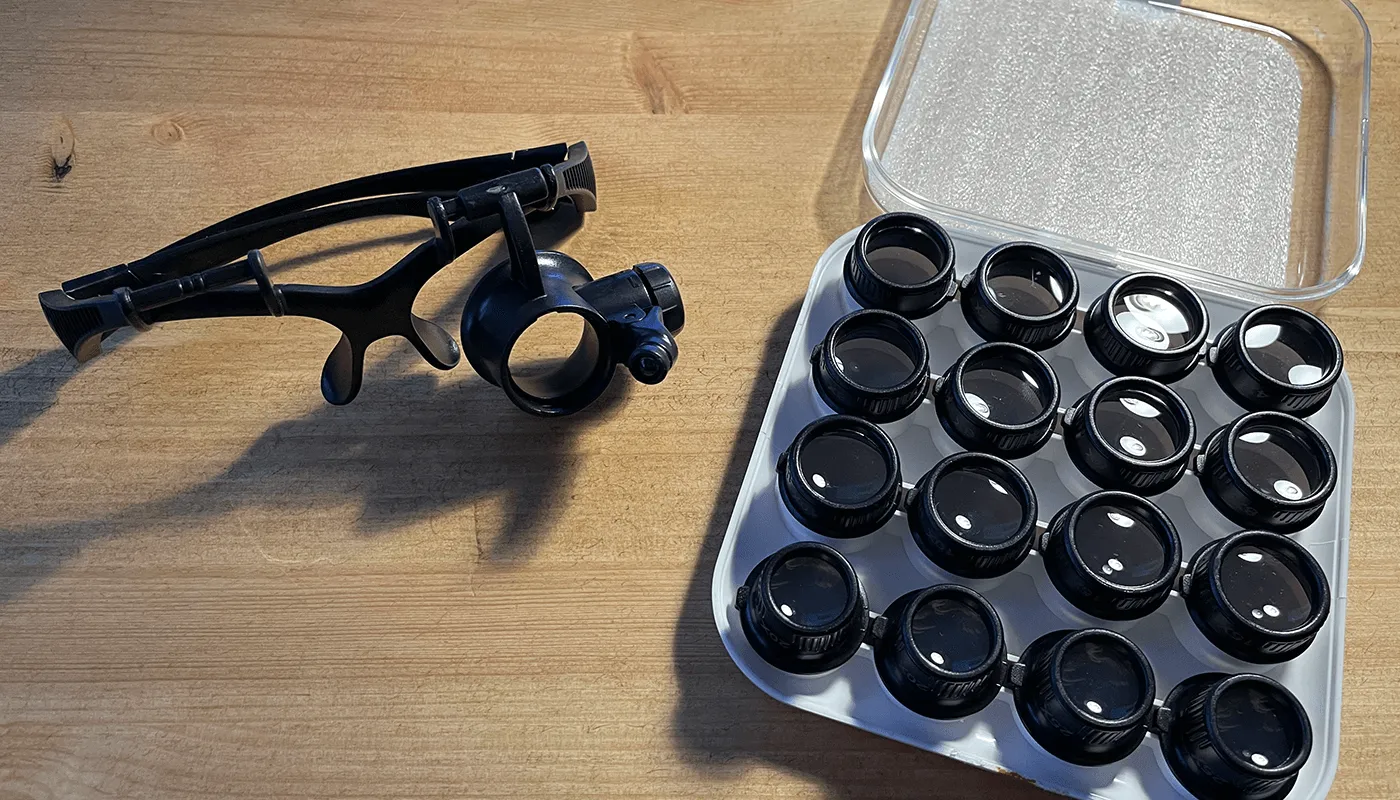
- A loupe or magnifying glasses, especially for the seconds hand
- A case back opener to suit your case, and side cutters for stems and dial feet
- A dust blower, Rodico (watchmaker’s cleaning putty), a dial protector sheet (a clean freezer bag works) and a little silicone grease for the gasket
A cheap starter kit is fine for a first build, but it wears quickly. If you stick with the hobby, the hand presser and screwdrivers are the first things worth upgrading. A timegrapher is optional: a phone app gets you most of the way.
Step 4: fit the dial
Work on a clean, light surface and blow dust off the movement and the back of the dial first. If your dial has feet you don’t need, clip them with side cutters and file the stub flush so the dial sits flat. A clipped foot usually leaves a 0.1 to 0.2 mm stub that needs filing.
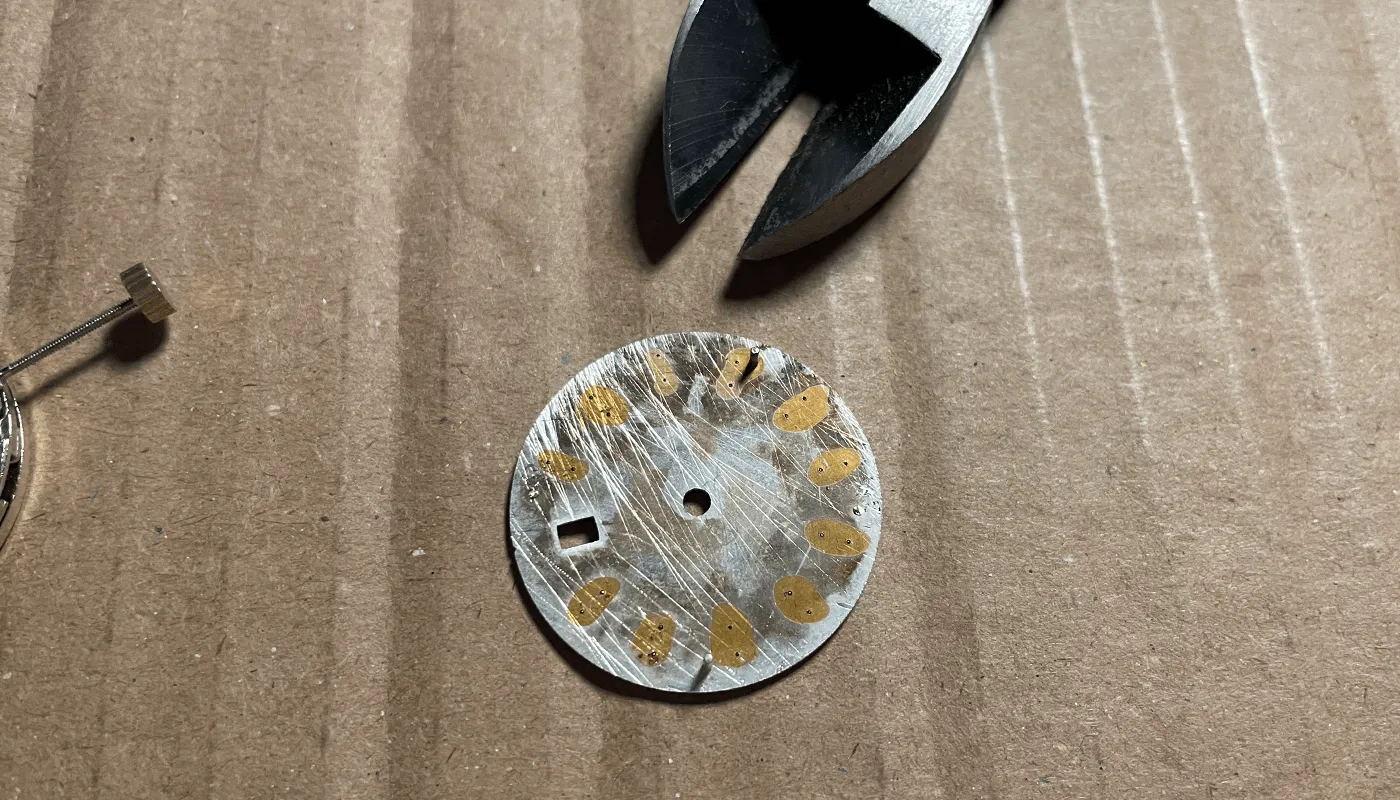
Line the feet up with their holes before you press anything down. If the dial doesn’t drop in easily, stop: forcing it bends the feet. Once it’s seated, tighten the dial-foot screws on the side of the movement (just snug), or apply dial dots if you’ve removed the feet. Check that the date window is centred over the date before going any further.
On my silver dial Datejust build, the dial I bought was made for a 2836, which has four dial feet. The 2813 only uses two, so I clipped the other two off with cutting pliers. Then I loosened the dial screws on the side of the movement (just loosened, not removed), slid the dial on and tightened them back up.
Step 5: fit the hands
Hands go on in a fixed order: hour, then minute, then seconds. Turn the crown until the date just clicks over, which is midnight, and press the hour hand on pointing at 12. Then press the minute hand on, also at 12. Wind the hands through a full twelve hours and check the date changes as both hands reach 12 again. The seconds hand goes on last, and it’s the fiddliest: on a 2813 the pinion is only 0.17 mm.
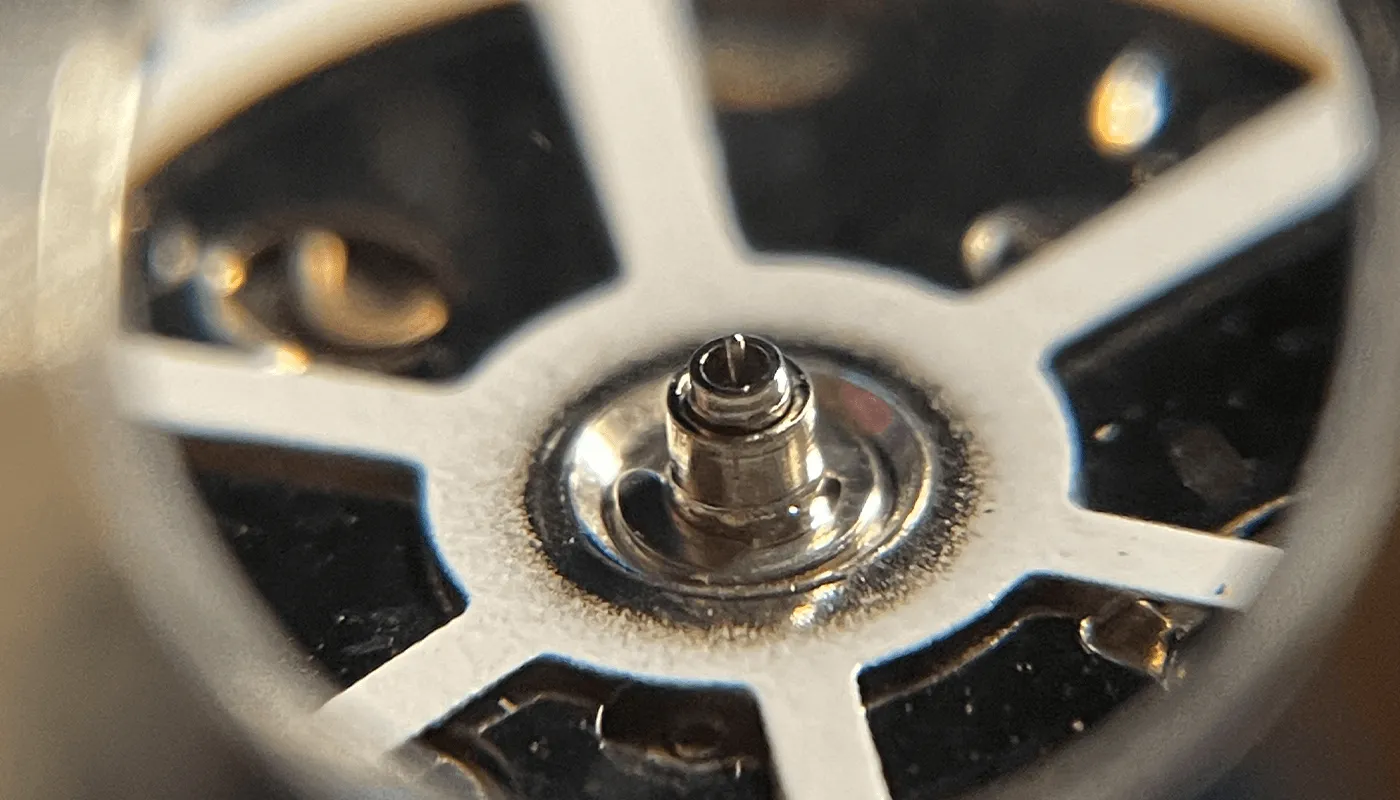
Always have a dial protector over the dial while pressing, use a presser tip just bigger than the hand’s hole, and press straight down. Look at the hands from the side when you’re done to make sure none of them touch each other or the dial. The full process, with fixes for the common problems, is in my guide to fitting watch hands.
Step 6: cut the stem and case the movement
Before the movement goes in the case, take the stem out. On a 2813 you press the release with tweezers through a small hole on the back of the movement; on a 2824/2836 type you press a release lever with a small screwdriver while gently pulling the stem.
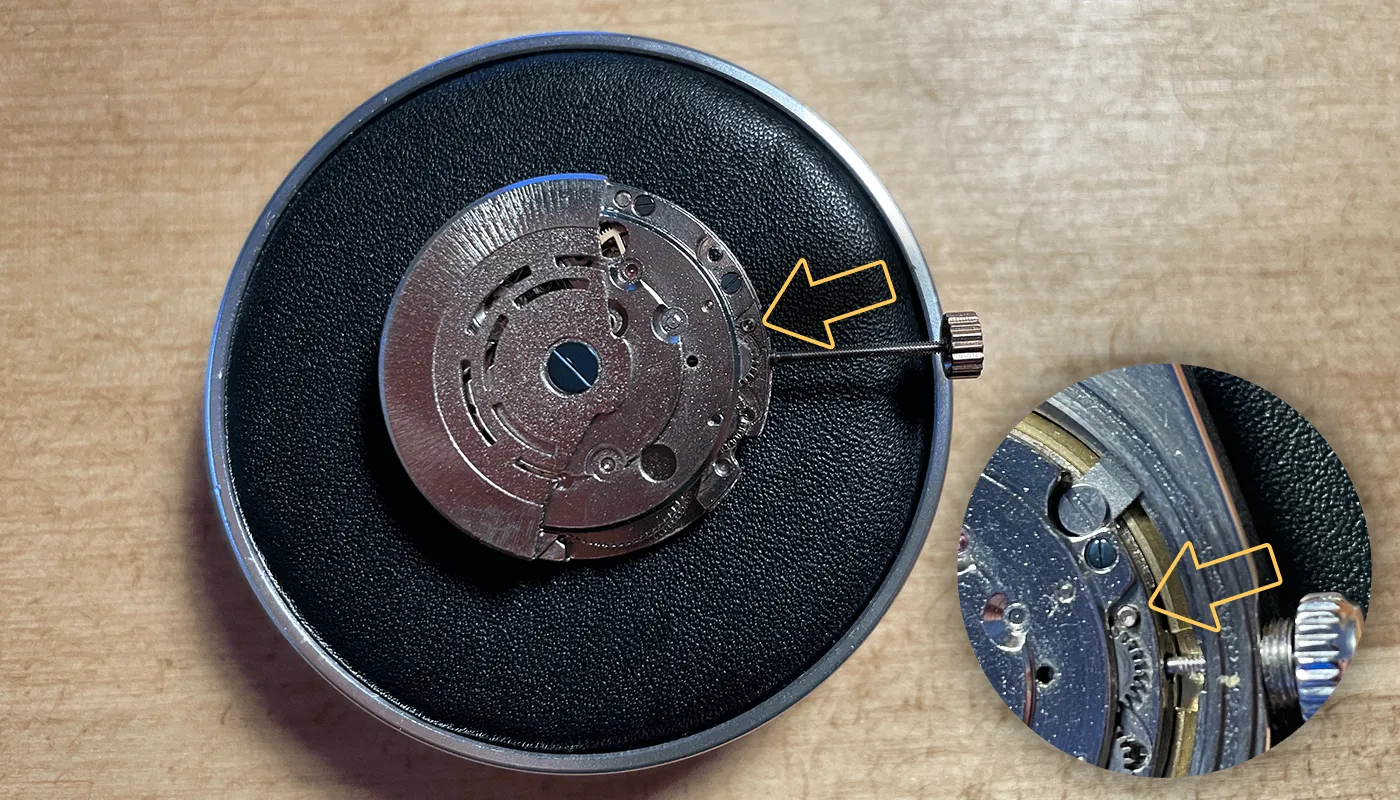
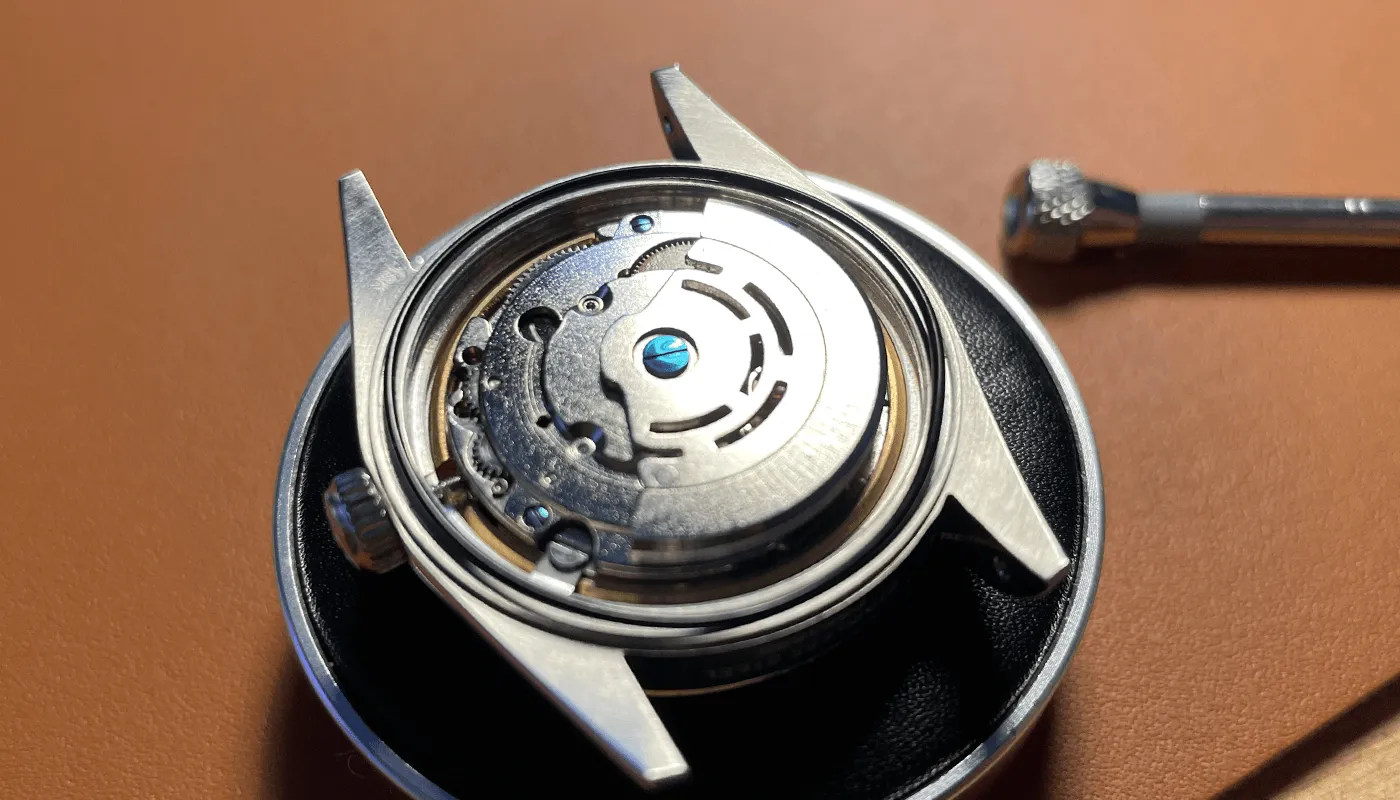
Fit the movement ring, lower the case over the dial and movement, and flip the whole lot over together. Put the stem back through the case tube and into the movement, then fit the crown and measure how much is too long. Cut a little at a time: you can always take more off, but a stem cut too short means buying another one. The goal is a crown that sits neatly against the case tube when pushed in, and pulls out cleanly to each position. My stem cutting and casing guide covers measuring, thread sizes and spacers in detail.
Step 7: seal the case back
Fit the case clamps (if your case uses them) so the movement can’t rotate, then blow out any last specks of dust. Lightly grease the case back gasket with silicone grease, check it’s sitting properly in its groove, and close the back evenly. On a screw-down back, turn it backwards until you feel the thread drop into place before tightening, so it doesn’t cross-thread.
Don’t assume a home-built watch is water resistant just because the case says so. Unless you’ve pressure tested it, treat it as splash-proof at best.
Step 8: test and regulate
Before you call it finished, run through a quick checklist:
- Wind the crown and check the movement starts and the seconds hand runs smoothly.
- Pull to each crown position and check quick-set date and time setting both work.
- Run the hands through midnight and check the date flips cleanly.
- Shake it gently and listen for the rotor; it should spin freely and not rub.
- Wear it for a few days and note how much it gains or loses.
If it’s running way off, measure it with a timegrapher app and adjust the regulator. My guide to regulating with a timegrapher app takes you through it. A sudden big gain is often magnetism, which takes seconds to fix: see how to demagnetise a watch.
Out of the box my 2813 was gaining around 15 to 20 seconds a day. After regulating it with a timegrapher app, it settled at around +5 seconds a day.
What a first build costs
Prices move around a lot depending on where you buy and how fancy you go. Here’s what my first build, the 5513, cost me, next to the rough range you can expect for a simple homage on an Asian or Japanese movement.
| Part | My 5513 | Rough range | Notes |
|---|---|---|---|
| Movement | £25 (2813) | £20 to £50 | 2813 at the bottom, Miyota 8215 and NH35 a bit more |
| Case with crystal and crown | £40 (domed vintage case, eBay) | £25 to £80 | Sapphire and screw-down crowns cost more |
| Dial | £30 | £10 to £40 | Unbranded/sterile dials |
| Hands | £8 (AliExpress) | £5 to £20 | Check the hole sizes |
| Strap | £15 (sand suede) | £10 to £30 | Check the lug width |
| Starter tools | £40 | £20 to £60 | A one-off cost; reused on every build |
My 5513 came to about £160 including tools. A first build usually lands somewhere around £100 to £250, with the second one cheaper because you already have the tools. Remember to allow for UK import VAT on parts from overseas; the where to buy guide explains how that works.
Common first-build mistakes
- Buying parts before the movement. Everything follows from the calibre. Buy a dial first and you may find nothing you can afford fits it.
- Trusting “fits all movements”. Universal dials and cases often don’t line up. Ask the seller which movement they’ve actually tested.
- Pressing hands without a dial protector. One slip with a presser leaves a mark you can’t polish out.
- Fitting the hour hand at the wrong time. If you don’t set it at the date change, the date flips at mid-afternoon.
- Cutting the stem too short. Trim a little, test, trim again.
- Forgetting the movement ring. Without the right spacer the movement can sit at the wrong height, which puts the stem in the wrong place or lets the dial press on the date wheel.
- Dust under the crystal. Blow everything out right before closing up. A speck you missed is all you’ll see once it’s on your wrist.
On my own 5513, the seconds hand was the hardest part. The 2813’s seconds post is only 0.17mm, and I couldn’t line it up by eye. Magnifying glasses made it possible: I placed it first, then pressed it down with a hand press. I also cut the stem a touch long the first time and had to trim it again, which was the right side to err on.
When something does go wrong, my watch build problems and fixes guide covers the usual suspects, and if your movement turns out to be faulty, read whether to service or replace a 2813 before spending money on it.