How to fit watch hands without damaging the dial
The last job on a build is the most nerve-racking. Here is how to set the hour hand at the midnight date change, fit a 0.17 mm seconds hand and check clearances without marking the dial.
Fitting the hands is the last job on a build and, for me, the most nerve-racking. The dial is on, the movement is running and everything looks great, and then a slip of the hand press leaves a scratch on the dial or snaps the tiny seconds pinion. This guide walks through the way I approach it now: the tools, protecting the dial, setting the hour hand at the midnight date change, the minute hand, the fiddly seconds hand, then checking clearances and fixing the usual problems.
It applies to the movements I build with, the Asian 2813, 2824 and 2836 and the Miyota 8215, and to the Seiko NH35 too. If you are starting from scratch, read how to build your first watch first.
Before you start: buy the right size hands
Hands are sold by the diameter of their holes, written hour / minute / seconds in millimetres. The hole has to match the post it sits on, and the posts differ between movements. The biggest trap is the seconds hand: the 2813 and Miyota 8215 use a tiny 0.17 mm seconds pinion, while the 2824 and 2836 use 0.25 mm. A 2836 seconds hand will just be loose on a 2813, and a 2813 seconds hand will not go onto a 2836 without damage.
| Movement | Hour | Minute | Seconds |
|---|---|---|---|
| Asian 2813 / Miyota 8215 | 1.50 mm | 1.00 mm | 0.17 mm |
| Asian 2824 / 2836 | 1.50 mm | 0.90 mm | 0.25 mm |
| Seiko NH35 | 1.50 mm | 0.90 mm | 0.21 mm (0.20 also quoted) |
The full breakdown, including how sizes are measured and how to choose hand lengths, is in my watch hand sizes chart. On the 2813 review I said I learnt the hard way by buying far too many wrong hands, so check this before you order anything from the places in my where to buy watch parts guide.
Tools you need
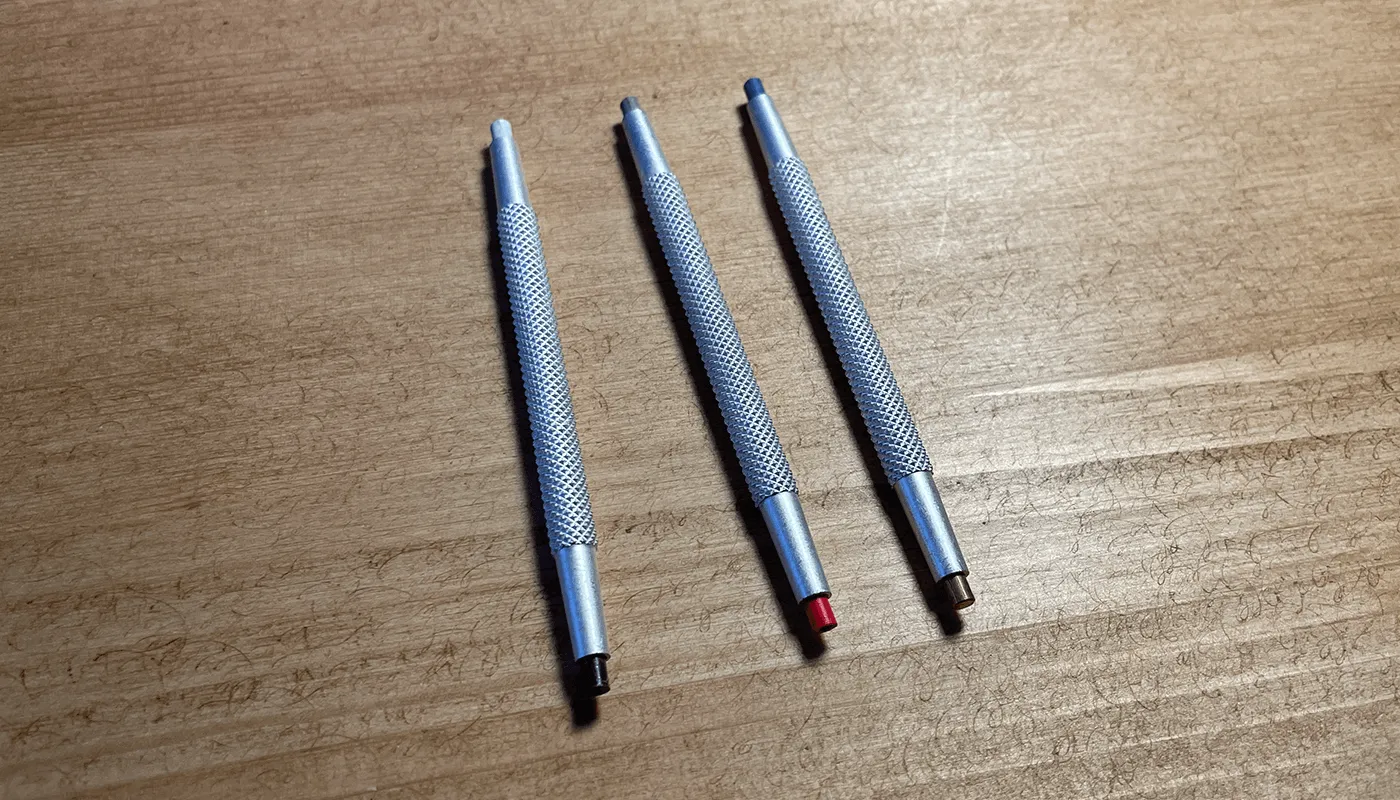
- Hand pressers or a hand press. I use a cheap set of three hand-held pressers with different tips. Bench presses with interchangeable nylon tips are steadier; cheap ones can wobble, which matters most on the seconds hand.
- A hand remover (or a pair of hand levers) for when it goes wrong. It will, at some point.
- Dial protection. A purpose-made dial protector sheet, or a thin plastic food bag, which is what I use when removing hands.
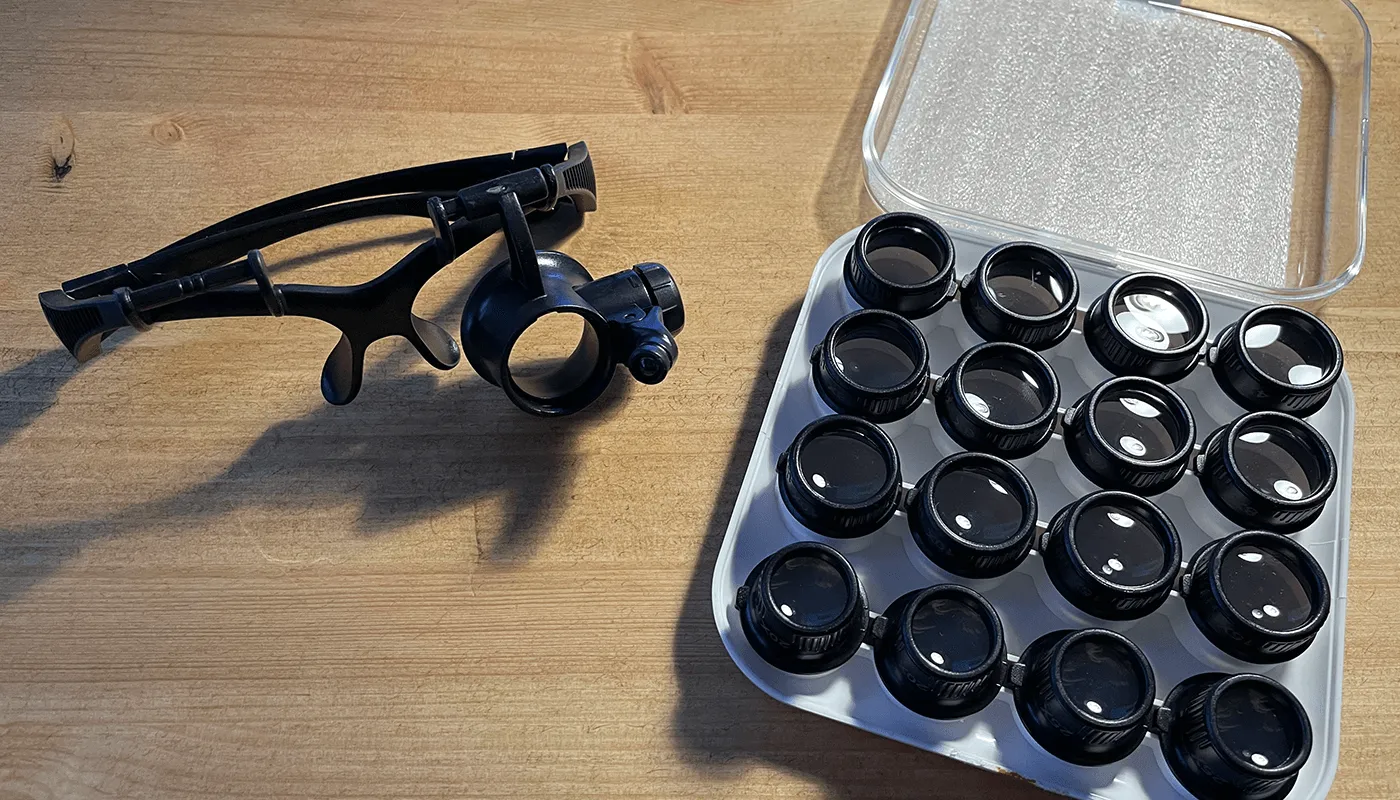
- Magnification. Head-worn magnifying glasses or a loupe. You cannot line up a 0.17 mm hole by eye.
- Tweezers and Rodico. Brass or plastic-tipped tweezers are kinder to hands. Rodico (watchmaker's putty) is useful for picking hands up and cleaning fingerprints off them.
- A movement holder or cushion so the movement sits flat and still, plus gloves and a dust blower.
Everything I use is on my tools page.
Protect the dial and get set up
Most damage happens when a tool slips, so set up so that a slip lands on something soft.
- Wear gloves. A fingerprint on a dial is very hard to get off without marking it.
- Sit the movement on its cushion or holder, dial up, with the crown side where you can reach it.
- Blow off any dust now, because once the hands are on, dust under them is a pain.
- Pick the press tip for each hand before you start. For the hour and minute hands, use a tip with a hole just big enough to clear the post below the hand, but no bigger, so the pressure lands evenly on the hand's collar. For the seconds hand, use a flat tip with no hole.
- Clean each hand with Rodico before fitting it. You will not get another easy chance.
Step 1: the hour hand at the midnight date change
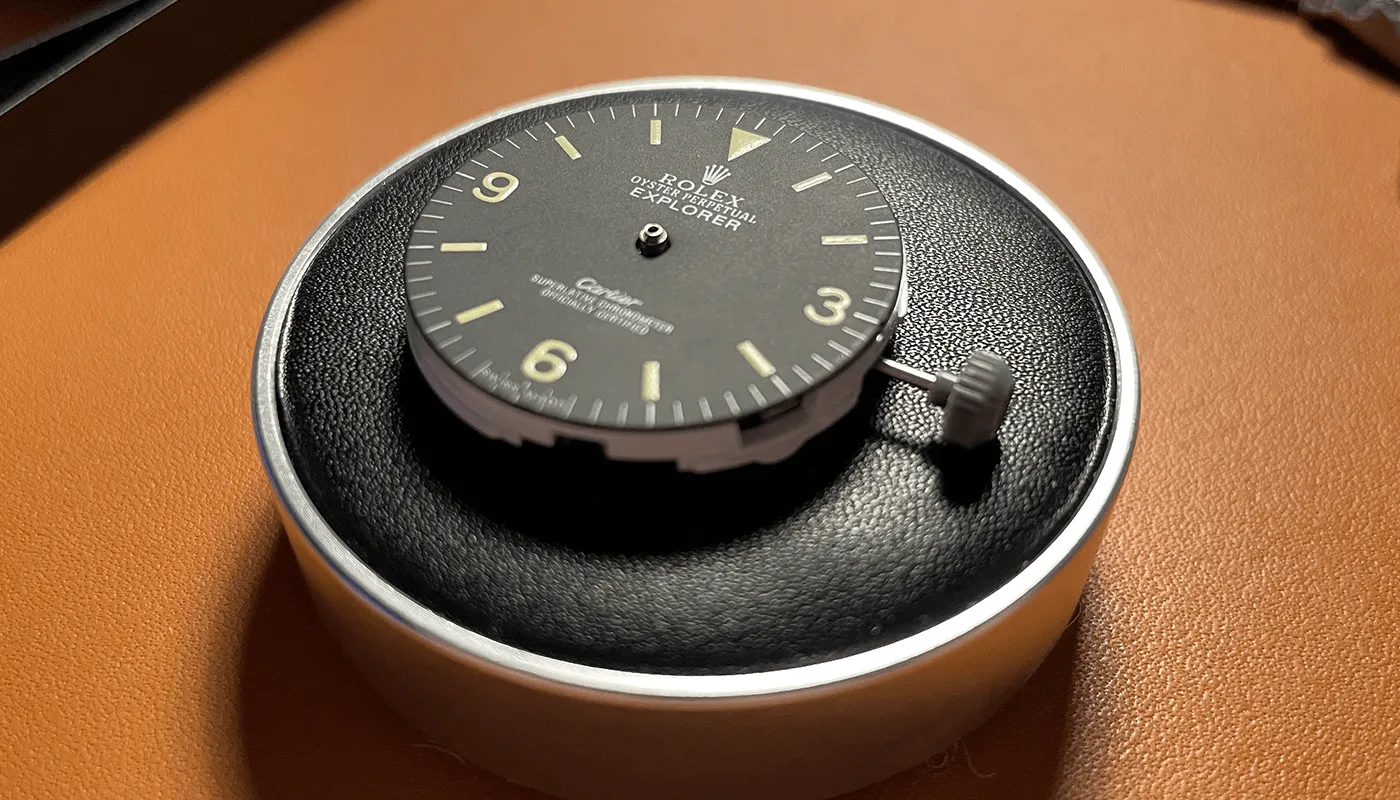
On a date movement the hands need to be set so the date changes at midnight with the hour hand pointing at 12. If you get this wrong, the date flips at 6 pm or at noon, and you cannot fix that by adjusting the hands later without taking them off.
- Pull the crown out to the time-setting position (the furthest position on all of these movements).
- Turn the crown forwards slowly while watching the date window. Keep going until the date has fully jumped to the next number. That point is midnight.
- Without touching the crown again, place the hour hand on its post pointing exactly at 12. Make sure it sits flat on the hour wheel.
- Press straight down, gently, until the hand is secure. Only press it about flush with the top of the hour wheel. Pushing too far can make it catch the dial or raised markers.
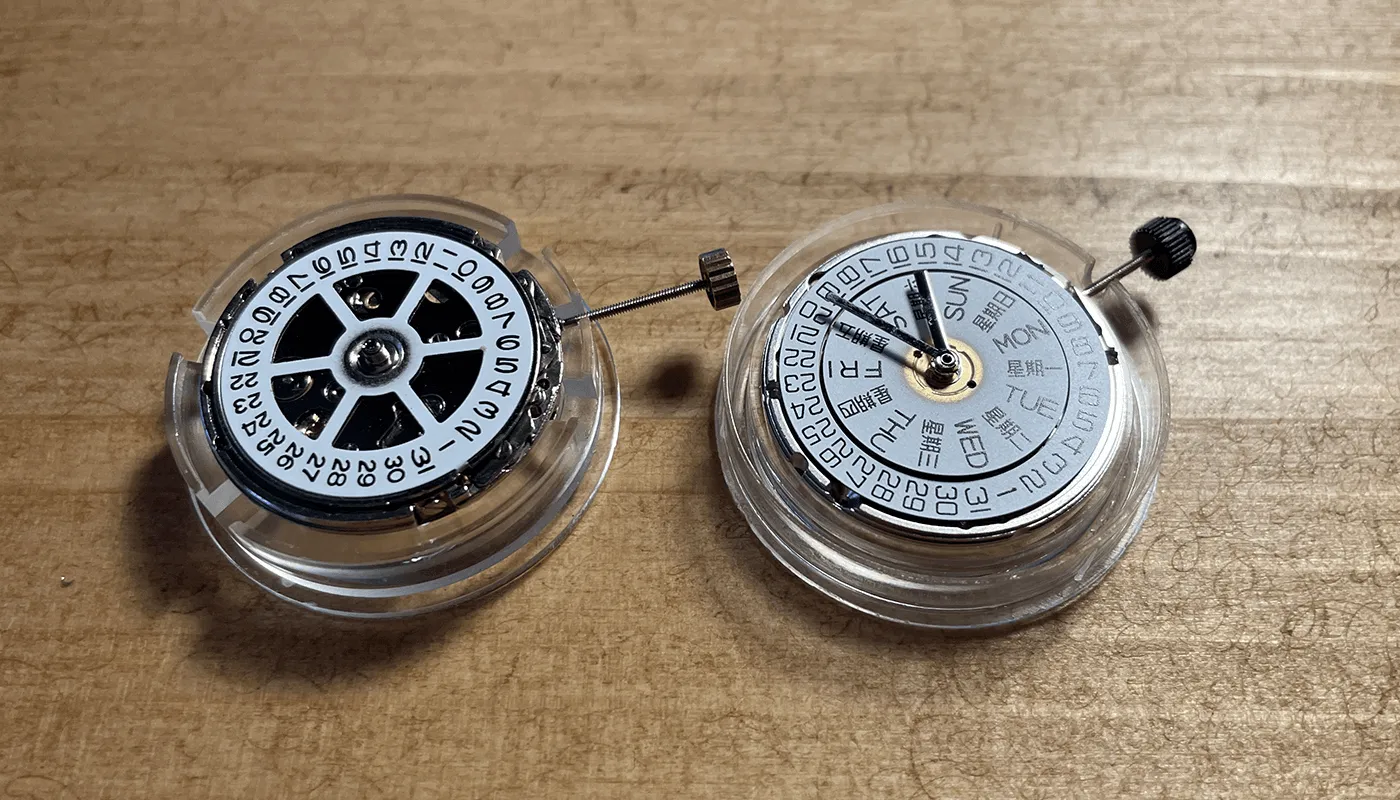
On the 2836 the day changes as well as the date, so watch the date as your reference point and check the day afterwards.
On my 2813 the date creeps: it starts moving well before midnight and takes a while to fully change, so I set the hour hand when the new date is fully centred in the window. The 2836 on my two-tone Datejust snaps over much more cleanly, which makes the exact moment easier to spot. My tip is to wind the hands slowly forwards and watch the window with a loupe rather than by eye.
Step 2: the minute hand
- Leave the crown alone. Place the minute hand on its post pointing at 12.
- Look from the side and from above. It should sit directly over the hour hand, parallel to the dial.
- Press it down far enough to grip, but keep a visible gap above the hour hand. Do not let it touch the hour hand.
- Now turn the crown forwards through a full 24 hours. Every time the hour hand passes 12, check whether the date changes (it should once in every two turns). When it changes, the minute hand should be at or just before 12 and the hour hand right on 12.
- A useful extra check: wind the minute hand to 12 and see whether the hour hand points exactly at 3, 6 and 9 at those hours. If it is half a marker off, the hour hand went on slightly rotated.
If the date flips at noon instead of midnight, the hour hand is 12 hours out. Take the hour and minute hands off, turn the crown 12 hours, and refit them.
Step 3: the seconds hand (the hard one)
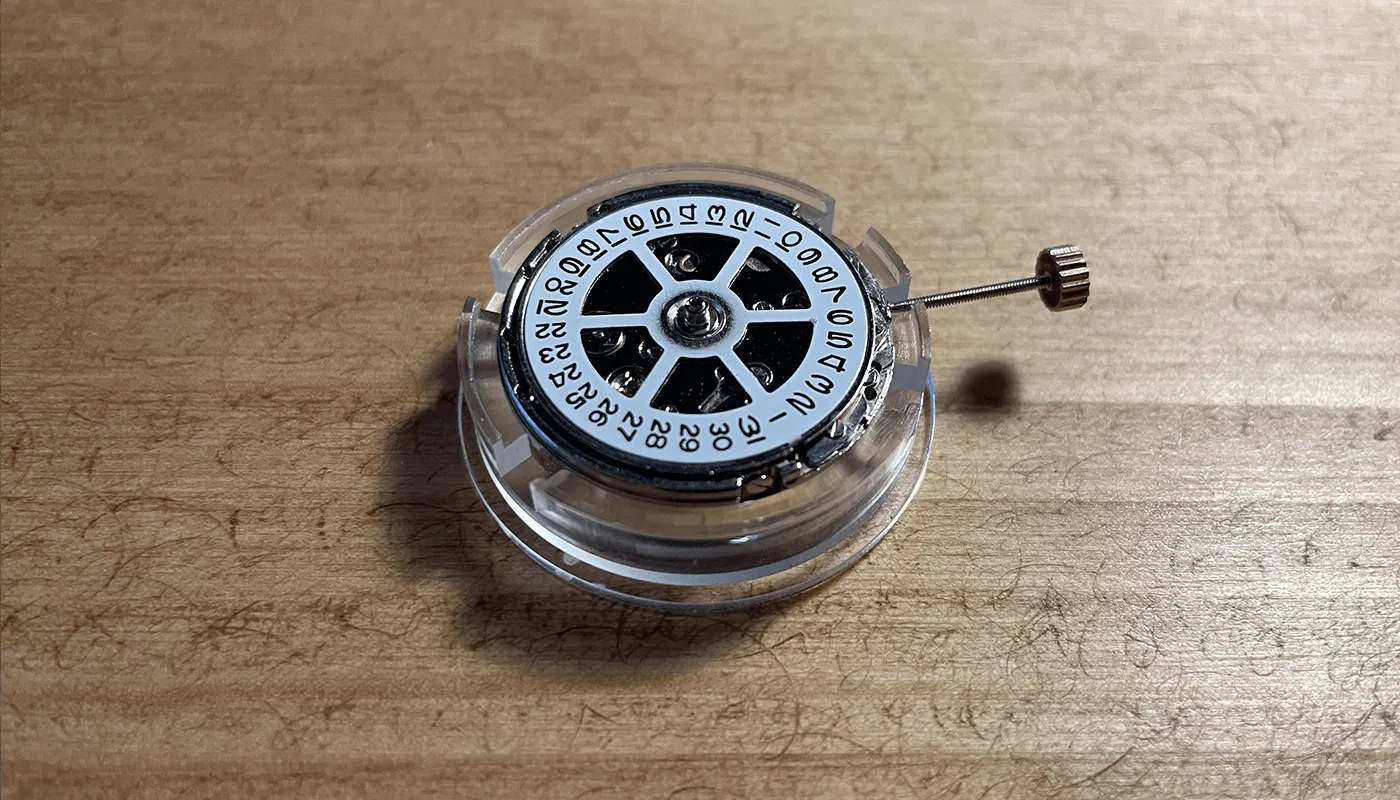
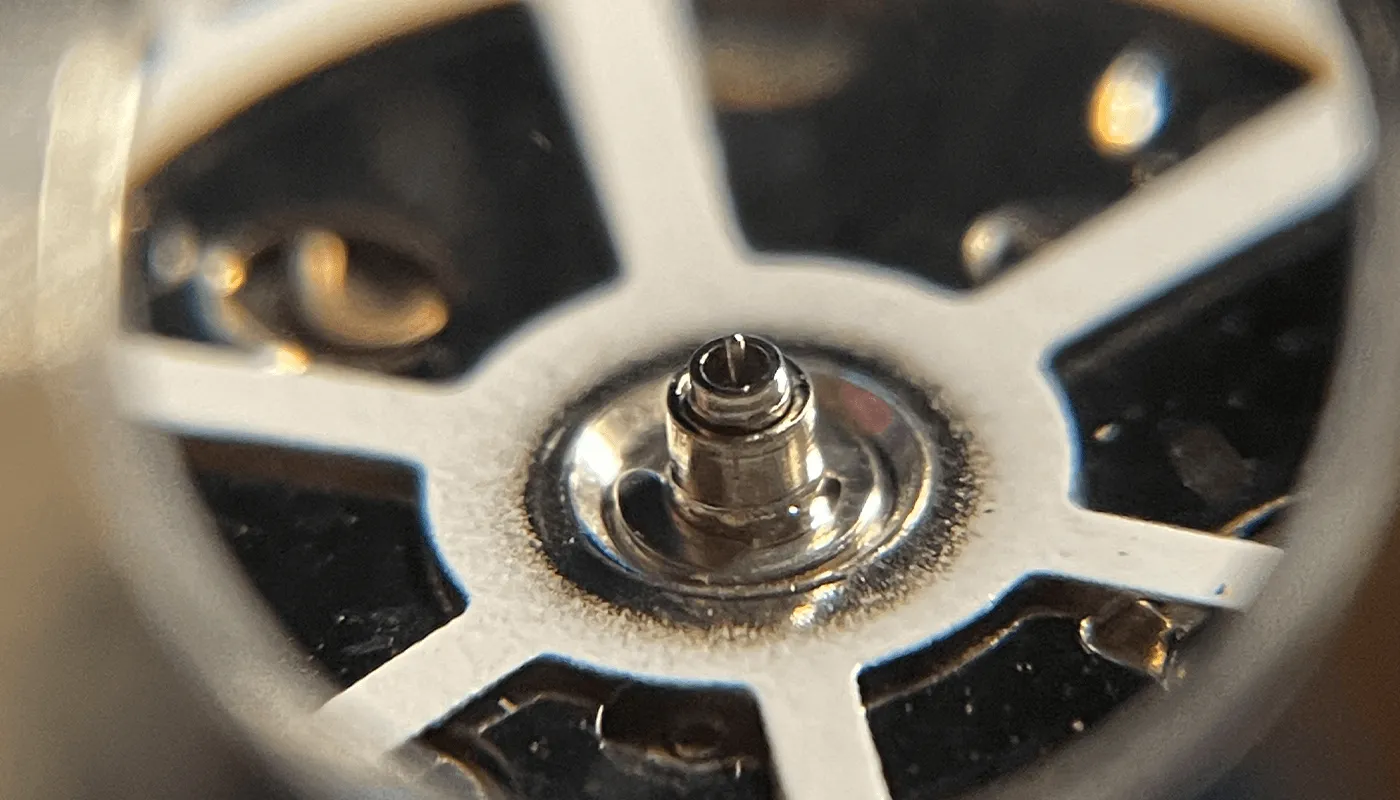
On the 2813 and Miyota 8215 the seconds pinion is just 0.17 mm across. You can see it sticking out of the top of the post in the photo above. In my 2813 review I mentioned breaking that pin a couple of times while experimenting. If it bends or snaps, the seconds hand has nothing to sit on and the movement needs repairing or replacing. The 0.25 mm pinion on the 2824 and 2836 is easier, but it is still small.
- Stop the seconds if you can. Many of these movements hack (the seconds stop) when the crown is pulled to the time-setting position, including the NH35 and the 2813, though clones vary, so check yours. The Miyota 8215 doesn't hack, as I noted in my review, so the pinion keeps turning while you work. That doesn't stop you fitting the hand, it just means it starts moving as soon as it grips.
- Pick the hand up by its tail or its collar with tweezers, or with a small piece of Rodico.
- Under magnification, line the hole up directly above the pinion and lower it so it just rests on the tip. Look from two directions to make sure it is vertical.
- Only once it is lined up, press very lightly with a flat tip, straight down. Not much force is needed. Pressing a hand that is even slightly off-line can bend the pinion or crush the hand's tube.
- Stop as soon as it grips. It needs to sit above the minute hand with a clear gap, not be driven down onto it.
My own approach on the 2813 is to touch the hand on just enough for it to start turning with the movement, check it is straight, and only then give it a gentle press.
I’ve never snapped a seconds pinion, but the 0.17mm post on the 2813 is where I’m most careful. Rather than tweezers, I put a small piece of Blu Tack on the end of a hand press to pick up the seconds hand, lower it over the pinion, then press it down. It holds the hand steady without bending it.
Clearance checks
Before the movement goes into the case, check that nothing touches anything else. Hands that rub will stop the watch, or slowly scratch each other.
- From the side. Turn the hands round to 12, 3, 6 and 9 and look at each position from the side. You should see a gap between the dial and the hour hand, between the hour and minute hands, and between the minute and seconds hands.
- Parallel to the dial. Each hand should be level. A hand that rises or dips towards its tip is either bent or not seated squarely.
- Over the markers. Long hands can catch tall applied markers or lume plots, especially near the edge of the dial.
- Under the crystal. Once cased, the seconds hand is the closest part to the crystal. Leave the watch running for a while before you close the case back, and turn the hands through a full 12 hours to check nothing catches.
Casing up has its own problems with stems and spacers, covered in how to cut a watch stem and case a movement.
Removing hands safely
Sooner or later you will need to take hands off, to fix the date timing, swap a style or get at the dial.
- Cover the dial. I put a thin plastic food bag over the dial, then work through it. Dial protector sheets with a slot for the hands do the same job.
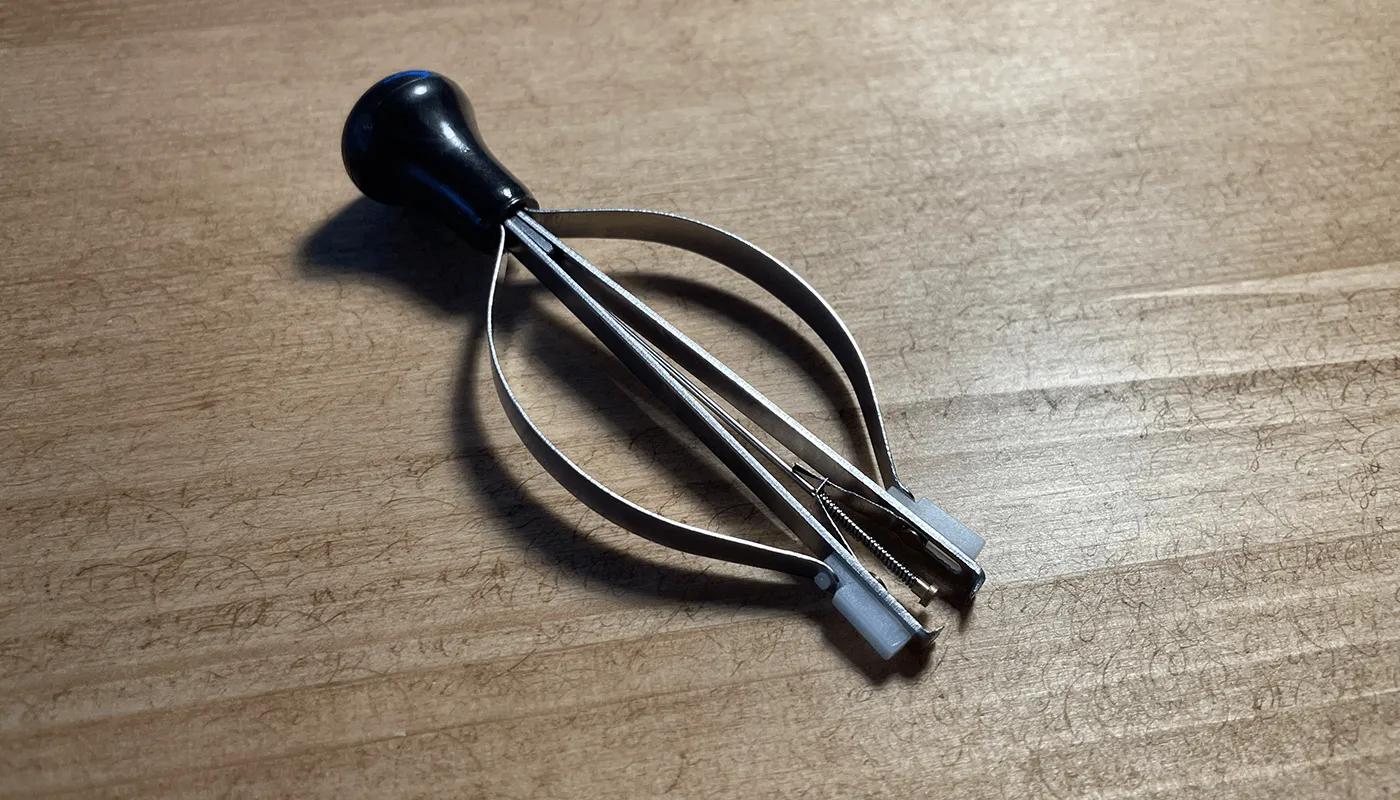
- Use a hand remover or a pair of hand levers. Slide the feet under the hour hand on both sides of the post, so it lifts straight up and doesn't tilt.
- Lift the hour and minute hands together, and the seconds hand usually comes with them. If you need to lift the seconds hand on its own, go very gently on a 0.17 mm pinion.
- Catch the hands in the bag, or with Rodico, so they don't fly off across the desk.
- Check each hand for bends before refitting. The seconds hand bends most easily.
Common problems and fixes
| Problem | Likely cause | Fix |
|---|---|---|
| Date changes at noon | Hour hand fitted 12 hours out | Remove hour and minute hands, turn 12 hours, refit |
| Date changes at 12:20 or 11:40 | Minute hand fitted off 12, or hour hand rotated | Refit the minute hand at the moment the date jumps |
| Watch stops when the hands pass each other | Hands touching, usually minute and seconds | Lift the top hand slightly, or check for a bent hand |
| Hour hand catches the dial | Pressed too far, or hand bent down | Lift it slightly and check it is parallel |
| Minute hand doesn't move with the crown, or slips | Hole too big for the post, e.g. a 1.00 mm hand on a 0.90 mm post | Buy hands with the correct hole size |
| Seconds hand wobbles or isn't level | Bent hand, tube not pressed on straight | Remove, straighten or replace, refit |
| Seconds hand won't go on | Wrong hole size, e.g. a 0.17 mm hand on a 0.25 mm pinion | Don't force it; buy the correct size |
| Seconds pinion bent or broken | Pressed off-line or too hard | Movement repair, or replace the movement |
| Marks or fingerprints on the dial | No gloves or dial protector | Prevention is the only real fix |
A broken seconds pinion on a cheap movement often means a new movement is the sensible option. I talk about that choice in service or replace a 2813 movement. For problems beyond the hands, see watch build problems and fixes.
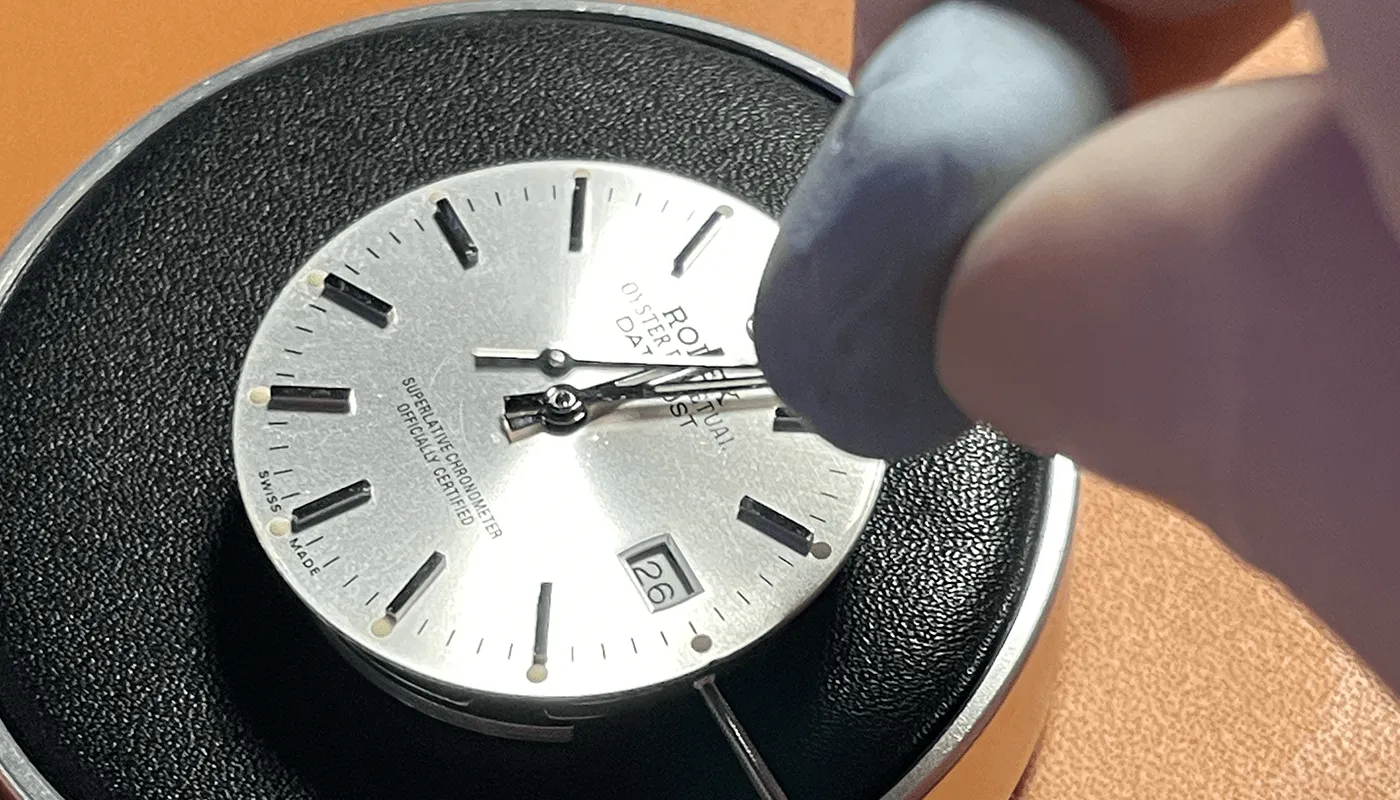
On my silver dial Datejust, I’d bought hands made for a 2836, but the 2813 has different hole sizes, so they wouldn’t fit. I had to buy a set of 2813 hands for a Datejust from eBay instead. Lesson learned: check the hole sizes against the movement before you buy. On the two-tone Datejust, I had to take the 2836’s stock hands off first. I covered the dial with a clear plastic bag and used hand removers, which protects the dial if a lever slips.